
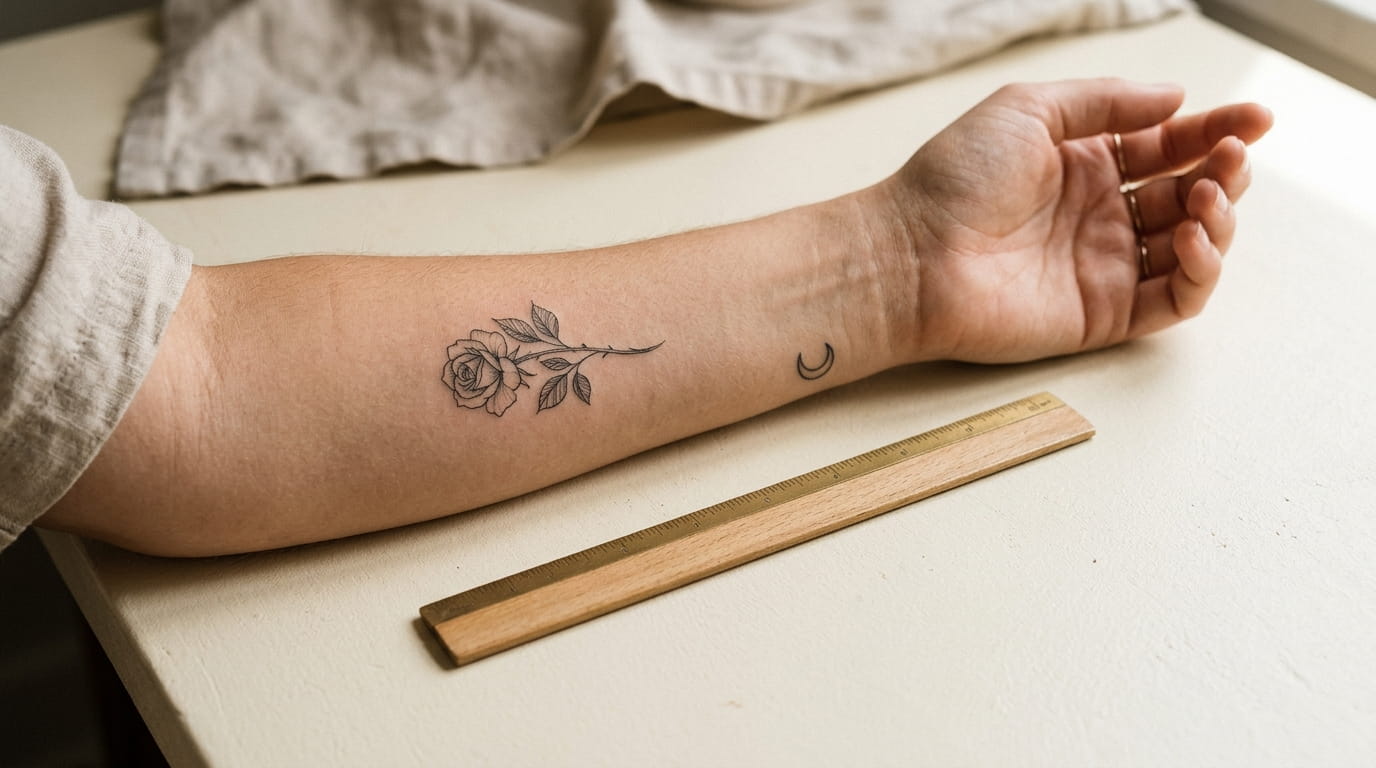
Most small tattoo regret has nothing to do with the design and everything to do with the size. A tiny rose that looked perfect in a photo turns into a smudge after three years, not because the artist got it wrong, but because nobody checked whether that much detail could actually survive at that size on that spot. A small tattoo size chart only works if you know how to read it against your own wrist, finger, or collarbone, not just a screen.
Scrolling for inspiration gives you angles, lighting, and filters, but it rarely gives you inches. The same design that reads as delicate on a forearm can turn into a blur on a finger, and what looks dainty in a photo can end up bigger or smaller than you expected once it’s actually on your skin.
This list breaks down how to size a small tattoo for the spot you actually have in mind, including a hand and ruler visual you can screenshot and bring to your consultation. Grab a tape measure first. It helps more than you’d think.
1. Measure the Actual Spot Before You Fall for a Design
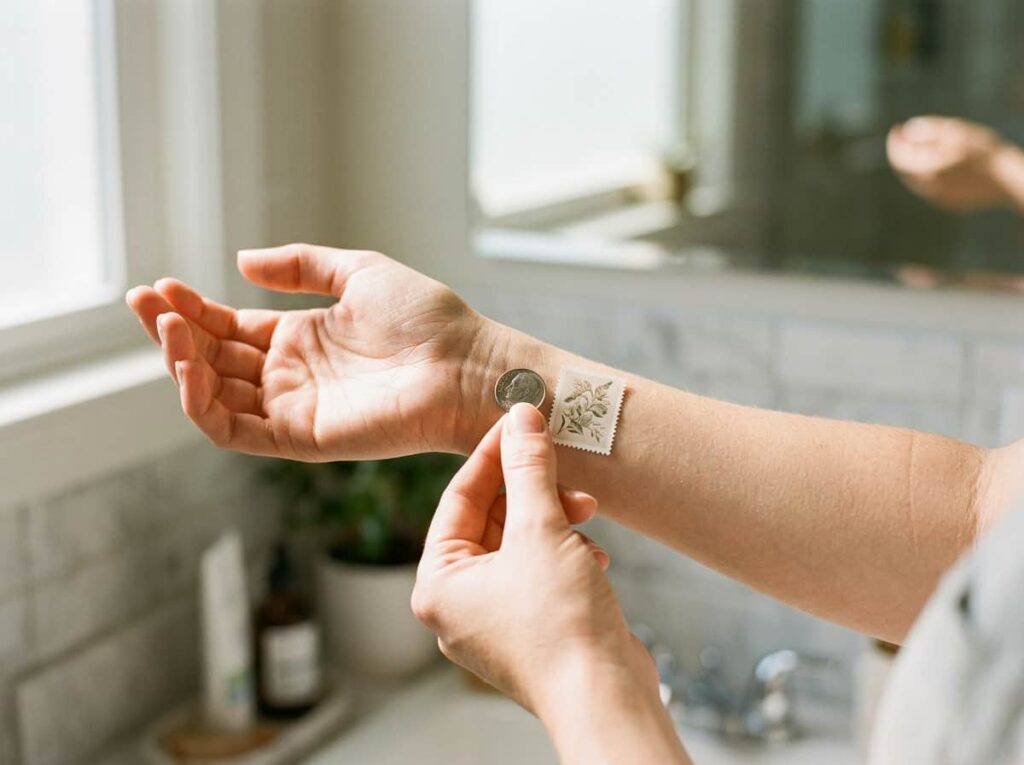
Pull up a reference photo and it’s easy to assume you already know the size. You don’t, not until you hold something physical against your skin.
Try the three-object test before you book anything:
- A dime against the spot for anything tiny and symbol-sized
- A postage stamp for a slightly bigger design
- The edge of a credit card for anything with real detail
This takes two minutes and catches the most common sizing mistake: picking a size from a photo instead of your own wrist or collarbone.
2. What “Small” Really Means in Inches, Not Just in Photos
“Small” means something different on every Pinterest board. On skin, it has a real range, and most tattoos people call small land somewhere between one and three inches in any single direction.
Anything under an inch starts to compete with your own skin texture and pores for visibility. Over three inches, most artists would call it a medium piece, not a small one, even if the design itself feels simple.
Knowing the actual inch range before your consultation means you walk in with a number, not just a feeling.
💡 Quick Tip
Say your size in inches, not “small.” Artists hear “small” differently depending on the day.
3. The Hand and Ruler Size Guide You Can Screenshot and Save
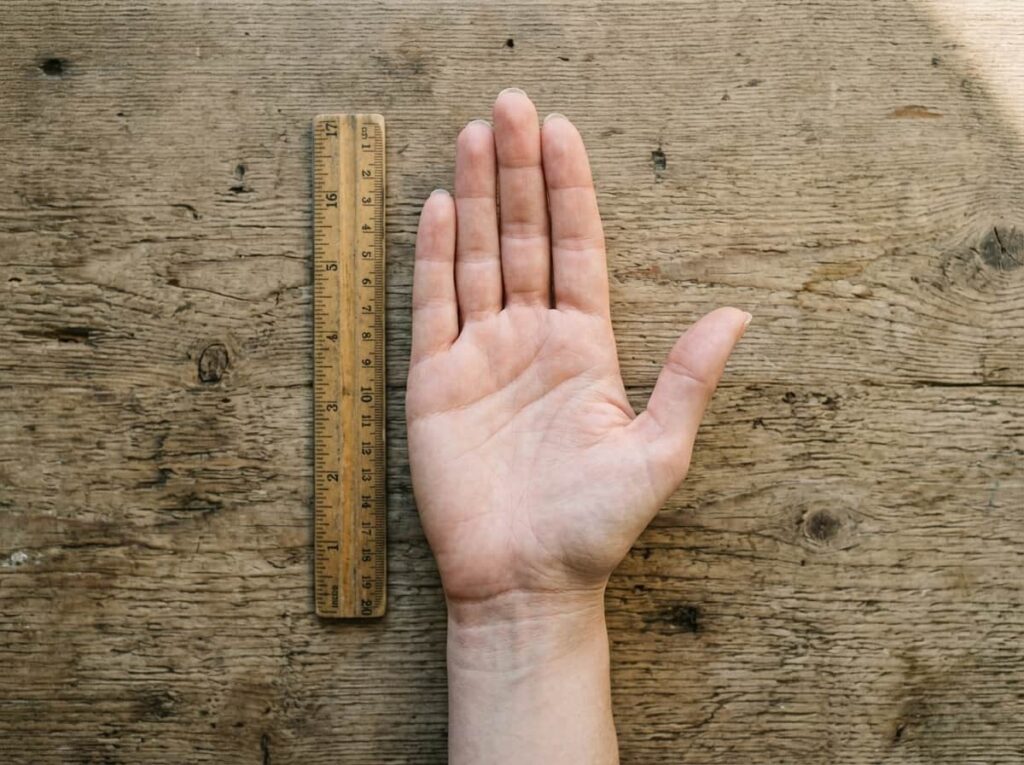
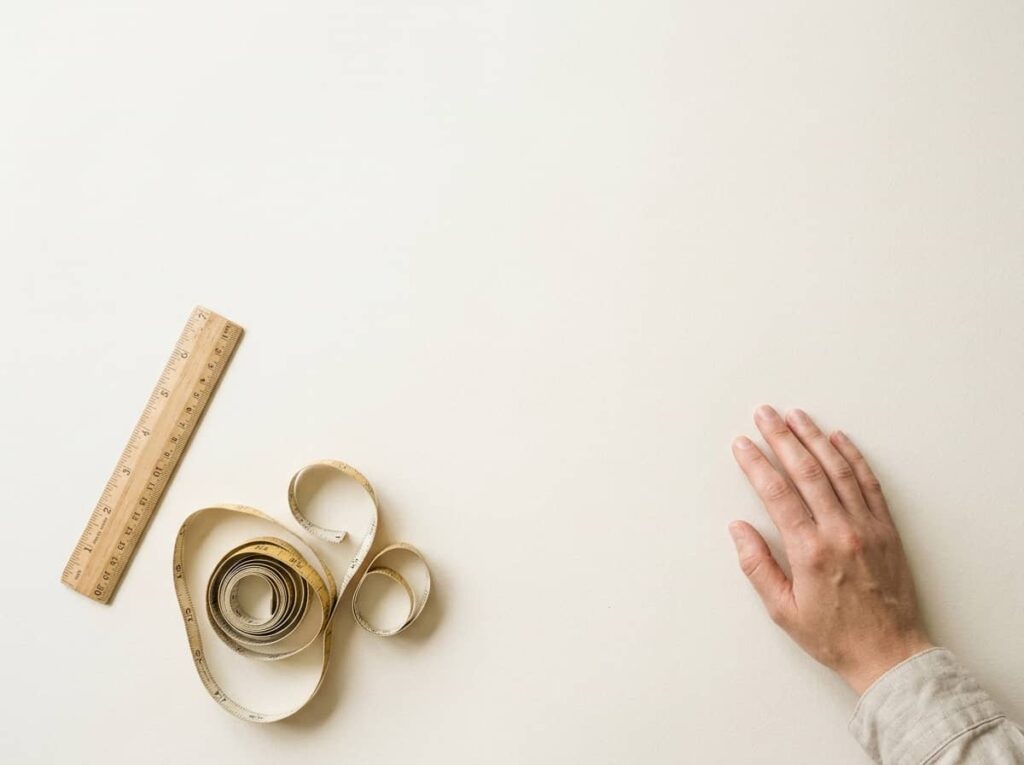
This is the one to actually keep. A hand gives you something every reader already has on them, so instead of imagining a measurement, you can hold your own hand next to the screen and compare.
The chart below lines up common small tattoo sizes against a hand outline, from a half inch up to three inches, so you can see roughly how each size sits against a finger, the back of a hand, or a wrist.
✋ Hand and Ruler Size Guide
Screenshot this and hold it next to your own hand before your appointment.
4. Wrist, Ankle, and Finger Each Call for Different Size Rules
A size that looks right on paper doesn’t always work on a curved or narrow spot. Wrists and ankles bend constantly, fingers are the narrowest canvas on the body, and each one has its own practical ceiling before a design starts to warp or fade unevenly.
Use this as a rough starting point, then confirm it with your artist against the actual width of your own wrist or finger.
| Placement | Comfortable range |
|---|---|
| Finger | 0.3 to 0.8 in |
| Wrist | 1 to 2 in |
| Ankle | 1.5 to 2.5 in |
5. Fine Linework Needs More Room Than Bold Shapes at the Same Size
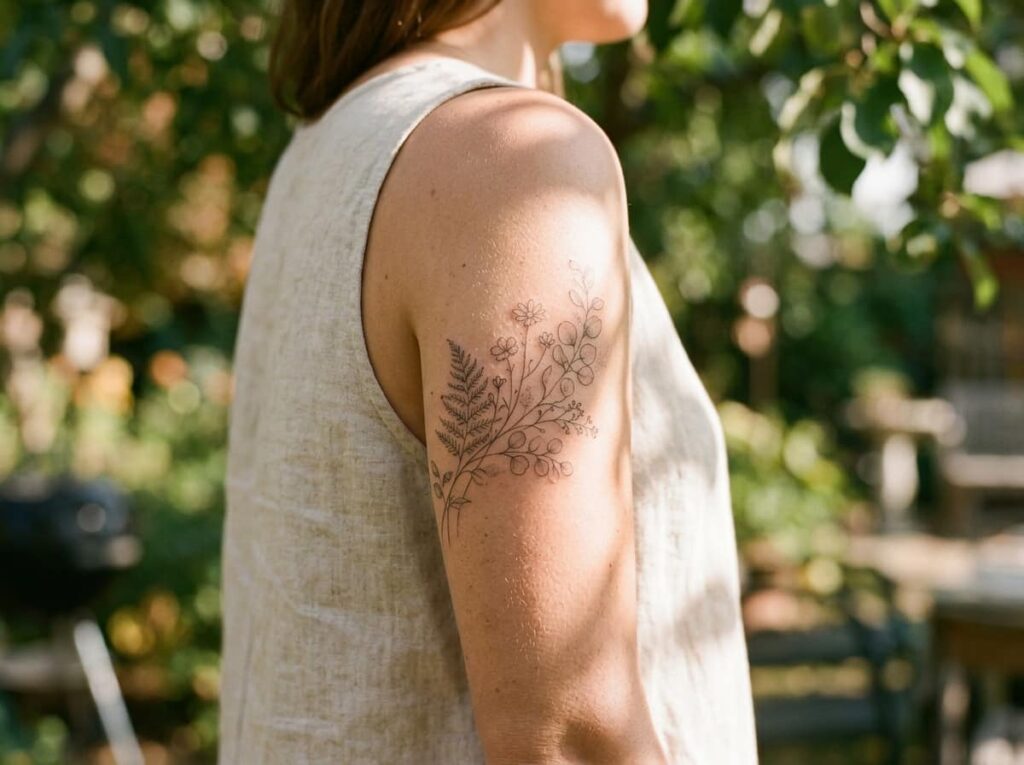
A single bold outline and a fine-line botanical can be the same height on paper and still need completely different amounts of space. Detail takes room. Without it, lines merge together under the skin within a few years.
If your design has shading, tiny gaps, or more than one line close together, size up from what you were originally picturing.
Give fine linework at least 1.5 inches to breathe.
Leave visible gaps between close lines.
Shrinking a detailed design to under an inch.
Stacking tiny lines with no space between them.
6. The Paper Cutout Test Before You Sit in the Chair
Cut your design out of paper at the size you’re considering and tape it to the actual spot for a full day. Wear a sleeve over it, wash your hands near it, and watch how it reads when your wrist bends or your ankle moves inside a sock.
Most people end up adjusting their size by half an inch once they see the cutout move with their body instead of sitting still on a screen. Paper doesn’t lie the way a mockup app does.
Print or sketch the design at your target size and cut around the outline.
Tape it to the spot and go about a normal day, including sleep.
Note how it looks from the angle people will actually see it, not just straight on in a mirror.
7. Why Some Small Tattoos Blur Within Five Years and Others Don’t
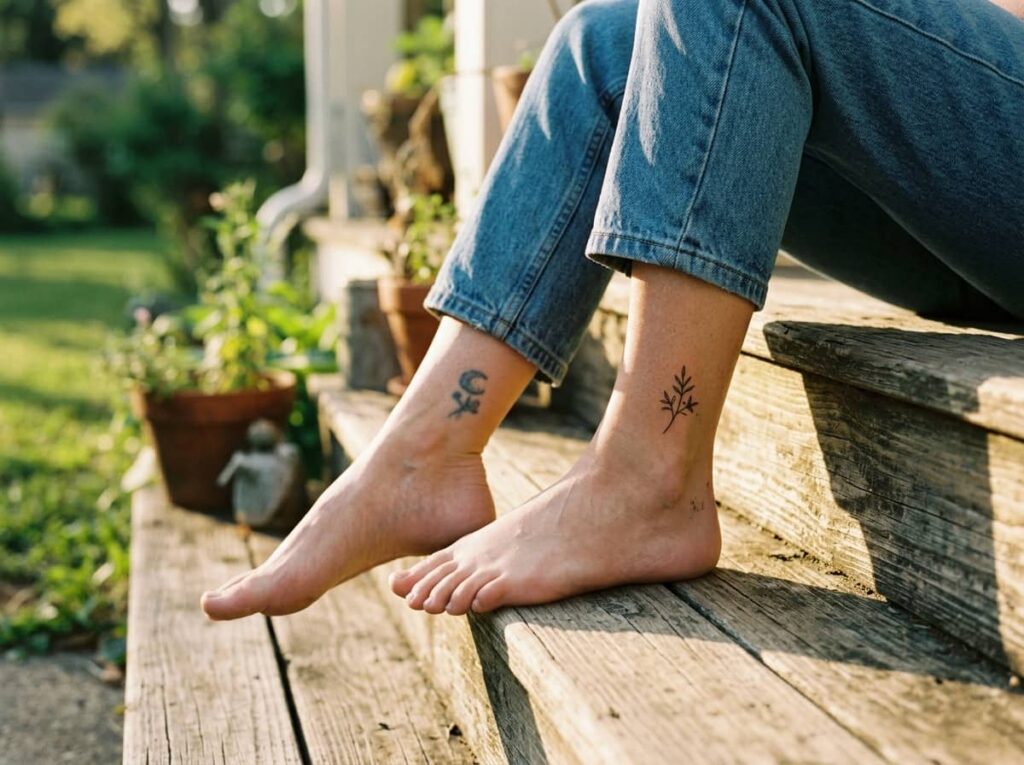
A lot of people blame the artist when a tiny tattoo spreads, but size at the time of ink is usually the real cause. Lines under a certain thickness, packed into too small a space, don’t have enough margin to stay sharp as skin cells turn over year after year.
Sun exposure and skin care speed this up, but they’re not the root problem. The fix isn’t avoiding small tattoos. It’s giving the design enough room that minor spreading over time doesn’t close the gaps between lines.
Crisp lines, tight detail, exactly what you pictured in the chair.
Still holds its shape, because the original size left room to spread.
8. Script and Lettering Need Their Own Size Minimum
Words behave differently than images at small sizes. A symbol can shrink and still read clearly. A word in cursive, shrunk the same amount, can turn into an unreadable smudge within a couple years.
Lowercase letters and thin script need the most protection here, since their strokes are already thinner than a typical line drawing. When in doubt, size the lettering up, not the font.
Lettering size checklist
9. Matching Size to Bone Versus Muscle Placement

Skin over bone, like a collarbone, wrist, or ankle, stays fairly flat and stretches less over time. Skin over muscle, like a forearm or calf, shifts more depending on the day, your weight, and how toned that area is.
That difference changes how much size buffer you need. A design over bone can run slightly smaller and still hold its shape years later.
10. Sizing a Cluster of Tiny Tattoos So They Read as One
Three tiny stars or a little row of symbols can look intentional or scattered depending entirely on spacing, not just individual size. The mistake most people make is sizing each piece on its own instead of treating the whole cluster as a single unit.
Measure the full footprint the group will take up first, then divide that space between the pieces with consistent gaps.
📌 Good To Know
Measure the cluster’s total footprint before sizing each individual piece inside it.
11. The Visibility Question: Hidden Tattoo Versus Statement Piece

Size decisions change depending on whether you want this tattoo to disappear under a sleeve or announce itself across a room. A collarbone piece sized for privacy looks completely different from one sized to show above a crew neck.
Before picking a number in inches, decide what role you want this tattoo to play in your everyday wardrobe. That answer changes the size more than the design itself does.
Decide if this tattoo needs to hide or be seen before you decide how big it gets.
12. When It’s Worth Sizing Up Even for a “Small” Tattoo
Not every small tattoo idea should stay under two inches just because that’s the category you started in. Some designs genuinely need more room to survive, even if the overall feel stays minimal and quiet.
A few situations call for sizing up, and the list below covers the ones worth raising with your artist before you lock in a number.
- ▸The design has more than three separate elements close together
- ▸It’s going somewhere with a lot of natural movement, like the ribs or inner arm
- ▸Your artist recommends it after actually seeing the spot in person
13. How Skin Tone and Undertone Affect How Big a Design Should Read
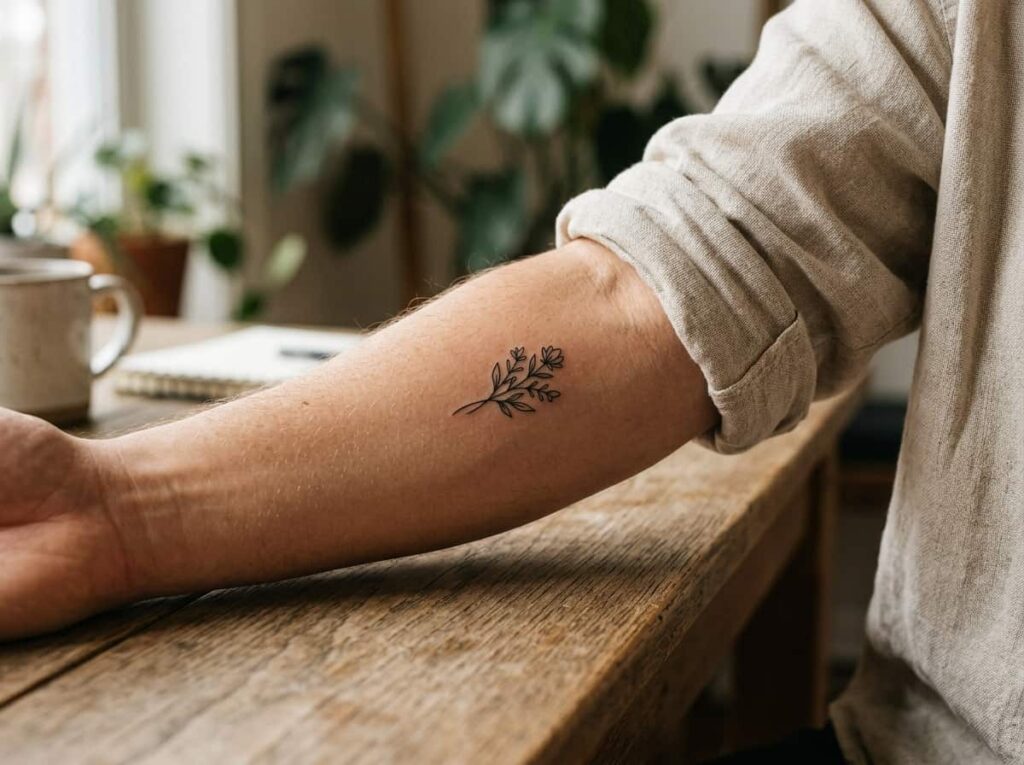
Ink sits and heals differently across different skin tones, and fine detail can lose contrast at smaller sizes, especially on deeper skin tones. This isn’t about whether a tattoo looks good. It’s about whether the lines stay visible once healing is done.
A good artist adjusts line weight and spacing recommendations based on your skin, not just the design itself, so bring this up directly during your consultation.
14. The Final Size Gut-Check Before You Book Your Appointment
Right before you confirm your appointment, run through one last check. It takes under five minutes and catches the sizing mistakes that are hardest to undo once the tattoo is done.
Walk through the three steps below with your artist in the room, not from memory at home the night before.
Hold your paper cutout against the spot one more time, in real lighting.
Confirm the inch measurement out loud with your artist, not just the reference image.
Ask directly whether your chosen size will hold detail in five years, not just today.
15. Your Quick Reference Chart: Inches by Placement Area
Here’s the full chart in one place, pulling together everything from finger to forearm so you have a single reference instead of scrolling back through the whole list.
Save this one specifically. It’s built to be the chart you pull up again right before your appointment.
| Placement | Recommended range |
|---|---|
| Finger | 0.3 to 0.8 in |
| Inner wrist | 1 to 2 in |
| Ankle | 1.5 to 2.5 in |
| Collarbone | 1.5 to 3 in |
| Forearm | 2 to 3 in |
Conclusion
Getting the size right matters more than almost any other decision in this process, more than the exact shade of ink or the specific line style you pick. A small tattoo size chart only helps once you’ve actually measured against your own skin, tested the paper cutout, and talked through the inches with your artist face to face.
None of this has to be complicated. It just takes a few extra minutes before you sit down in the chair, and those minutes are what keep a design looking sharp five years from now instead of blurred.







Leave a Reply