
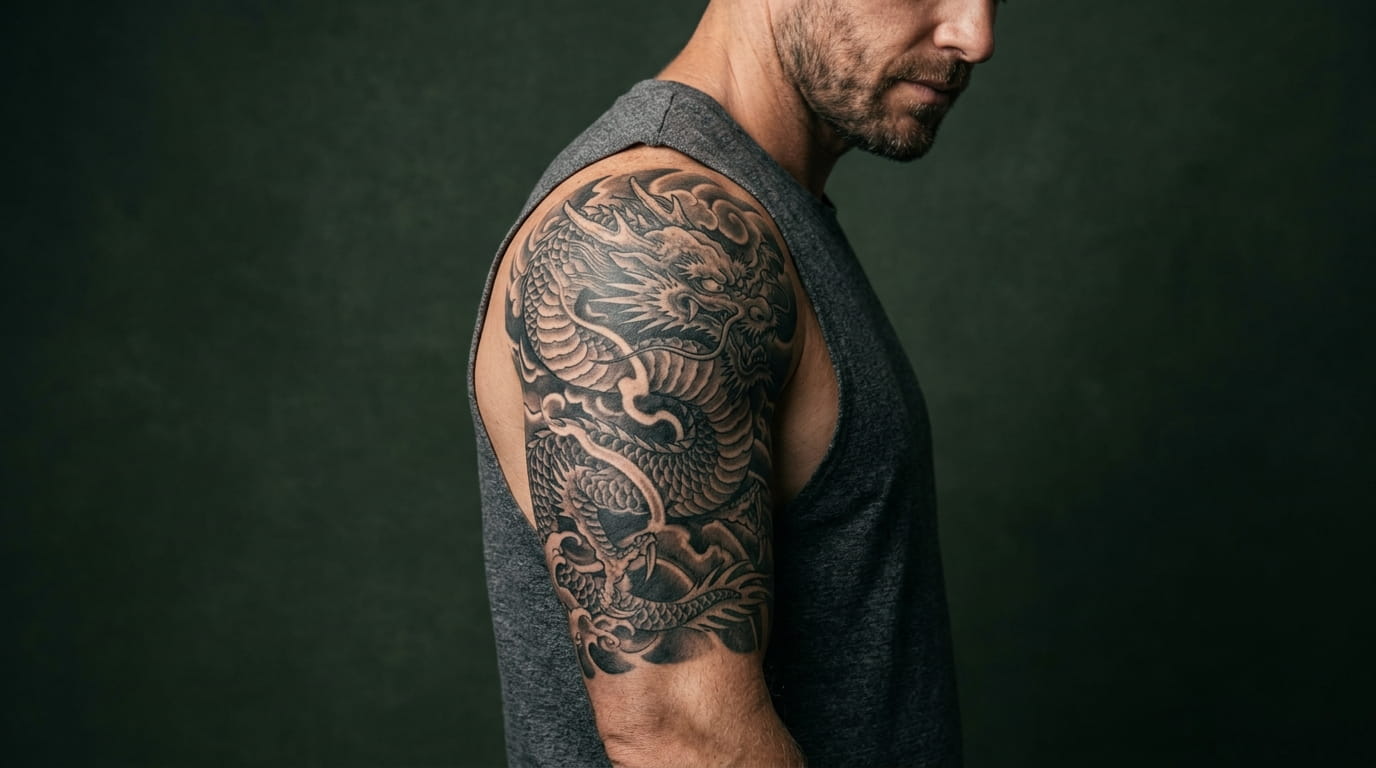
Most guys start the half sleeve search the same way. They screenshot twenty tattoos in one night, then realize none of them look like they belong on the same arm. One is a wolf, one is a compass, one is a dotwork pattern of triangles, and the folder just sits there.
That is the real problem with half sleeve tattoos for men. A half sleeve covers the upper arm, from the shoulder down to the elbow, and a canvas that size needs one clear direction. Pick a subject, a style, and a way for the design to wrap the arm, and every other choice gets easier.
The 16 designs below are grouped by feel, not by trend. Some are dark and heavy, some are clean and graphic, and a few tell a story one small piece at a time. Each one comes with a quick visual so you can compare, save, and bring the right reference to your artist.
1. Black and Grey Lion Portrait That Fades Down the Arm
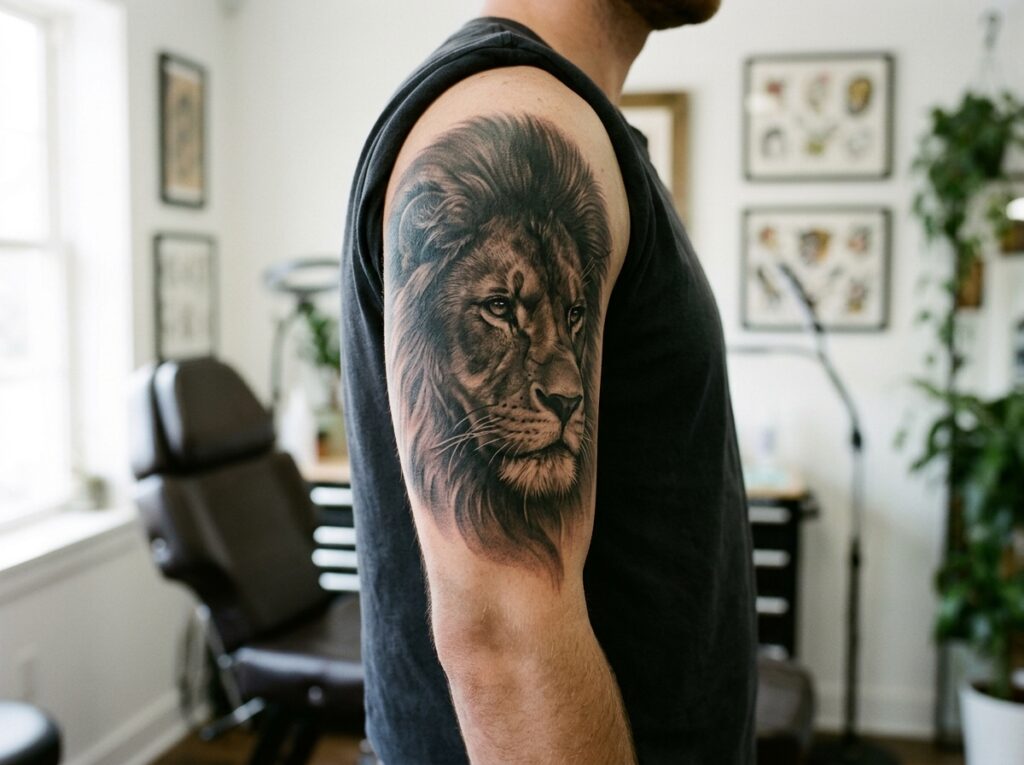
The mane does most of the work here.
On the outer bicep, dark fur at the shoulder thins into soft grey shading as it moves toward the elbow. That fade is what makes a lion portrait look like part of the arm instead of a sticker pasted on top of it.
- Ask for a face turned slightly, not straight on, so the shape of the arm stays visible.
- Keep the eyes the sharpest part of the piece.
- Leave open space in the shading so your skin tone becomes part of the design.
Realism artists often book far ahead, so look at healed photos before you commit.
2. Koi and Crashing Waves in the Japanese Style
Start with the water, not the fish.
Japanese style half sleeves are built around flow. The waves sit low near the elbow, the koi swims upward along the arm, and bold black outlines keep everything readable as the color softens over time. A koi swimming upstream is the classic story of persistence, which gives the piece meaning without any extra symbols.
- Pick the direction the koi swims before the stencil goes on.
- Let waves fill the gaps around the fish so no bare skin breaks the flow.
- Limit the color to two or three inks and repeat them.
Not every artist does this style well, so ask who does Japanese work every week.
💡 Quick Tip
Take one photo of your arm relaxed and one flexed, and show both to your artist. A koi that follows the bicep line reads much better than one that cuts across it.
3. A Geometric Wolf Built From Sacred Geometry Lines
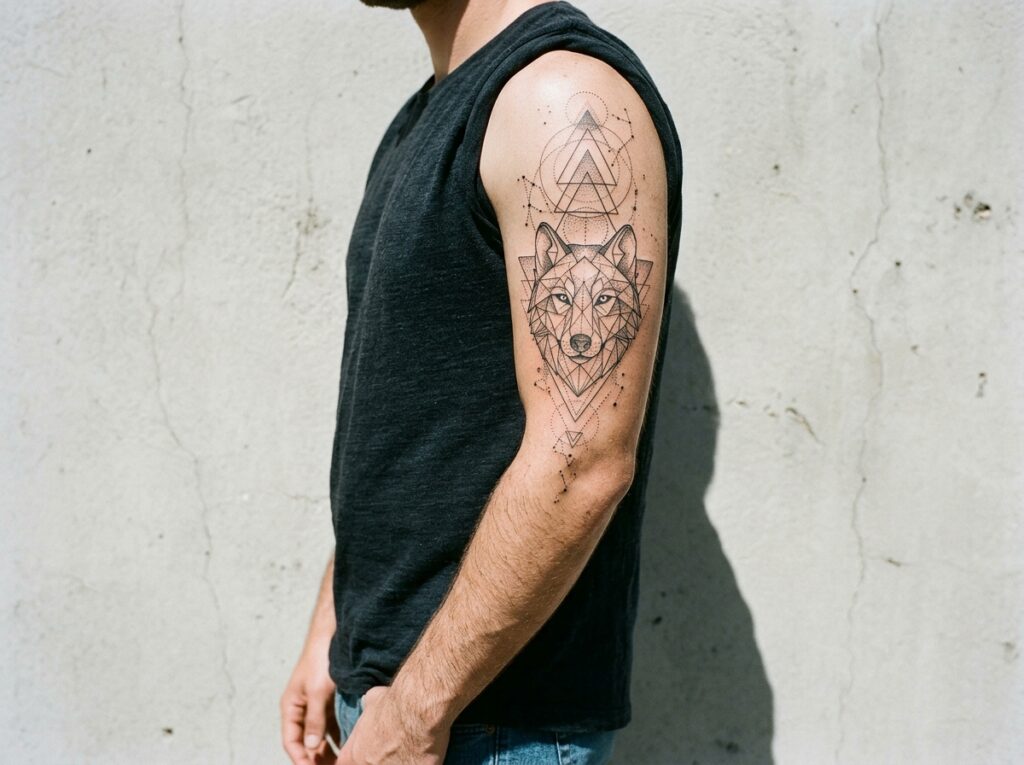
Geometric does not have to mean cold or robotic.
A wolf drawn in clean triangles and fine circles can still feel alive, as long as the eyes stay detailed and the lines follow the muscle underneath. The shapes work like a map laid over the animal.
- Keep line weight consistent so the grid looks planned.
- Let a few lines run past the wolf and out toward the shoulder and elbow.
- Use black only, or black with one soft grey wash.
A wolf face sits alone on the bicep with plain skin all around it, so the tattoo looks like a patch.
The same wolf is cut by triangles and circles that reach the shoulder and elbow, so the whole arm reads as one piece.
4. Ornamental Mandala Blackwork That Wraps the Bicep
Symmetry looks easy on paper and gets tricky on a round arm.
A mandala drawn flat can warp where the bicep curves. A good artist places the center point on the outside of the arm and lets the pattern open outward, so the shape stays round when your arm hangs relaxed.
- Heavy black fills between the petals keep the design bold.
- Fine dotted rings add a lace-like edge without crowding it.
Ask to see the stencil on your arm before any ink goes in.
Check the stencil for
5. Compass, Anchor and Rope for a Nautical Half Sleeve
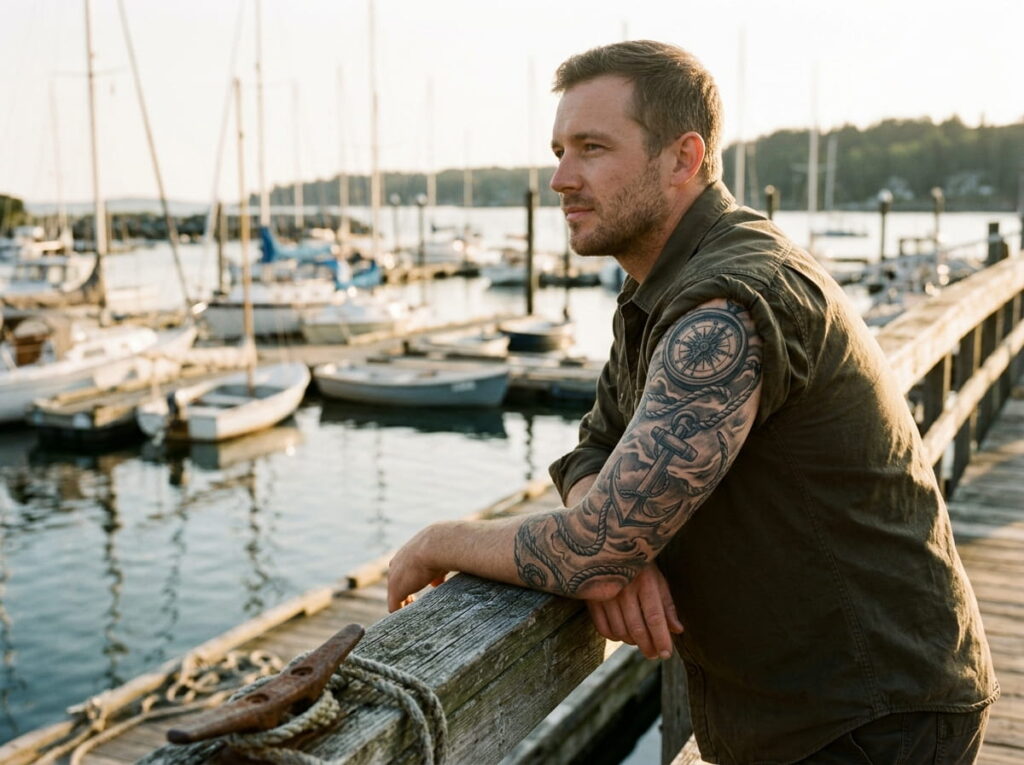
Nautical designs give you the easiest story to tell, and the layout practically draws itself.
A compass sits high on the shoulder, an anchor hangs near the middle of the bicep, and a rope winds around the arm to tie the two together. Add small waves or a ship’s wheel if there is still room.
Keep the rope line steady, because it is what makes these read as one design instead of three separate tattoos. Navy blue and faded red are the usual color choices, though plain black and grey works just as well.
6. A Mountain Range and Pine Forest That Wraps the Arm
Your arm already has a skyline.
The shoulder cap is the highest point and the elbow is the valley floor, so a mountain scene fits the shape without forcing it. Jagged peaks sit across the top, pine trees crowd in lower down, and a moon or a patch of sky fills the gap between them. Because the scene wraps, it reads from the front, the side and the back.
Ask for trees in mixed sizes, big ones in front and tiny ones behind, so the forest looks deep instead of flat.
Set the tallest peak at the top of the shoulder so it follows the natural curve.
Step the ridgeline down toward the elbow in smaller peaks.
Fill the base with pine trees and let a few cross the edge toward the back of the arm.
7. Biomechanical Gears and Pistons Under the Skin
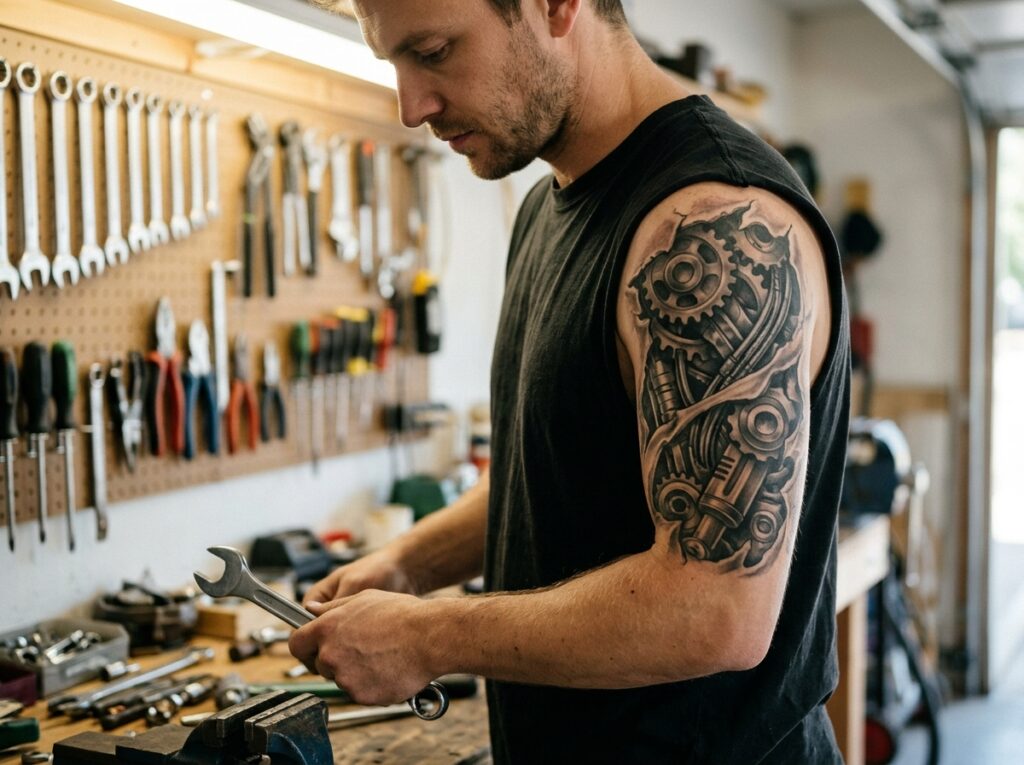
Biomechanical does not mean a robot arm drawn on top of a real one.
The designs that hold up look like the muscle has been peeled back to show cables, gears and pistons working underneath. The shapes follow your bicep and forearm, so the machinery feels attached instead of stuck on.
- Put gears where the joint bends.
- Run cables along the lines of the muscle.
- Add one torn edge of skin so the design has a clear starting point.
Black and grey with a touch of rust red is an easy color mix for a first piece.
Follow the muscle lines with every cable.
Shade each gear so it has depth.
Leave small gaps of open skin.
Flat gears with no shading.
Parts that float with no connection.
Tiny parts crammed in everywhere.
8. Norse Runes and Knotwork Bands in Dark Ink
Runes and knotwork get lumped together, but they work very differently on an arm.
Rune bands are text. They run in a line, so they suit a narrow ring above the elbow. Knotwork is a pattern that loops and repeats, which makes it good for filling a wide space around the bicep.
Plenty of guys use both, with knotwork as the main band and a thin line of runes as the border.
One caution. Check what every rune means and what any symbol has been tied to in recent times before it goes on your arm.
| Rune bands | Knotwork bands |
|---|---|
| Best for a narrow ring or border | Best for a wide wrap around the bicep |
| Reads like written text | Reads like a woven pattern |
| Watch for wrong meanings | Watch for lines packed too close |
9. Skull and Roses in Neo-Traditional Color
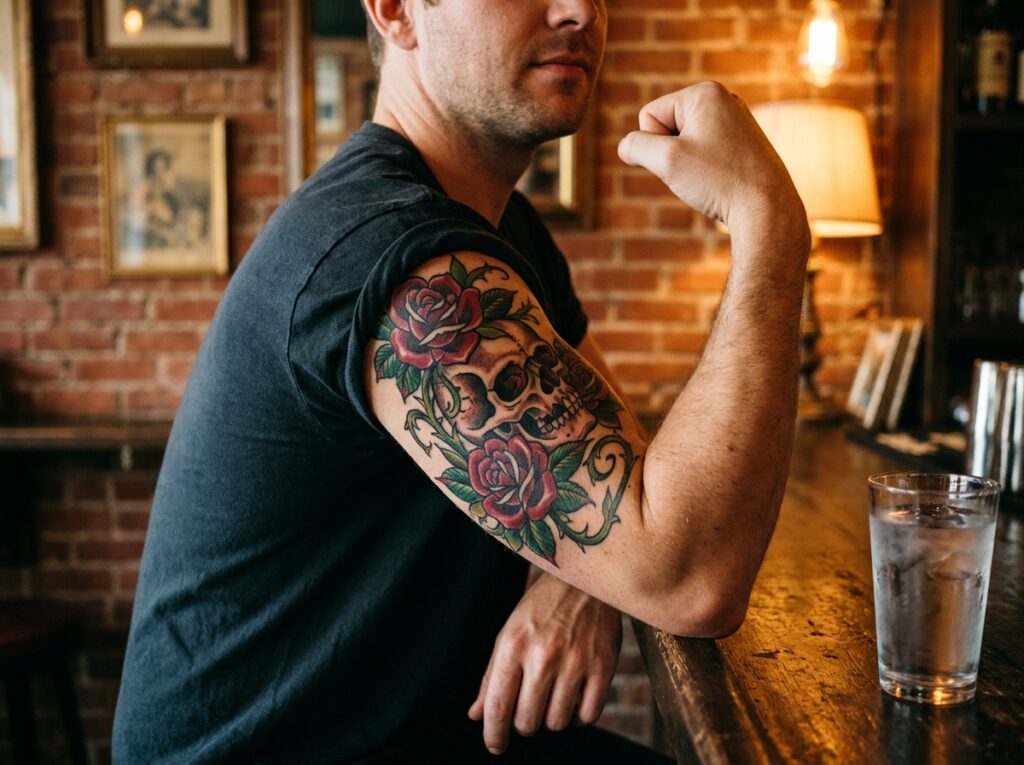
Bold outlines and rich color are why a neo-traditional skull still reads clearly from across the room.
The skull sits in the middle of the bicep, roses spill down toward the elbow, and thorny vines curl around to the back of the arm. Small extras like a dagger, a moth or a ribbon banner can fill the gaps if there is room.
- Keep the outline thick and even.
- Let one flower overlap the jaw so the pieces connect.
- Pick a muted background fill instead of leaving the skin plain.
Choose one main color family, such as reds and deep greens, and let everything else on the sleeve support it.
10. Dotwork Owl or Forest Scene Built From Stippling
One rule for dotwork: space the dots, then space them again.
Stippling builds shading out of thousands of small dots, so an owl’s feathers or a stand of pine trees can look soft without any solid black. It takes longer than lined work, and the whole effect depends on how evenly the dots sit.
- Pack the dots tight at the shoulder and spread them out toward the elbow.
- Keep a clean outline under the dots so the shape stays clear.
⚠️ Watch Out
Dots packed too tightly can blur together as the tattoo heals and ages. Ask your artist for photos of healed dotwork, not just fresh ones.
11. Polynesian-Inspired Patterns, and Why the Artist Matters
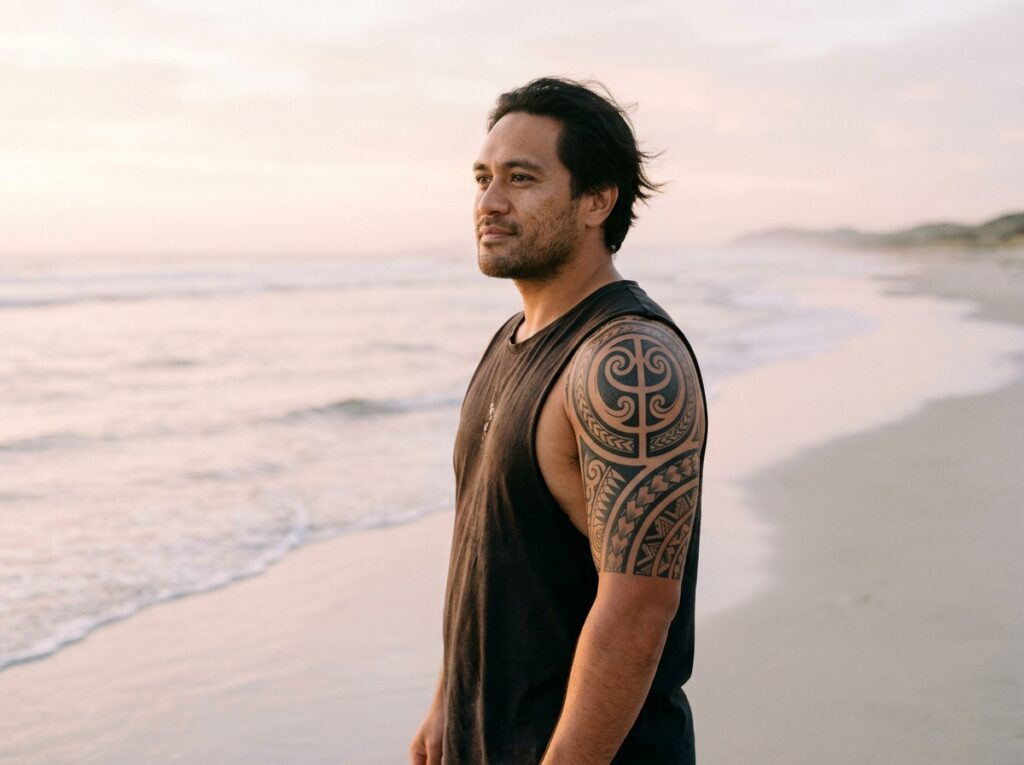
These designs are not just decoration.
Polynesian and Pacific patterns carry real meaning, and in some traditions that meaning is tied to a person’s family and place. Māori tā moko, for example, is linked to ancestry and is not something to copy from a photo. Bold bands, spirals and repeating shapes look striking on a half sleeve, but the story behind them matters as much as the look.
- Ask the artist what each shape means before you agree to it.
- Look for artists with real roots in the tradition.
- Choose a custom design over a copy of someone else’s pattern.
12. A Greek Marble Statue Bust With Cracks and Shadow
Marble is just grey with good lighting.
A statue bust on the upper arm uses soft grey shading to show a cool, stone surface, and a few cracks across the face make it feel old. Laurel leaves, a drifting rose or a broken chunk of stone around the edges help the piece sit naturally on the arm.
Use little to no black outline. Shadow and highlight do the work that lines do in other styles.
- Add a single crack that runs across the cheek and neck.
- Leave bare skin as the brightest highlights.
- Soft grey wash fades the edges into the shoulder.
- ▸Pick a bust turned slightly away from the viewer.
- ▸Ask for smooth shading in place of hard outlines.
- ▸Add one or two accents, such as laurel or a rose, and stop there.
13. A Dragon Coiling From Shoulder to Elbow
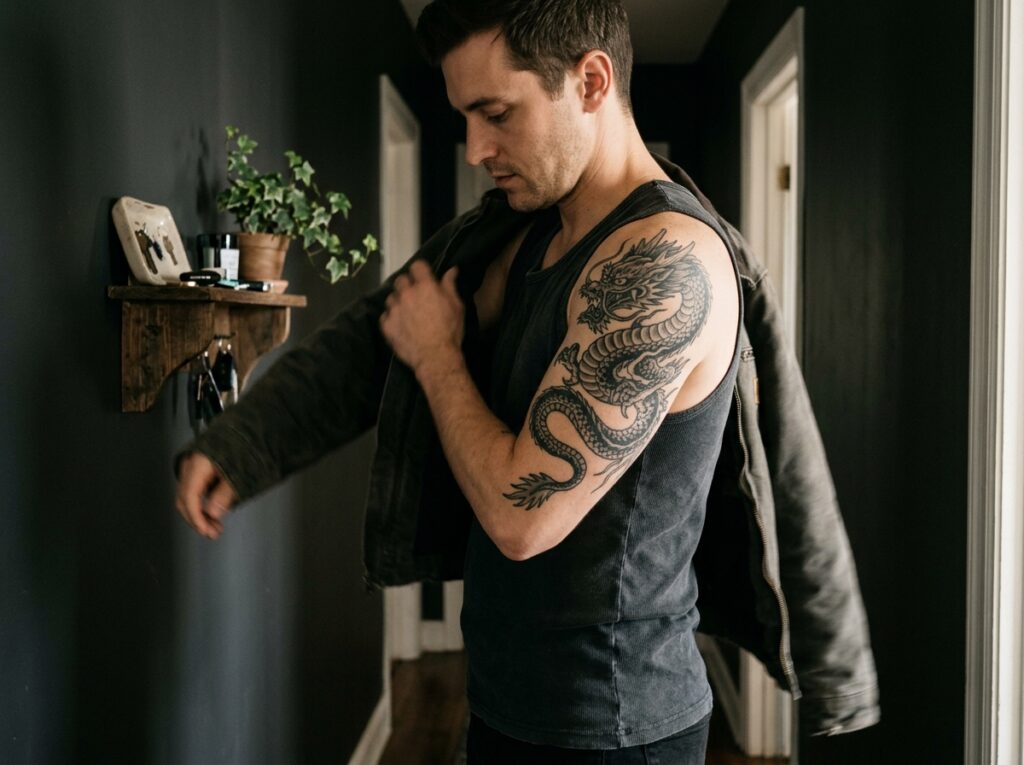
A dragon is basically a long line looking for an arm.
The head sits at the top of the shoulder, the body winds around the bicep in loose coils, and the tail ends near the elbow. That path keeps your eye moving and fills the half sleeve without a lot of background clutter.
Scales are the detail that takes time. Ask whether the artist will draw every scale or suggest them with shading, because that choice changes the number of sessions.
14. Astronaut and Planets in a Cosmic Half Sleeve
Space is a good fit when you want a scene with a sense of scale.
An astronaut floats near the shoulder, planets of different sizes drift down the arm, and a fade of tiny stars fills the gaps toward the elbow. A glowing reflection in the helmet visor is the detail people notice first, so it is worth asking for.
Black and grey looks sleek. Adding deep blue and purple makes it feel more like a night sky.
Details worth asking for
15. Engraving-Style Eagle With Fine Etched Lines
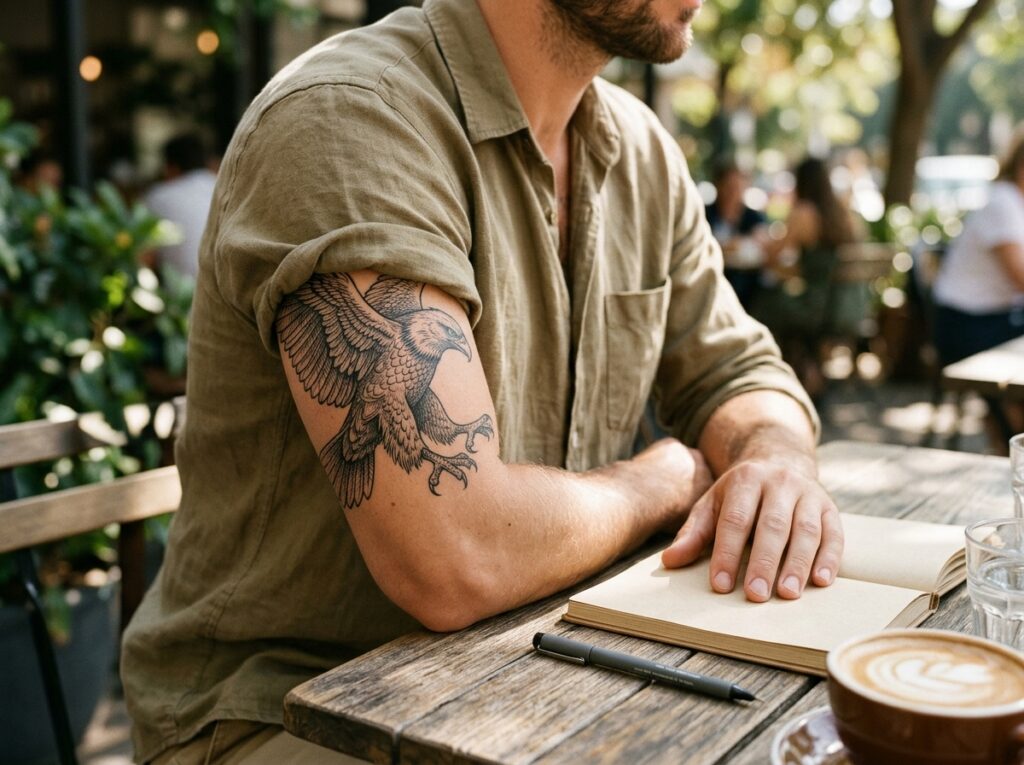
Look at an old book illustration and you will see the idea.
Instead of smooth shading, an engraving-style eagle is built from thin parallel lines and crosshatching, the way a printmaker would cut a plate. Feathers get short curved strokes, the beak gets tight hatching, and the background stays mostly blank.
The look is crisp and graphic, and it ages well because the lines stay readable as the ink settles. Not every artist does line-only shading, so search for that exact style.
An eagle shaded with soft grey wash, which can blur together over the years.
The same eagle drawn in etched lines and crosshatching, with sharp feather detail that stays crisp.
16. A Patchwork Half Sleeve Built From Small Meaningful Pieces
Not every half sleeve starts with one big idea.
A patchwork sleeve collects small tattoos, like a date, a favorite animal, a symbol or a tiny landmark, and adds more over the years. The risk is a messy arm, so a plan helps. Pick one shared style, such as fine line or black and grey, and decide where the empty gaps will go.
Some guys fill those gaps later with background shading or smoke, which turns the patchwork into a finished sleeve.
| Plan the layout first | Add pieces as you go |
|---|---|
| Looks like one design from day one | Grows slowly and stays flexible |
| Needs a clear style from the start | Needs gaps left open for later |
| Easier to match with filler art | Easier to match to your budget |
Conclusion
A good half sleeve starts with one clear choice, not twenty screenshots. Pick the subject that means something to you, match it to a style you will still like in ten years, and let the shape of your arm decide how it wraps. That is what separates half sleeve tattoos for men that look planned from ones that look pieced together. Take your favorites from this list to an artist whose portfolio matches the style, and ask how the design will move from shoulder to elbow. Then give yourself time to wait for the right booking.
Before you book your consult







Leave a Reply