
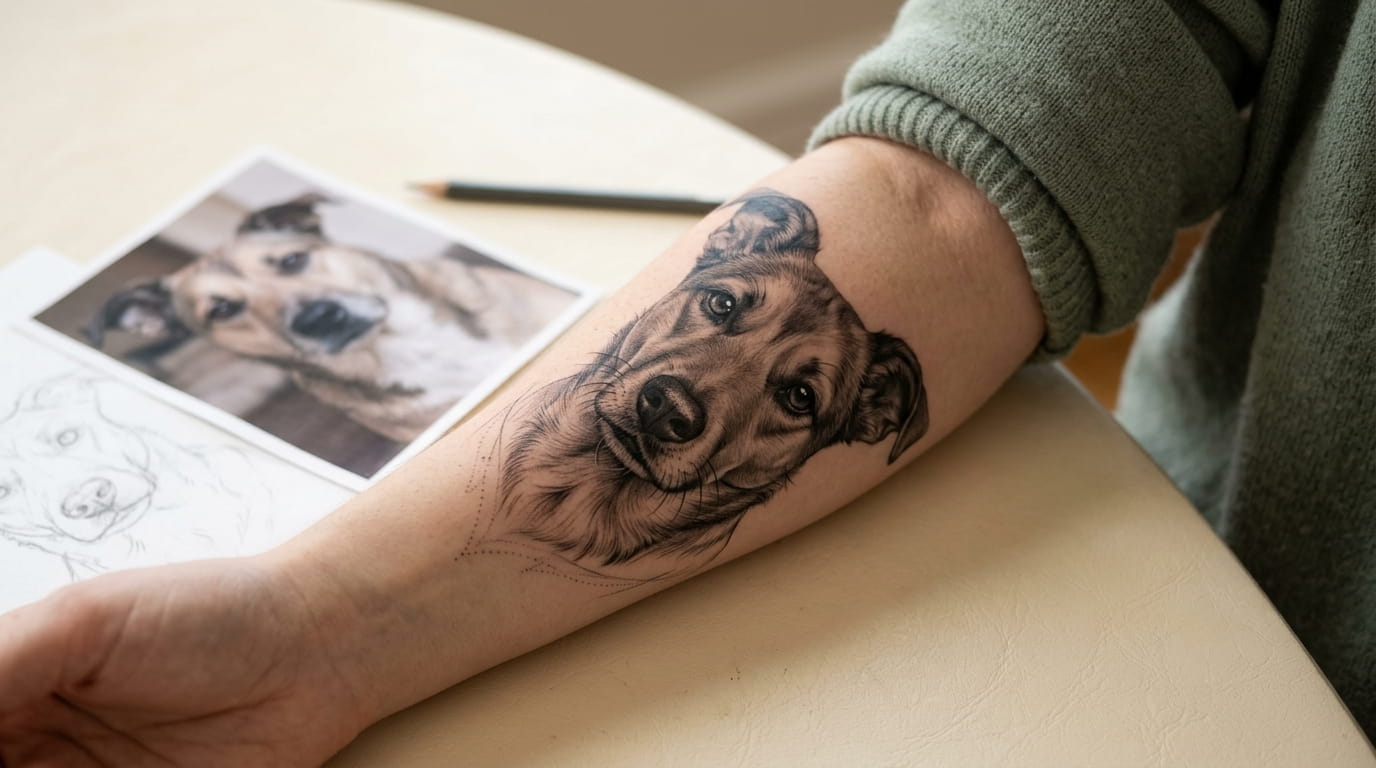
Your camera roll has two thousand photos of your dog, and not one of them looks like a tattoo reference. The sleepy ones are blurry. The sharp ones have a weird face. The best expression happened once, at night, with the flash on.
That’s the real problem. A tattoo artist can only work with what’s in the picture, so the photo you choose decides how much of your pet’s personality makes it onto your skin.
This guide shows you how to turn a pet photo into a tattoo, one step at a time. You’ll learn how to pick a photo, handle the eyes first, read the fur, keep the markings that make your pet yours, and check the sketch before any ink goes in.
Think of it as a three-panel strip: the photo, the sketch, and the finished tattoo. Each step below helps one panel match the next.
1. Scroll Your Camera Roll for the Photo That Shows Their Real Personality
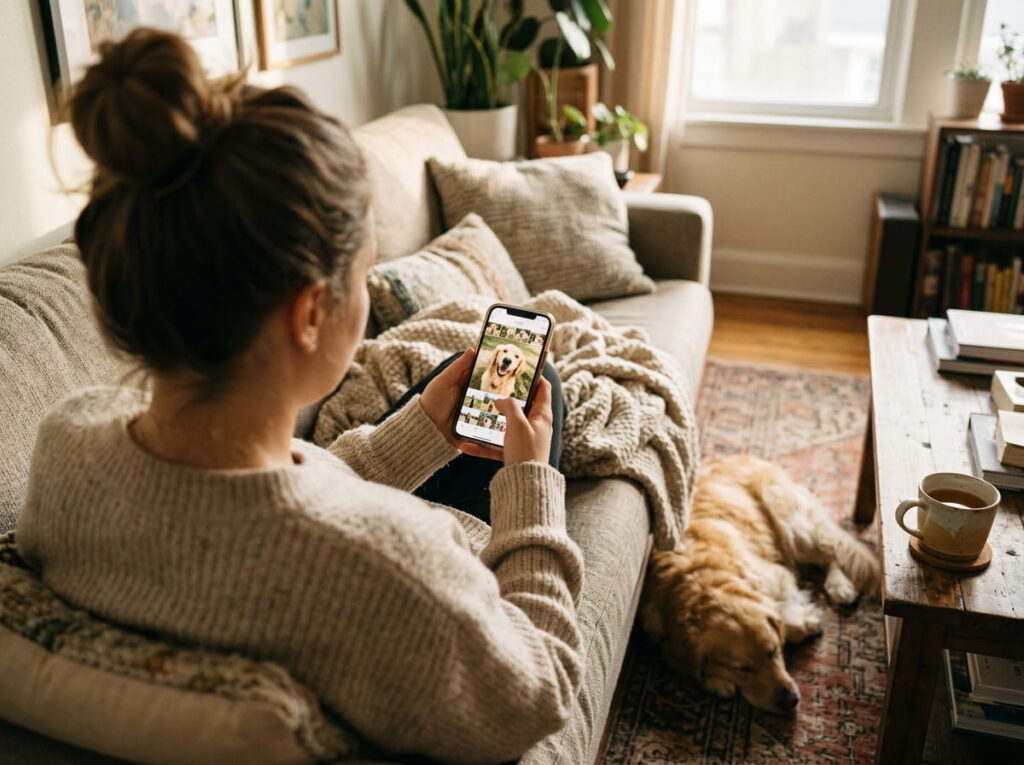
Skip the posed portrait for a minute and look for the photo that made you laugh.
The head tilt when they heard the treat bag. The squint in a sunny window. The way one ear never stays up. Those small habits are what people recognize in a tattoo, long before they notice the perfect proportions.
- Scroll back at least a year, since the best shot is rarely the newest.
- Check messages and old albums, not just your main gallery.
- Pick three favorites, then narrow to one.
Personality first. Technical quality can be fixed later.
A tattoo can sharpen a photo, but it can’t invent a personality. Start with the picture that already feels like them.
2. Choose a Photo With Soft Daylight and a Clear Face
Now that you have a favorite, check whether it’s usable.
Harsh flash flattens fur and turns eyes into glowing circles. Deep shadows hide detail your artist needs. Soft daylight, like the light by a window on a cloudy day, shows fur texture and eye shape without any guessing.
If your favorite photo fails this test, don’t throw it out. Bring it along as a personality guide and add a second, clearer photo for detail.
A good source photo has
3. Pick One Angle: Head On, Three Quarter or Profile
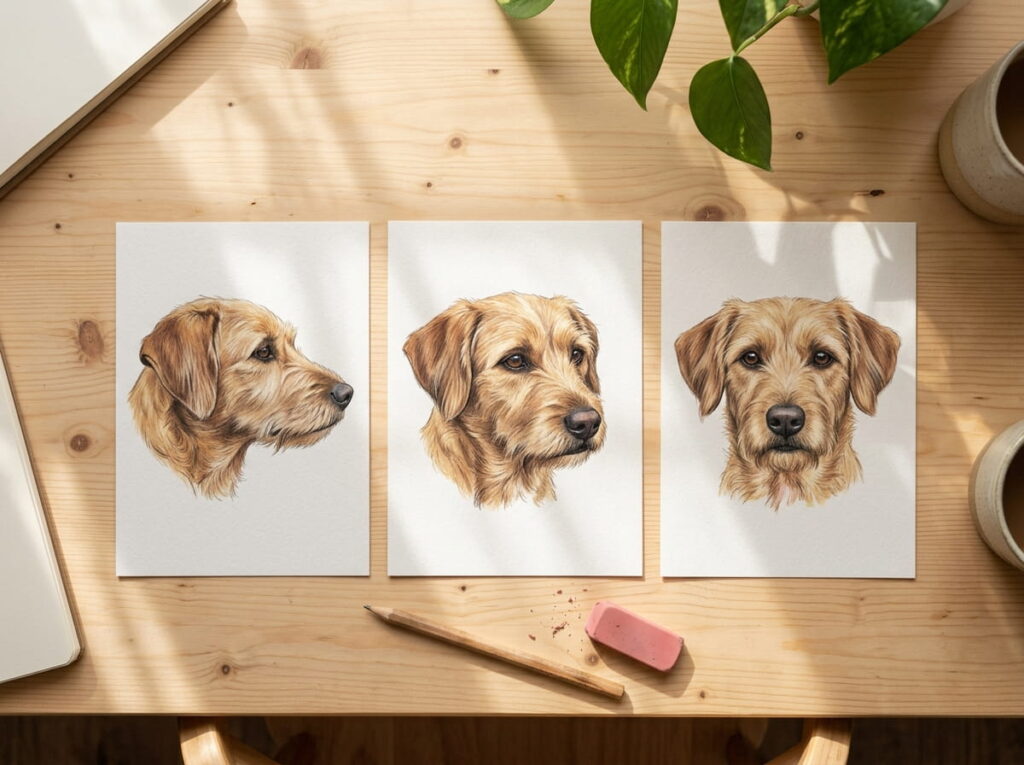
Three angles, three different tattoos.
Head on gives you the full face and the most direct eye contact. It’s the classic memorial portrait. Three quarter, where the head turns slightly, adds depth and usually looks more natural. Profile shows the shape of the nose and ears, and it works well for small designs.
Choose the angle that matches your pet’s best feature. A pet with a dramatic nose spot might shine in profile.
4. Send Your Artist the Original File, Not a Screenshot
Screenshots lose detail, and detail is the whole point.
Messaging apps compress photos, and a screenshot of a screenshot is worse. Fine hairs, whisker lines, and the tiny highlight in each eye are the first things to go. Send the original file by email or a shared album link, so your artist can zoom in without it turning to mush.
💡 Quick Tip
Send two or three photos of the same pet, not just one. Extra angles help your artist fill in details that are hidden or blurry in your favorite shot.
5. Trace the Eyes First Because They Carry the Whole Expression
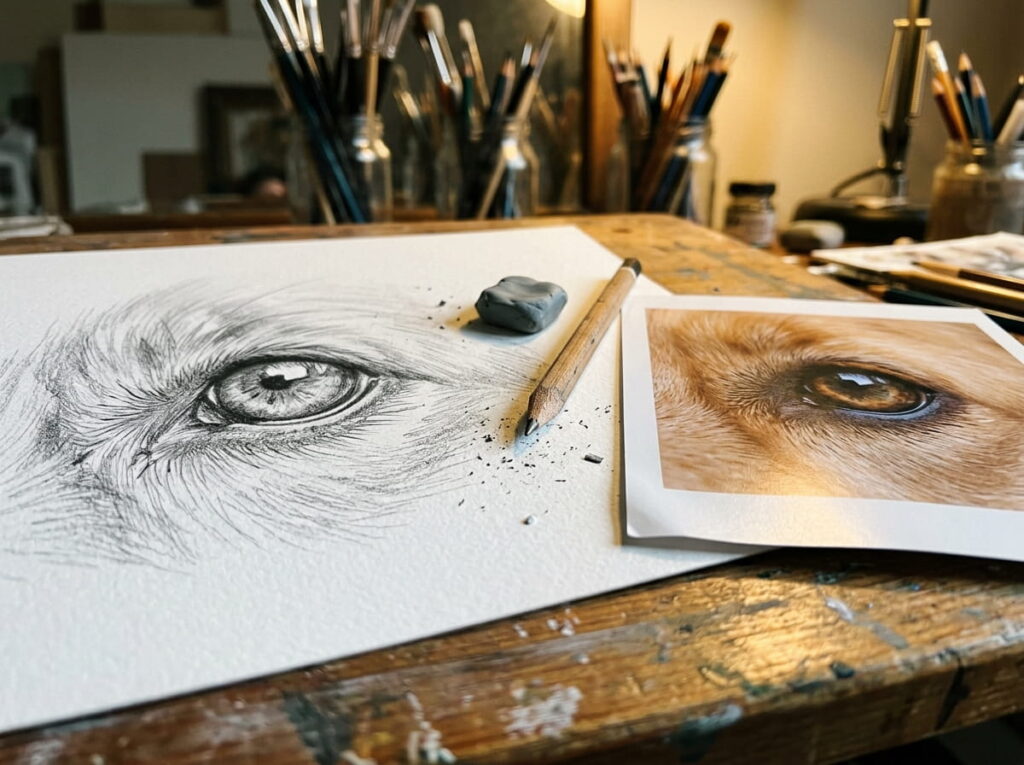
Ask any portrait artist where they start, and many will say the eyes.
Get them wrong and the whole face feels like a stranger. Get them right and people say, “That’s your dog,” before they’ve looked at anything else. Pay attention to the shape, the direction of the gaze, and the small bright reflection that makes an eye look wet and alive.
- Keep the reflection spot. It’s what makes the eye look alive.
- Match the eye color in your plan, even if the tattoo is black and grey.
Eyes are also the hardest part to fix later.
Keep the bright reflection in each eye.
Copy the exact eye shape and gaze direction.
Flat, solid black eyes with no highlight.
Making the eyes bigger or rounder than real life.
6. Study the Fur Direction Before You Pick a Style
Fur doesn’t grow in random directions, and a tattoo that ignores that looks stiff.
On most pets it fans out from the nose, sweeps back over the cheeks, and flows away from the center of the forehead. Around the ears and chest it often changes direction. Your artist follows these paths with every stroke, so noticing them yourself makes your feedback much sharper.
Print your photo and trace a few arrows with a pencil. It takes two minutes and shows you where the fur parts, swirls, or bunches.
Start at the nose and draw small arrows pointing the way the fur flows outward.
Mark any spot where the direction changes, like around the eyes, ears, and chest.
Circle any swirl, cowlick, or tuft that makes your pet look like themselves, and show it to your artist.
7. Match the Fur Texture: Short, Fluffy, Wiry or Curly
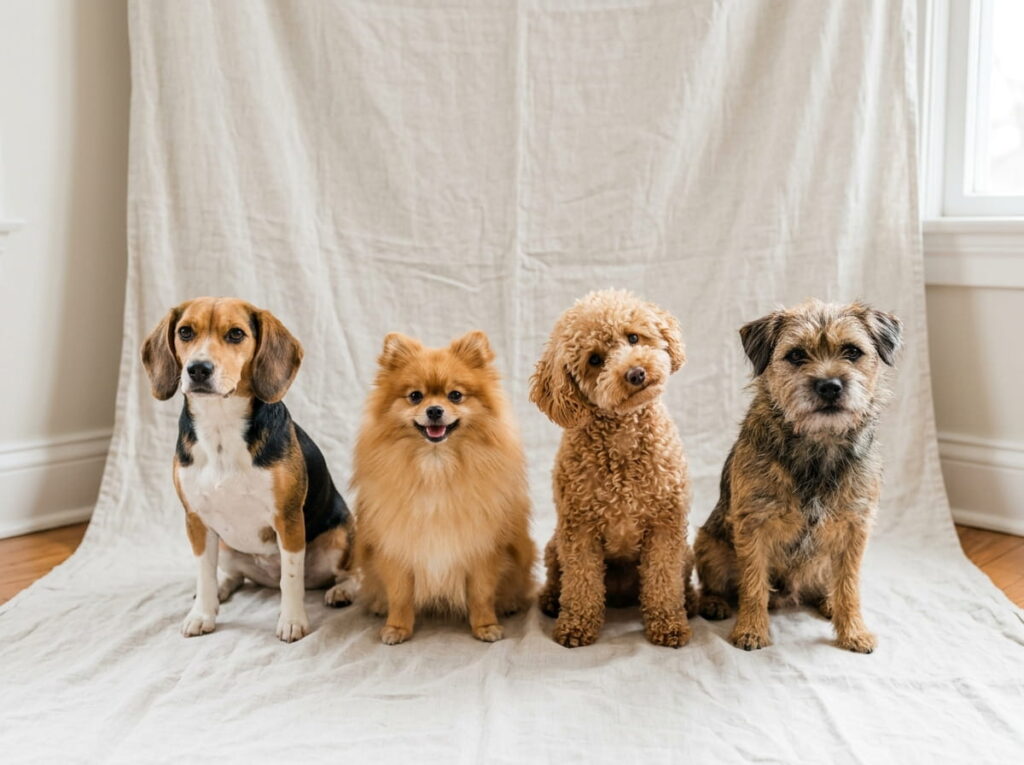
A smooth beagle and a fluffy Pomeranian can’t share the same fur strokes.
Short coats show off skin and shape, so clean, tight lines work well. Fluffy coats need soft, layered strokes with lots of overlap. Wiry coats call for rough, uneven marks, and curly coats read best as clusters of small swirls.
Tell your artist the texture in plain words. “Soft like a cotton ball” gets a better result than “make it fur.”
8. Capture the Expression With the Mouth, Brows and Ear Position
Expression lives in tiny muscle shifts, and your artist needs you to name the one you want.
Happy faces have a relaxed open mouth and soft, rounded eyes. Calm faces show a closed mouth and ears at rest. Alert faces lift the brows and point the ears forward.
Change one of these and the same pet looks like a different animal. A slightly drooped ear can turn a proud portrait into a sleepy one.
Pick the mood that matches how you remember them.
| Feature | Happy | Calm | Alert |
|---|---|---|---|
| Mouth | Open and relaxed | Closed and soft | Closed and firm |
| Brows | Soft and curved | Smooth and low | Lifted and sharp |
| Ears | Loose, slightly back | At rest | Pointed forward |
9. Decide Between Realism, Fine Line and Illustrated
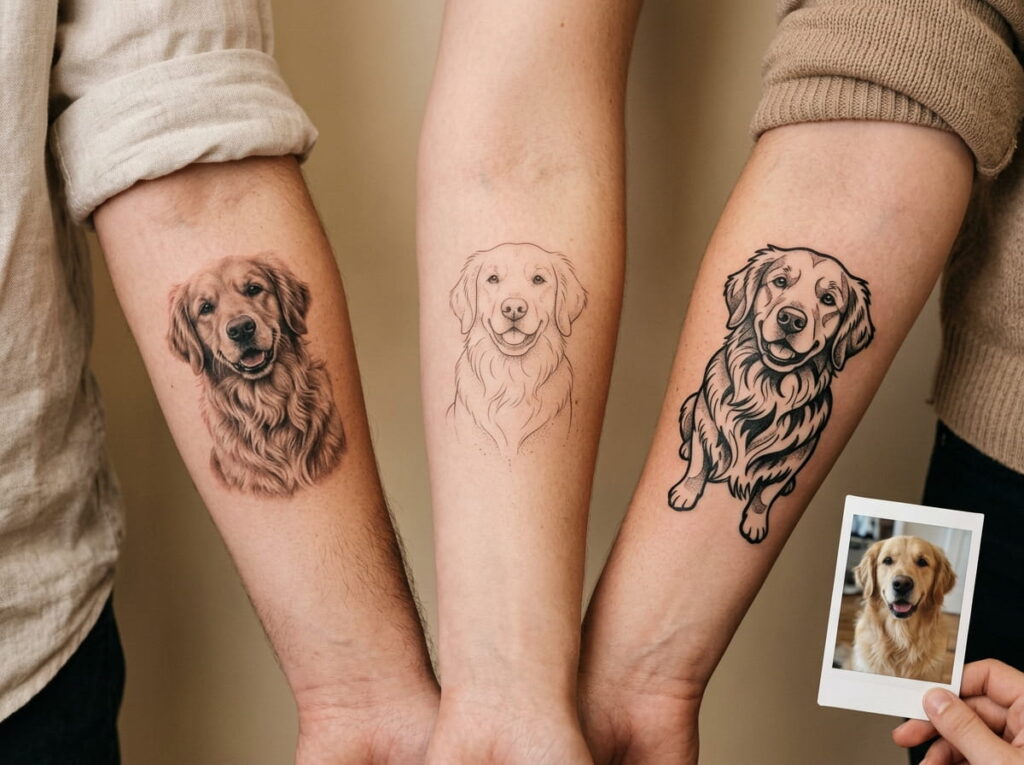
Same photo, three very different tattoos.
Realism copies the photo as closely as skin allows, with soft shading and lifelike texture. Fine line turns the face into delicate sketch work with open space. Illustrated keeps the likeness but simplifies it, with bolder shapes and clear outlines.
Realism asks for a larger size and an artist with strong portrait work. Fine line suits smaller spots. Illustrated is the most forgiving when your photo isn’t perfect.
Ask to see healed examples of the style you pick.
Every whisker, soft shadow, and fur wisp is in the picture. Rich detail, but it needs choices before it can become a design.
Realism keeps the most detail. Fine line keeps the gentlest. Illustrated keeps the clearest. Pick by size, spot, and mood.
10. Keep the Markings That Make Your Pet Yours
Don’t let anyone tidy up the quirks.
A crooked white blaze, a freckled nose, a torn ear, or a patch that sits slightly off center is the part nobody else’s pet has. Artists sometimes balance a design out of habit, and those quirks quietly disappear.
Circle your pet’s most unique markings on the printed photo before the first sketch.
⚠️ Watch Out
Symmetry looks neat but can erase what made your pet recognizable. If a mark is uneven in the photo, ask for it to stay uneven in the sketch.
11. Plan Color or Black and Grey Based on Their Coat
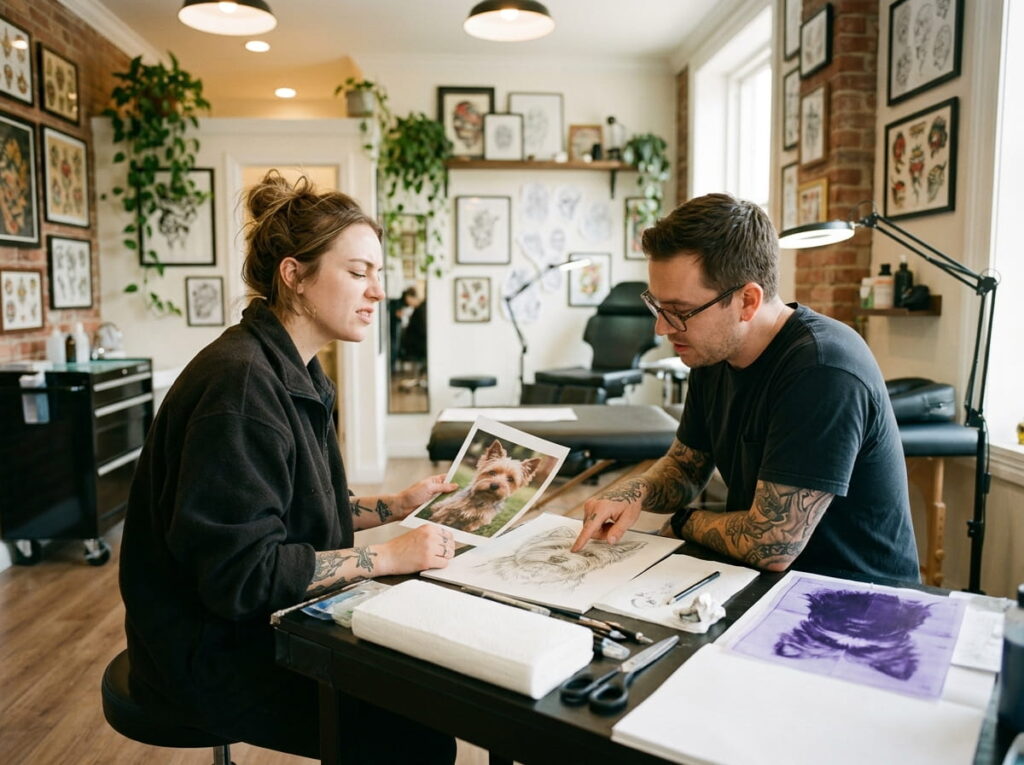
Your pet’s coat already hints at the best ink choice.
Dark coats look striking in black and grey, where deep shading builds rich contrast. Light and white coats need careful shadow work, or the face can disappear into bare skin. Orange, red, and tan coats are where color earns its place. Mixed coats, like a tabby or a calico, can go either way, so let the markings guide you.
Eye color is a smart place for a small hit of color, even in an otherwise black and grey piece.
12. Review the Sketch With Your Photo Side by Side Before Inking
The sketch is your last cheap chance to change anything.
Put the drawing next to your photo, on a screen or on paper, and compare one feature at a time. Start with the eyes, then the nose, then the ears. Squinting or stepping back a few feet helps, because small errors in proportion jump out from a distance.
Ask for changes now. Once the stencil is on your skin, edits get harder, and after the tattoo, they get much harder.
Don’t rush a yes. A good artist will happily wait.
Sketch approval checklist
The Conclusion
Learning how to turn a pet photo into a tattoo comes down to a few steady choices. Start with the picture that shows who they really were. Protect the eyes, follow the fur, and keep every odd little marking.
Then check the sketch against the photo before any ink goes in. That one side by side look catches most of the mistakes that are hard to fix later.
A good pet tattoo doesn’t need to be perfect. It needs to make you smile when you see it, and think, “Yep, that’s them.”
html
Pick the photo, protect the eyes, keep the markings, and approve the sketch side by side.







Leave a Reply