
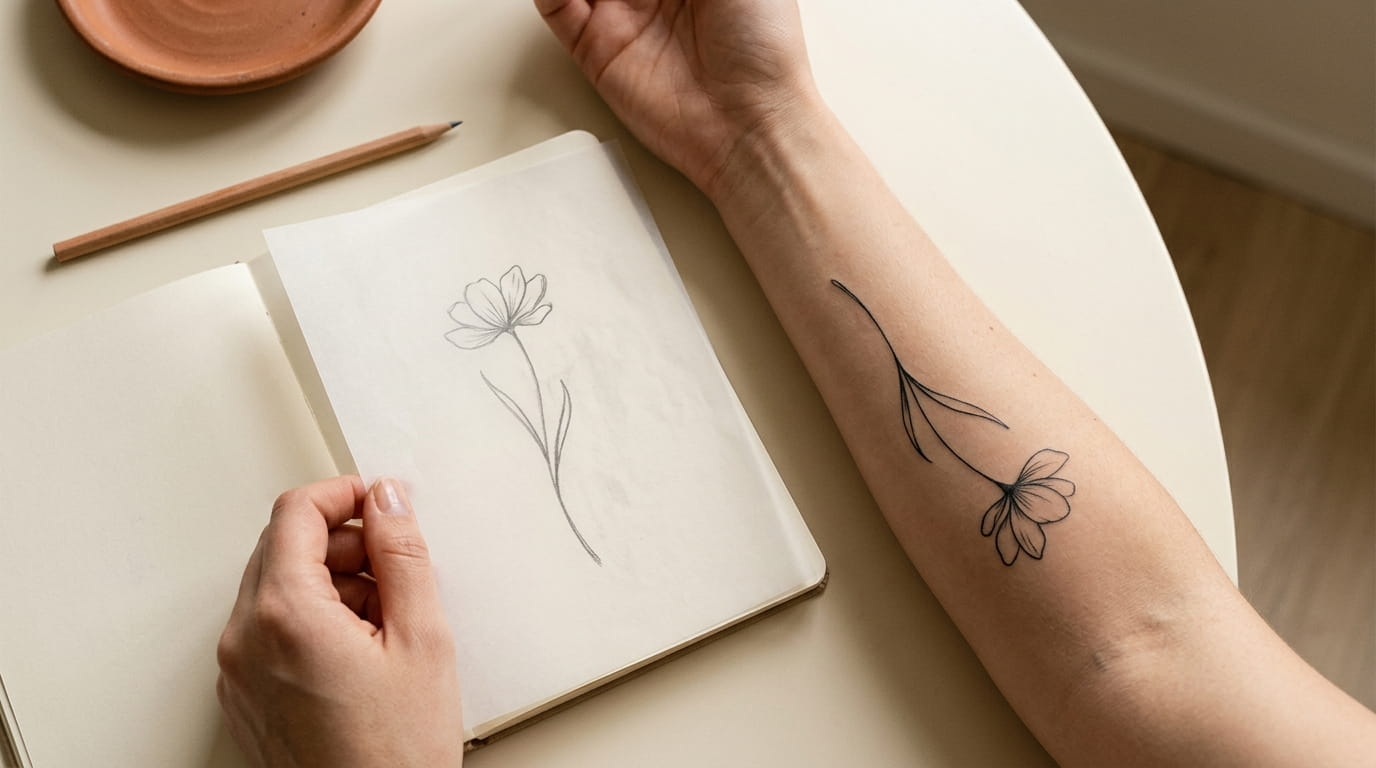
A doodle from an old notebook or a photo you took on your phone can become a meaningful tattoo. The tricky part is turning that original image into clean lines without losing the little detail that made you choose it in the first place.
The easiest mistake is tracing everything. A flower photo may have dozens of overlapping petals, shadows, and tiny veins. A quick sketch might have wobbly lines or extra marks that make sense on paper but look confusing in a tattoo. Copying every detail can leave you with a design that feels crowded, especially if you want something small and delicate.
Learning how to turn a drawing into a tattoo starts with a few simple choices. You need to decide what to keep, what to remove, and how much space the finished design needs. You can do much of this preparation with tracing paper, a pencil, or a basic drawing app before asking a tattoo artist to refine the result.
These 13 steps will help you move from your original doodle or photo to a clearer line art design that is ready for professional feedback.
1. Start With a Doodle or Photo That Has a Clear Main Shape
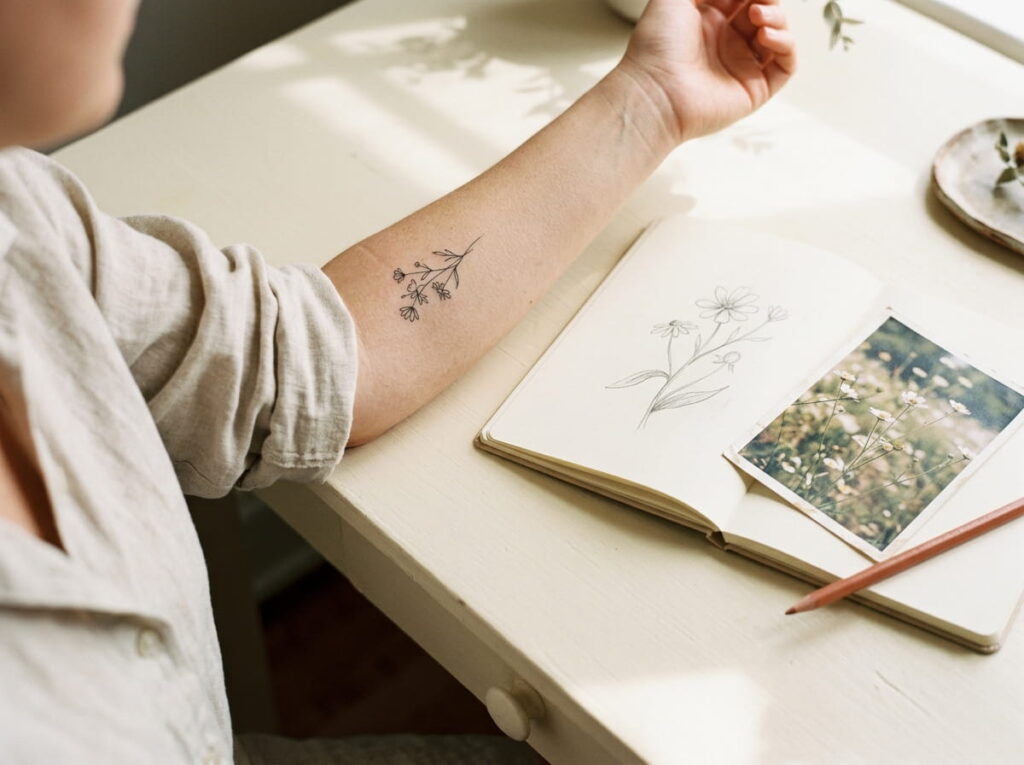
The best source image is not always the prettiest one. It is the one you can recognize at a glance.
A simple flower sketch, a side-profile pet portrait, or a photo of a small seashell can all work well. Start with an image where the main subject stands apart from the background. If you are using a phone photo, crop out extra objects and distractions before tracing.
Look at the image in black and white, too. This helps you focus on its outline instead of being distracted by colors or lighting.
Quick selection checklist
- Choose one main subject, such as a flower, butterfly, or meaningful object.
- Look for a recognizable outer shape.
- Avoid photos where important parts are hidden behind shadows or other objects.
- Keep the original file or sketch so you can compare it with later versions.
Choose Your Tattoo Reference
A clear starting image makes the tracing process easier.
Your Doodle
Keep the original idea, even if the sketch is rough.
Your Photo
Pick a subject with a clear outline and visible features.
The Shape Test
Check whether the subject stays recognizable without color.
2. Decide Which Details Matter Before Tracing Anything
Before you pick up a pencil or open a drawing app, decide what makes the image special to you.
A tiny flower might need only its curved stem, three petals, and one leaf. A photo of your cat might need the shape of the ears, the nose, and a distinctive marking. Those features carry more meaning than every small line in the original image.
Make a rough copy and mark the details you want to keep. Leave the rest for now. You can always bring a detail back later if the design feels too plain.
Use this simple rule: Keep the features that help someone recognize the subject or understand its personal meaning.
💡 The Keep or Remove Test
Look at each detail and ask whether the design still makes sense without it.
✓ Keep
Recognizable shapes, meaningful marks, and defining features.
✂ Remove or simplify
Busy backgrounds, repeated strokes, and details that crowd the outline.
3. Trace the Main Outline Without Copying Every Mark
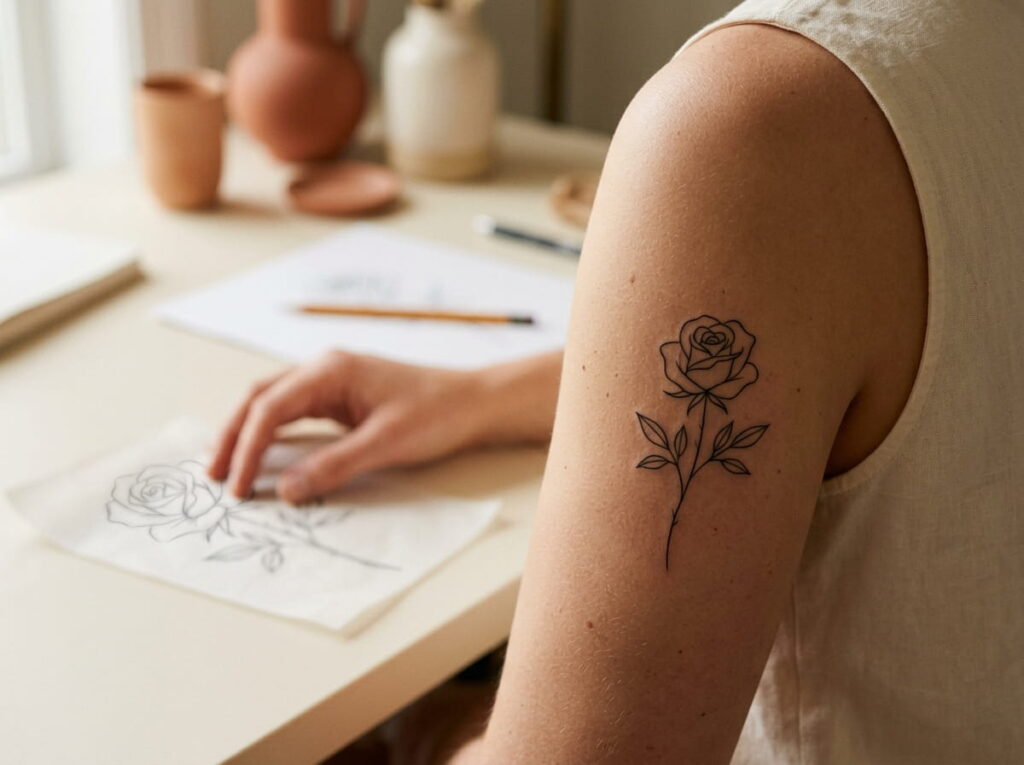
Start with the outside edge of your subject. This gives the design a clear shape before you work on the smaller details.
Place tracing paper over your doodle or use a new layer in a drawing app. Follow the main contours with smooth, deliberate strokes. Where the original pencil line wobbles, draw the curve you intended rather than copying every bump.
For example, a hand-drawn butterfly may have uneven wings. You can tidy the curves while keeping the small differences that make your original sketch feel personal.
Do This
- Follow the main silhouette first.
- Smooth accidental bumps.
- Keep distinctive curves and proportions.
- Use a separate layer or tracing sheet.
Avoid This
- Tracing every scratch and sketch mark.
- Making both sides identical when the subject is naturally uneven.
- Adding interior details too early.
- Changing the shape until it loses its identity.
4. Choose the Easiest Way to Convert Your Image Into an Outline
You do not need expensive design software to get started. The right method depends on the image you have and how comfortable you feel drawing.
For a little flower doodle, tracing paper and a fine pencil may be enough. A detailed pet portrait can be easier to edit on a tablet, where you can erase individual strokes without damaging the original. Automatic outline tools can save time, but they may turn shadows and texture into unwanted lines.
Which Method Should You Use?
| Method | Works Well For | Main Limitation |
|---|---|---|
| Hand tracing | Simple doodles and bold shapes | Can take practice to smooth curves |
| Drawing app | Precise edits and multiple versions | May take time to learn the tools |
| Auto-outline tool | Quick starting drafts from photos | May keep unwanted shadows or texture |
Tip: Treat any automatic result as a draft. Review and clean up the lines before sharing it with your tattoo artist.
5. Remove Extra Lines Until the Design Feels Simple
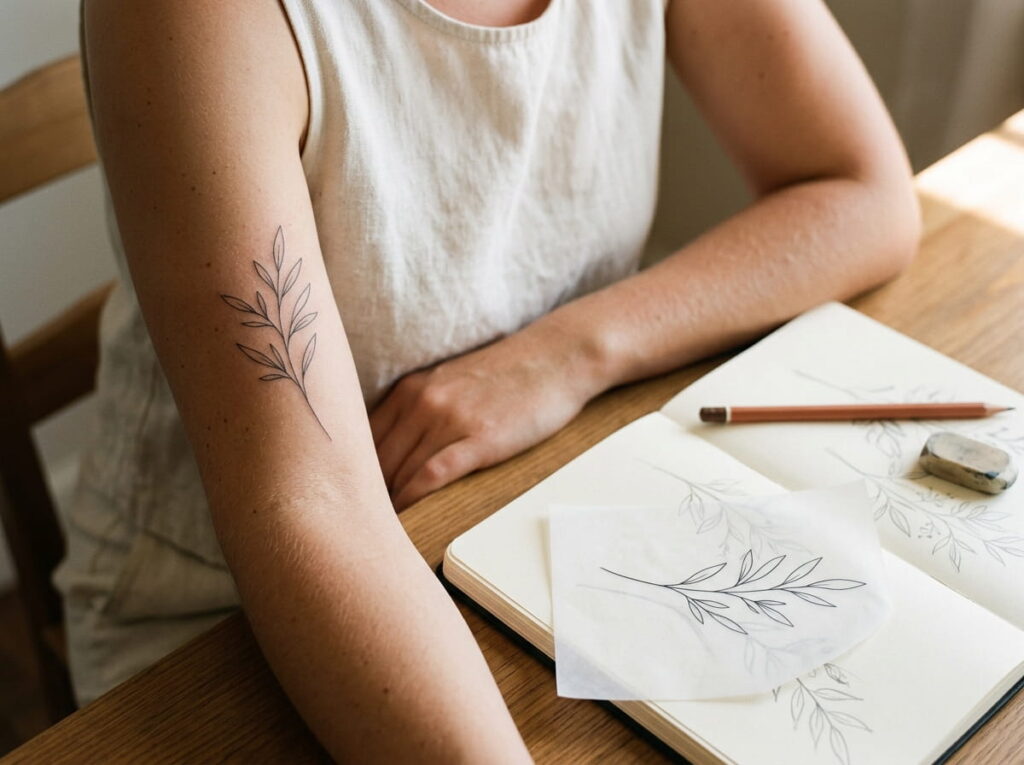
A drawing can look lovely in a notebook and still feel too busy as a tattoo design. The trick is to simplify without stripping away its character.
Make a duplicate of your outline so you can experiment freely. Remove overlapping strokes, unnecessary texture, and tiny marks that do not help explain the subject. For a butterfly, that may mean keeping the wing borders and a few interior patterns instead of every vein. For a flower, it may mean drawing fewer petals with clearer spacing.
Step back from the screen or place the paper across the room. If the subject is still easy to recognize, your edits are working.
From Busy Sketch to Clean Line Art
Use this simple flower example to decide which lines deserve to stay.
Extra strokes and crowded details make the flower harder to read.
A clearer outline keeps the flower recognizable with fewer competing marks.
These five sections focus on making your line art cleaner, easier to read, and more suitable for a fine line tattoo. The same terracotta and ivory palette continues throughout, and every section has one WordPress-ready visual.
6. Adjust Line Weight for a Clean Fine Line Look
Fine line art does not mean every line must have exactly the same thickness. A slightly stronger outer contour can help define a flower or butterfly, while lighter interior lines can suggest delicate details.
Start with one consistent line weight for the main drawing. Then test small changes on a duplicate. Avoid adding lots of thick and thin strokes just to make the design look artistic. The goal is clarity, not decoration.
For a tiny tattoo, keep the design simple enough that its lines remain distinct at the intended size. Your tattoo artist can advise on suitable line weight and how it may heal over time.
7. Leave Enough Open Space Between Small Details
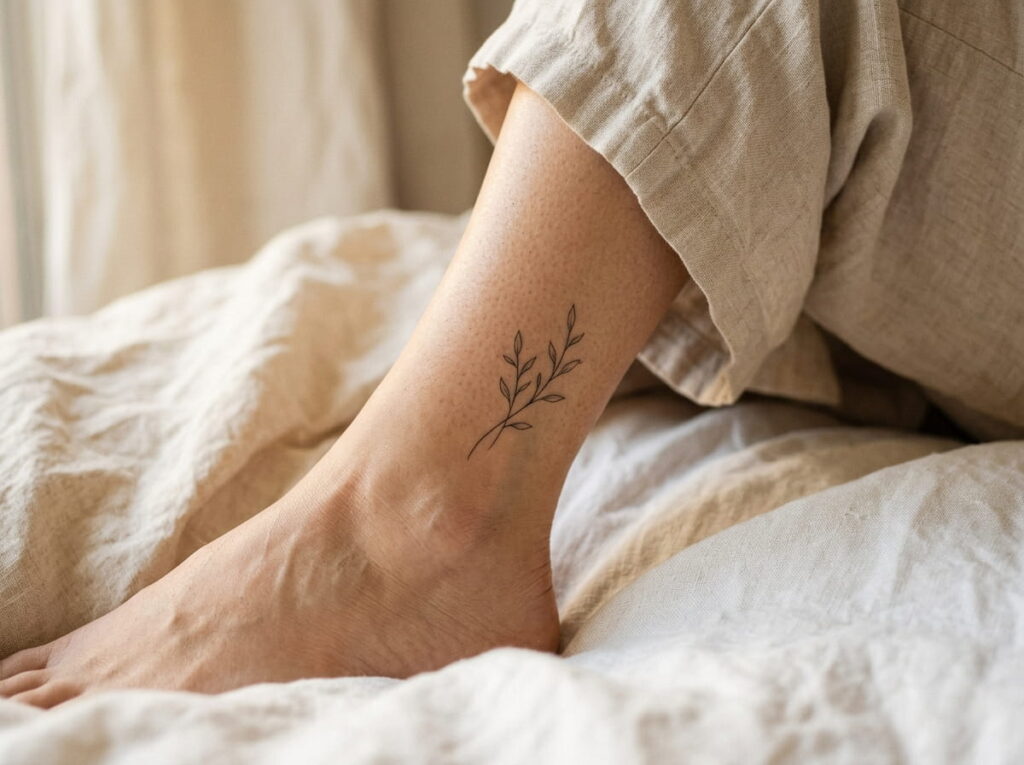
A line art design needs breathing room. Closely packed petals, tiny lettering, and overlapping outlines may look neat on a large screen but become difficult to distinguish when reduced.
Look at the spaces between the lines, not just the lines themselves. If two leaves almost touch, decide whether to separate them, simplify one edge, or remove a small detail. This is especially useful when adapting a photo of a detailed object into a small tattoo.
Before you approve the outline, check these areas:
- Narrow gaps between petals, leaves, or wings.
- Small enclosed spaces inside symbols.
- Places where two contours cross or overlap.
- Tiny details that disappear when the design is viewed at its intended size.
The Negative Space Check
Negative space is the open area between and inside your lines. Check that it remains visible in the smaller version.
Give neighboring petals and leaves enough visual room.
Look inside loops, hearts, and enclosed shapes.
Zooming out can reveal details that are too close together.
8. Compare the Original, Clean Outline, and Final Tattoo Design
Seeing the transformation in stages makes it easier to understand what should change and what should stay.
Take a simple flower photo as an example. The original contains natural shadows, overlapping petals, and small surface details. The outline removes most of that visual noise. The final tattoo design then adjusts the curves, spacing, and line weight so the flower reads clearly as a piece of line art.
The final version does not need to copy every feature in the photo. It should preserve the flower’s recognizable shape while making deliberate choices about which lines belong in the design.
From Photo to Line Art Tattoo
Three stages, each with a different job.
The reference has texture, natural variation, and extra detail.
The main contours remain, while most texture is removed.
The spacing and contours are refined for a cohesive tattoo concept.
9. Resize the Design Without Losing Important Details
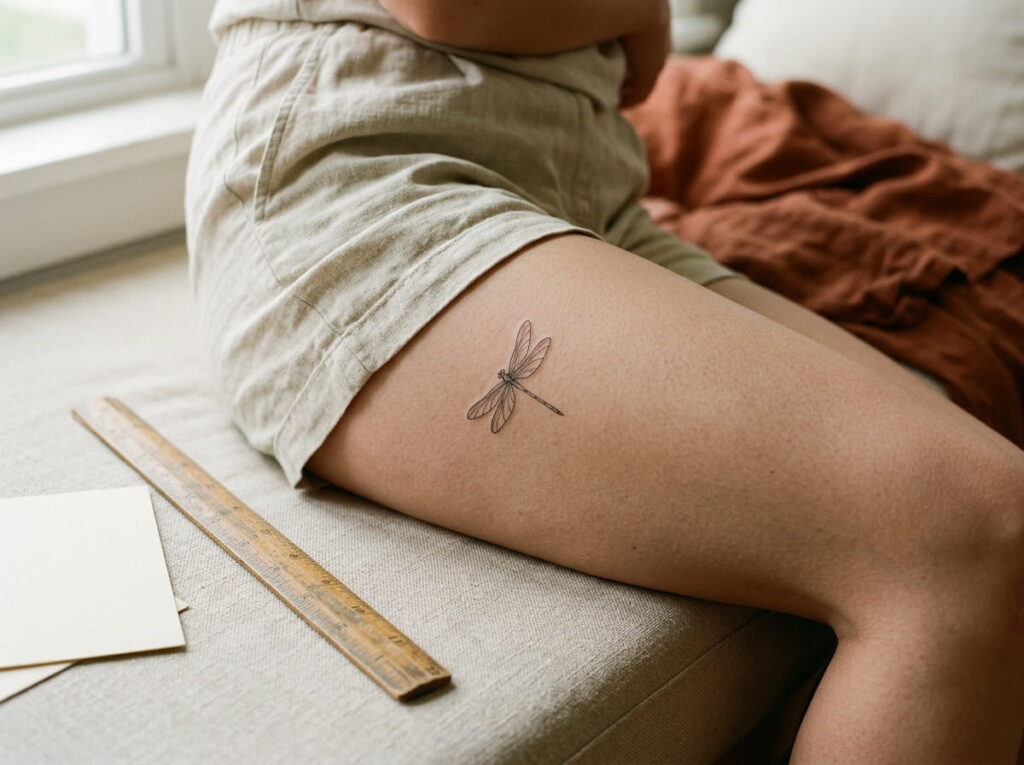
A design that looks clear on your laptop can become crowded when printed as a tiny tattoo. Resizing is more than making the image smaller. It is a chance to see which details still work at the scale you actually want.
Print your design at its proposed size, or place a digital version beside a ruler. Look closely at small gaps, narrow curves, and interior marks. If a tiny leaf becomes a dark blob or two lines nearly merge, simplify that part before moving forward.
Set the intended size
Measure the approximate width and height you have in mind rather than judging from a zoomed-in screen.
Inspect the smallest details
Check tight curves, small enclosed shapes, and neighboring lines. Remove or open up details that become difficult to distinguish.
Ask for a professional size check
Have your tattoo artist confirm whether the lines and gaps are suitable for the chosen placement and expected healing.
A useful rule: do not shrink a detailed design just because you want a tiny tattoo. Simplifying it or choosing a slightly larger size may preserve the features that made you want it.
10. Choose Between Continuous Line Art and Separate Fine Lines
Not every line art tattoo needs to be drawn in one unbroken stroke. Both continuous line art and separate fine lines can create beautiful minimalist designs, but they produce different results.
Continuous line art is useful for flowing subjects such as a simple face profile, a looping heart, or a relaxed floral outline. Separate fine lines give you more control over distinct features, such as individual petals, feathers, or the outline of a small object.
Choose the approach that suits the subject rather than forcing every drawing into the same style.
Continuous Line
Best for flowing contours and simple subjects that work as one connected drawing.
Separate Fine Lines
Best for distinct shapes that need their own contours and carefully placed interior marks.
The finished design should feel intentional, whether it uses one flowing line or several separate ones. If you are unsure, ask your tattoo artist to prepare both versions so you can compare them at the same size.
These final three sections help readers prepare a clean design file, check the tattoo at its intended size, and work with an artist before committing to the final artwork.
11. Clean Up the Digital File Before Sending It to a Tattoo Artist
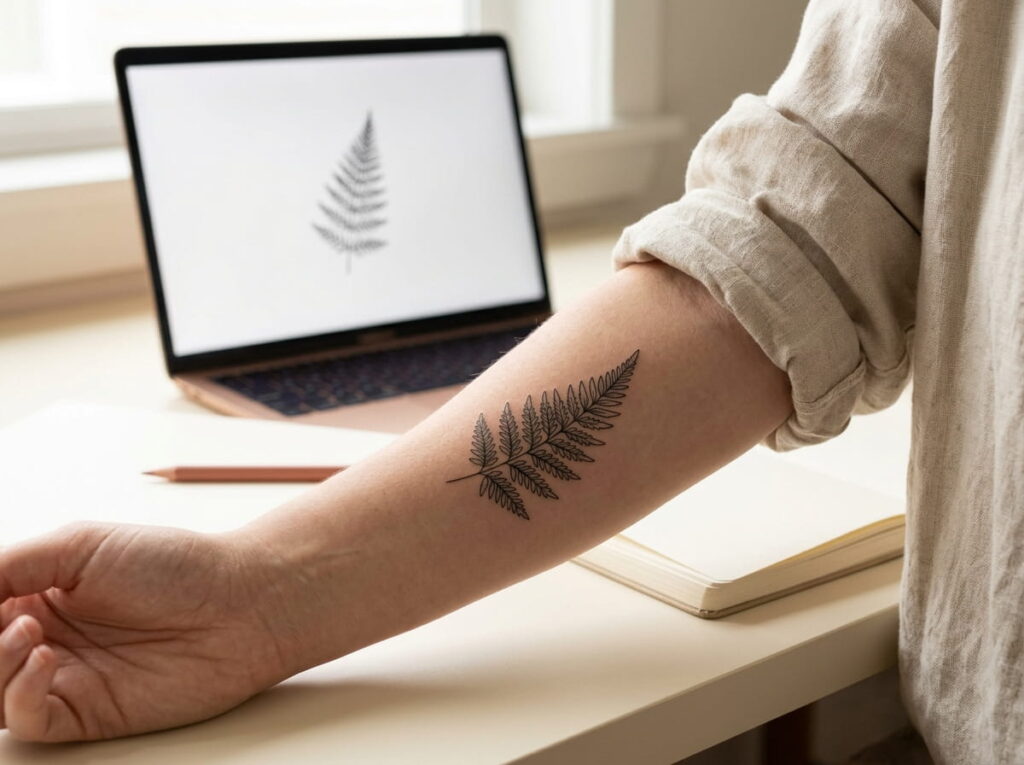
Once the outline looks right, give the file one final check. A few stray marks or faint sketch lines can be easy to miss on a bright screen, especially if you have been editing the drawing for a while.
Keep a clean version of the design separate from your original photo or doodle. If you used a drawing app, hide the reference-image layer and inspect the line art on its own. Make sure the background is clean and the artwork has enough contrast to be viewed clearly.
Before sharing your design:
- Remove stray marks and leftover construction lines.
- Check that the outline has no accidental gaps or unwanted overlaps.
- Save a high-quality image or the original editable file.
- Keep the reference image so the artist understands your starting point.
💡 Keep Two Versions of Your Design
Working File
Keep the original sketch, reference photo, and editable layers for future changes.
Clean Preview
Export a clear version of the finished line art for easy review and discussion.
A clean preview helps your artist assess the idea, but it does not replace a professionally prepared tattoo stencil.
12. Test the Design at Its Intended Tattoo Size
A design can look lovely when enlarged and feel completely different when reduced to the size you want on your skin. Before you settle on the final version, check how its main shapes and open spaces look at actual size.
Print a copy at the proposed dimensions or resize it on your screen using a ruler as a guide. Look at it from a normal viewing distance rather than zooming in on every line.
Pay attention to the smallest features. If a tiny heart loses its shape or the spaces between flower petals nearly disappear, simplify the design or discuss a larger size with your tattoo artist.
THE SIZE TEST
Check the design at the size you plan to wear it.
01. Shape
Can you still recognize the subject?
02. Spacing
Are the small gaps still easy to see?
03. Detail
Do the important features remain clear?
Your tattoo artist can recommend changes to the size, line spacing, and detail level before preparing the stencil.
13. Ask a Tattoo Artist to Refine the Design Before Inking
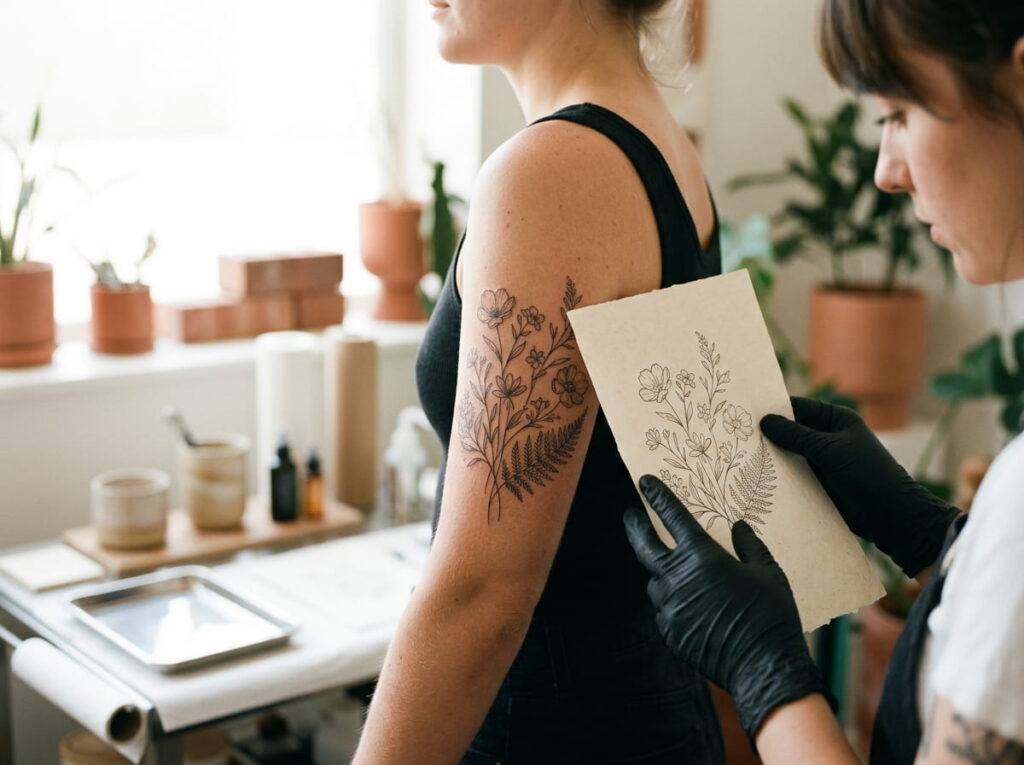
Your drawing is a starting point, not something that must be copied exactly. A tattoo artist can spot issues that are easy to miss on paper, such as lines that sit too close together or details that may be difficult to reproduce at your chosen size.
Bring the original doodle or photo alongside your simplified outline and final concept. Explain which parts carry personal meaning so the artist knows what should stay. You can also ask to see a revised version before the stencil is prepared.
The aim is to keep your original idea while making sensible adjustments for the skin.
What to Bring to Your Tattoo Consultation
A few clear references make it easier to explain the design you have in mind.
Bring the doodle or photo that inspired the tattoo.
Show which lines and features you want to preserve.
Share the approximate dimensions and body area you prefer.
Ask about line spacing, fine detail, expected aging, and possible revisions.
Turn Your Favorite Drawing Into a Tattoo That Feels Like You
Turning a doodle or photo into a fine line tattoo does not mean copying every mark. Start with the shape that matters most, remove details that make the design feel crowded, and check how the outline looks at your intended tattoo size. Keep your original reference so your tattoo artist can understand the idea behind it and refine the design for your skin.
Learning how to turn a drawing into a tattoo is really about finding the right balance between personal meaning and simple, clear lines. Take your time with the process, ask questions, and work with a professional artist before getting inked.







Leave a Reply