
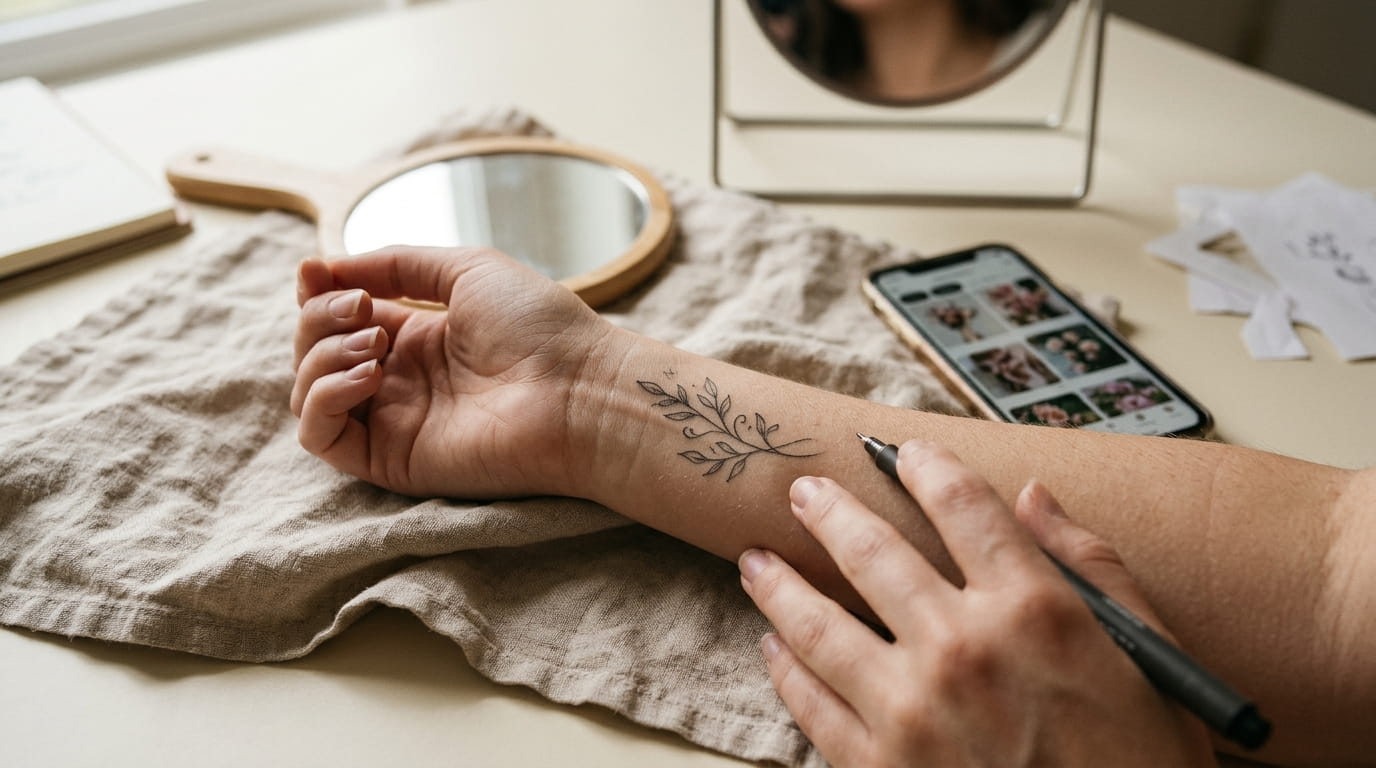
A lot of small tattoo regret has nothing to do with the design. It’s the spot. You loved the idea, the artist drew something lovely, and then it landed two inches off from where you pictured it, or it looked different the second you stood up and moved your arm. Learning how to test tattoo placement before you sit in the chair fixes that problem before it costs you anything.
You don’t need a professional stencil kit or a trip to the studio to figure this out. A skin-safe pen, a mirror, and about ten minutes of patience will tell you more than any sketch on paper ever could. Skin moves. Paper doesn’t.
This is a practical, step-by-step way to mark the spot, live with it for a day, and walk into your consultation already confident. Each step builds on the last, from picking the right pen to checking how the line holds up after a shower. By the time you’re done, you’ll know exactly where that tattoo belongs, not just where you guessed it might.
1. Pick a Pen That’s Actually Skin-Safe, Not Just Any Marker
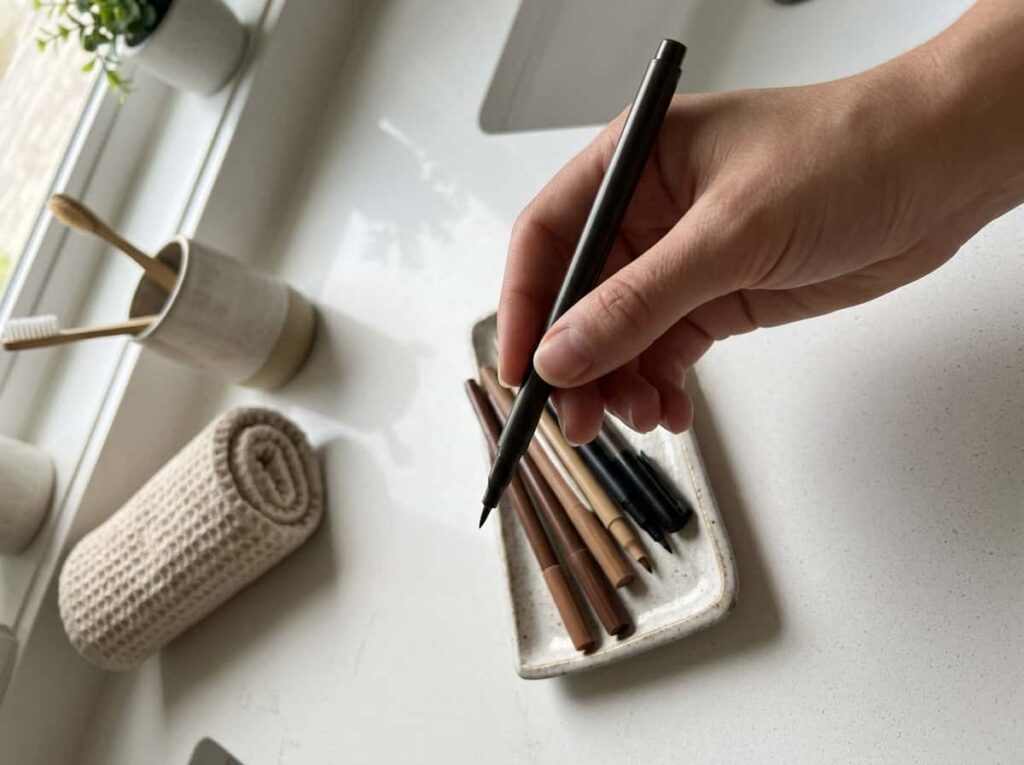
The pen you grab out of a kitchen drawer is probably not the one you want for this. A regular ballpoint smears the second your skin sweats, and permanent markers can leave a stain that lingers for days after you’ve already moved on to a different spot.
What actually works:
- A surgical skin marker (sold at most pharmacies)
- A water-based gel eyeliner pen in a dark shade
- A fine-tip, skin-safe body marker made for medical use
All three wash off with soap and water and give you a line close to the width a fine-line tattoo needle would leave.
| Pen Type | How It Performs |
|---|---|
| Surgical skin marker | Fine, steady line. Washes off clean with soap. |
| Gel eyeliner pen | Close to needle width. May smudge without a bit of powder over it. |
| Ballpoint or sharpie | Thick, uneven line. Can stain skin for days. Best to skip. |
2. Clean and Dry the Skin Before the Pen Touches It
Skin with product on it won’t hold a mark the same way, and a line that shifts the second you touch it isn’t telling you anything real.
Before you grab the pen, make sure the spot is free of:
- Lotion or body oil
- Sweat from a workout or a hot shower
- Leftover deodorant, if you’re testing near the underarm or collarbone
Dry, bare skin gives you the most honest read on where that line will actually land once it’s real ink.
Wipe the spot with a damp, unscented cloth to remove any product.
Let the skin air dry completely before the pen touches it.
Draw on bare, product-free skin for the most accurate line.
3. Sketch Freehand First, Then Sharpen the Lines With a Stencil
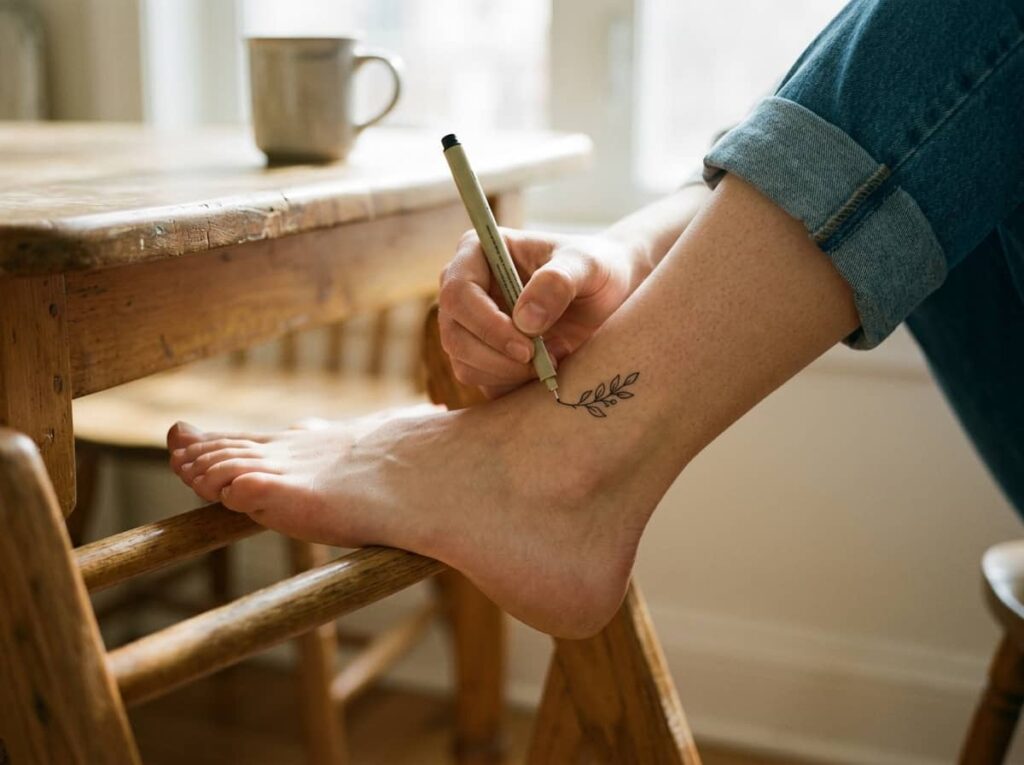
I’ve watched people sketch a clean little design on paper, then try to copy it onto skin in one shaky pass and wonder why it looks nothing like the drawing.
Draw loosely first, just to find the general shape and size. Once the rough placement feels right:
- Trace over it slowly, steadying your hand against a flat surface
- Press a stencil or tracing paper lightly onto the skin for a cleaner outline if the freehand version looks uneven
A steady line now saves you from a crooked reference later.
Sketch loosely first to find the general shape and size.
Trace the final line slowly, with your hand braced on a flat surface.
Drawing the whole design in one shaky, freehand pass.
Rushing the line because you’re excited to see the result.
4. Mark Two or Three Spots in the Same Sitting
Testing one spot only tells you about one spot. Mark two or three options in the same sitting so you can compare them side by side instead of trying to remember how yesterday’s mark looked on your wrist.
Good comparison spots to try in one go:
- Inner wrist
- Behind the ear or along the hairline
- Ankle or top of the foot
- Collarbone
Photograph each one before you wash any of them off, so you have all three to look back on later instead of trusting memory.
Before you pick a winner, check
5. Move Through a Normal Day Before You Call It Final

A mark that looks perfect standing still in front of a mirror can look completely different the moment you sit down, reach for something, or bend your knee.
Go about a normal day with the test mark still on, and pay attention to spots that:
- Fold into a crease when you bend
- Stretch out of shape when you reach or twist
- Fade into your skin tone once you step back a few feet
If it survives all three, you’ve found more than a cute sketch. You’ve found a placement that works with your body, not against it.
6. Use a Two-Mirror Setup for Spots You Can’t See Alone
Behind your ear, across your upper back, or along your shoulder blade isn’t somewhere you can just glance down and check. A single mirror leaves you guessing at an angle, and a guess isn’t a test.
Set up a second handheld mirror angled toward the main one so you can see the spot straight on instead of flipped or distorted. It takes an extra thirty seconds and gives you a real view instead of a reflection of a reflection.
Ask someone to snap a photo too, if you have the option. A second set of eyes catches things a mirror setup can still miss.
One mirror, an awkward angle, and a mark you’re only half sure about.
A two-mirror setup that shows the spot exactly how others will see it.
7. Photograph the Mark From Four Angles the Same Day
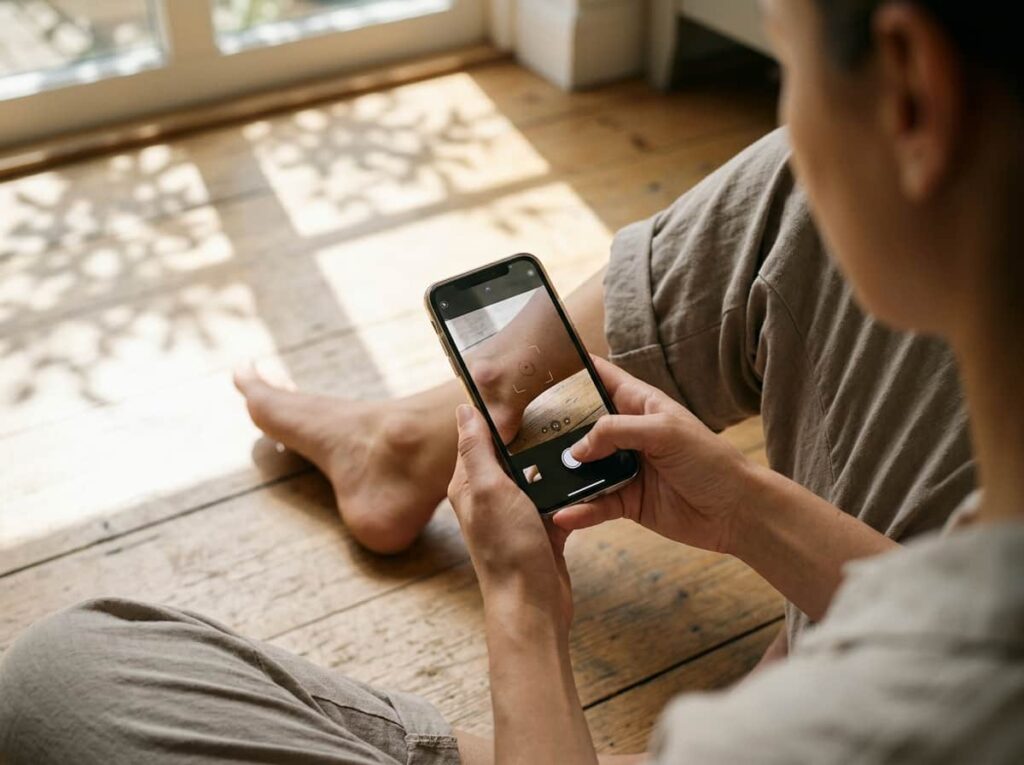
One rule to keep here: take every photo in the same light, on the same day, before anything fades or smudges.
Shoot the mark straight on, from a slight angle, from a distance of a few feet, and close up. Flash distorts how a line sits on skin, so stick to a window or a bright room instead.
💡 Quick Tip
Take all four photos within the same ten minutes. Lighting that shifts across the day can make the same mark look completely different in each shot.
8. Match the Pen Line to the Width a Real Needle Will Make
People assume any dark line gives them an honest preview, but a thick marker tip can make a delicate design look heavier than it will ever actually be.
A fine-tip pen mimics a fine-line tattoo. A thicker gel liner sits closer to bold linework. Matching the width to your actual design style keeps the test from lying to you.
A thick pen line will always look bolder than a fine-line tattoo ever will. Match the tip to the style you actually want.
9. Wear the Test Mark for a Full 24 Hours Before Deciding

A test mark that looks right in the afternoon doesn’t always survive until the next morning. Sleep, showers, and a full day of normal movement all put it through more than a quick glance in the mirror ever could.
Give it a full day minimum before you commit to a placement. If it’s still in roughly the same spot and still feels right by the next morning, that’s a far better sign than how it looked the moment you drew it.
10. Check How the Mark Holds Up After a Shower
The biggest mistake people make with their test mark is scrubbing it the first chance they get, usually out of habit, and losing their only reference before they’ve actually learned anything from it.
Let water run over it instead of washing it directly. Pat it dry rather than rubbing. If it’s still visible and roughly intact after a normal shower, the placement and the pen both did their job.
⚠️ Watch Out
Soap and scrubbing will fade a test mark fast. If you want it to last the full 24 hours, keep direct washing away from that exact spot.
11. Bring the Photos Into Your Consultation, Not Just the Idea

Walking into a consultation with only a mental picture puts the whole conversation on guesswork. Bring the photos from your test mark instead, especially the ones from the second or third day, since those show the placement your artist will actually be working with.
Before you sit down, have ready:
- The clearest photo of your favorite test spot
- Any photos of spots you ruled out, so your artist knows what to avoid
- A quick note on how the mark moved or faded over the 24 hours
This turns the appointment into a conversation about something real instead of a guess you’re both hoping works out.
Pull up the clearest photo of your favorite spot first.
Show any spots you ruled out and explain why.
Mention how the mark changed over the 24 hours you wore it.
Conclusion
Figuring out where a tattoo actually belongs on your body takes more than a sketch and a hopeful guess. A pen, a mirror, and a full day of normal movement will tell you things no drawing ever could, from how a line sits when you bend to whether it fades once you step back. That’s really what it means to test tattoo placement the right way, with real information instead of a feeling.
Once you’ve lived with the mark for a day and taken your photos, you’re not walking into your consultation hoping it works out. You already know.







Leave a Reply