
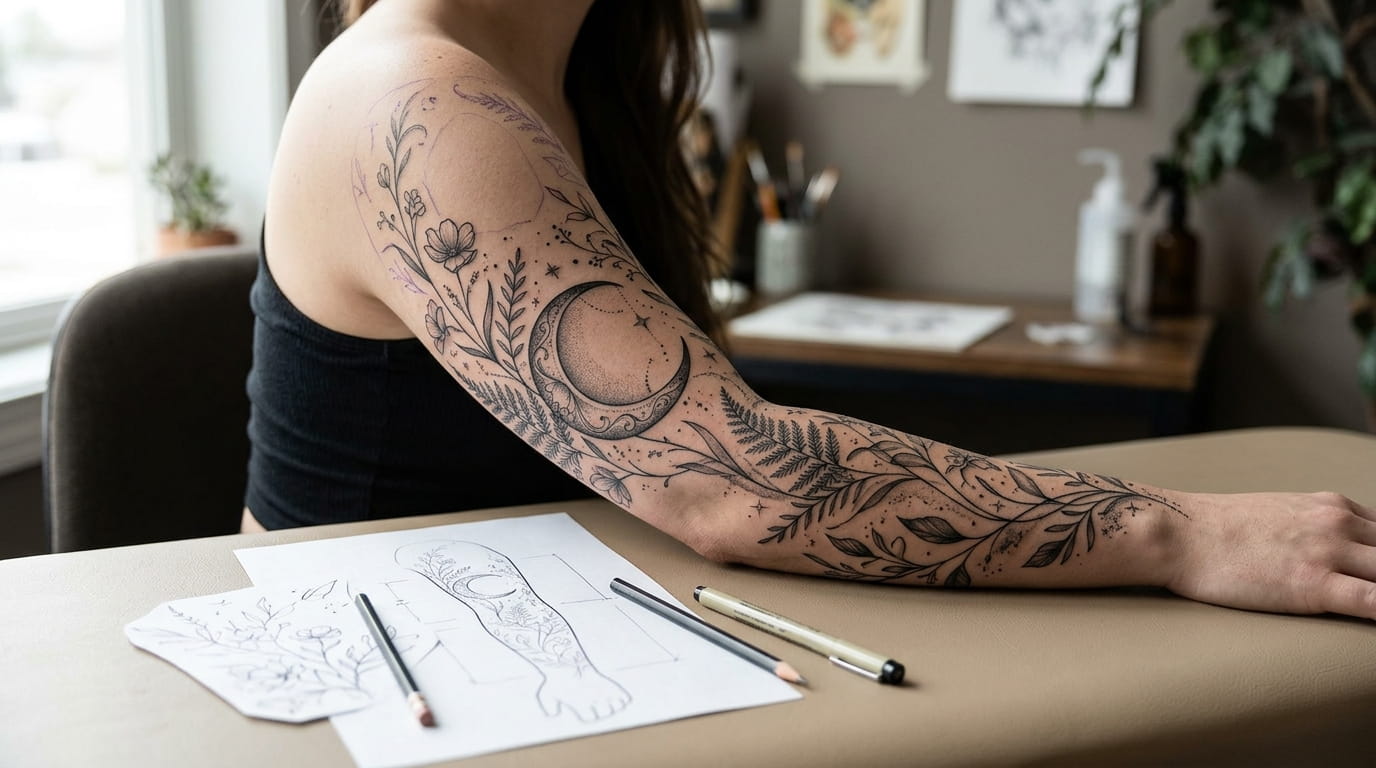
Most sleeve tattoos don’t start as a plan. They start as one piece someone liked, then another, until the arm looks more like a scrapbook than a sleeve. The pieces might be beautiful on their own, but they don’t talk to each other, and by the third session it’s obvious nothing was ever going to connect.
Learning how to plan a sleeve tattoo before you book a single appointment changes that. A themed sleeve, one built around a shared subject, color story, or style, gives every artist a map instead of a guess. It also means you’re not stuck explaining your last three tattoos to a new artist who has no idea what you were going for.
1. How to Pick a Tattoo Theme That Can Actually Fill a Whole Sleeve

A lot of people assume any subject they love is automatically sleeve material. It isn’t. A single flower or one favorite animal can easily fill a forearm piece, but a full sleeve has to cover the shoulder, the inner arm, and the awkward bend of the elbow without repeating the same two or three shapes.
Before you commit to a theme, test it against what a sleeve actually asks for. If you can’t check off most of the list below without stretching, the idea is probably better as a standalone piece than the whole arm.
Signs a theme has sleeve potential
2. Where to Start a Sleeve: Shoulder, Elbow, or Wrist First
Where you start shapes how the rest of the sleeve gets planned. Starting at the shoulder gives the most room to fix mistakes early, since an odd scale there is easy to blend into the work that follows. Starting at the elbow makes sense when the theme has one clear centerpiece, because that spot holds fine detail better than almost anywhere else on the arm.
Starting at the wrist is the riskiest option. It locks in the smallest scale on the sleeve, and everything added after has to match it. It tends to work best for people who already know exactly how big they want every other piece to be.
3. How to Map Your Arm Before You Book a Single Session
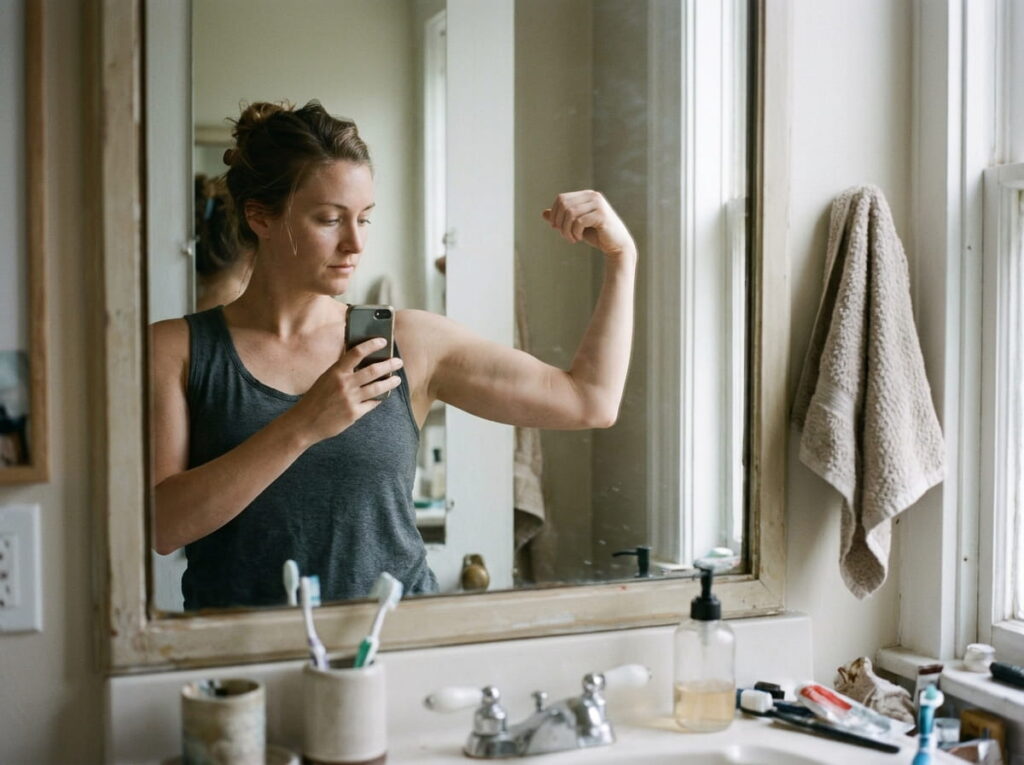
Grab your phone before you grab a sketchbook. A few honest photos of your bare arm, taken in good light from the front, side, and with your elbow bent, tell you more about available space than any reference photo ever will.
Three steps turn those photos into a usable map:
Photograph the arm straight, bent, and from both sides in natural light.
Trace the natural lines of the arm: muscle, bone, and the crease at the elbow.
Mark where clothing lines and watch straps sit, since those spots show the most.
Skip this and you’ll find out the hard way that the crook of your elbow bends in ways a flat photo never showed.
4. Build a Mood Board That Keeps Every Piece on the Same Theme
Somewhere around the fourth saved Pinterest image, most people’s mood boards start drifting. A realistic wolf creeps in next to a geometric mountain, and suddenly the nature sleeve board has three unrelated art styles fighting for the same arm.
Keep the board honest by separating two things: the subjects you want, and the style you want. A board that mixes both ends up guiding the artist toward nothing in particular.
💡 Quick Tip
Pin references into two separate boards, one for subject matter and one for line style, so your artist can see both without guessing which one wins.
5. Pick One Anchor Piece Before You Design Anything Else
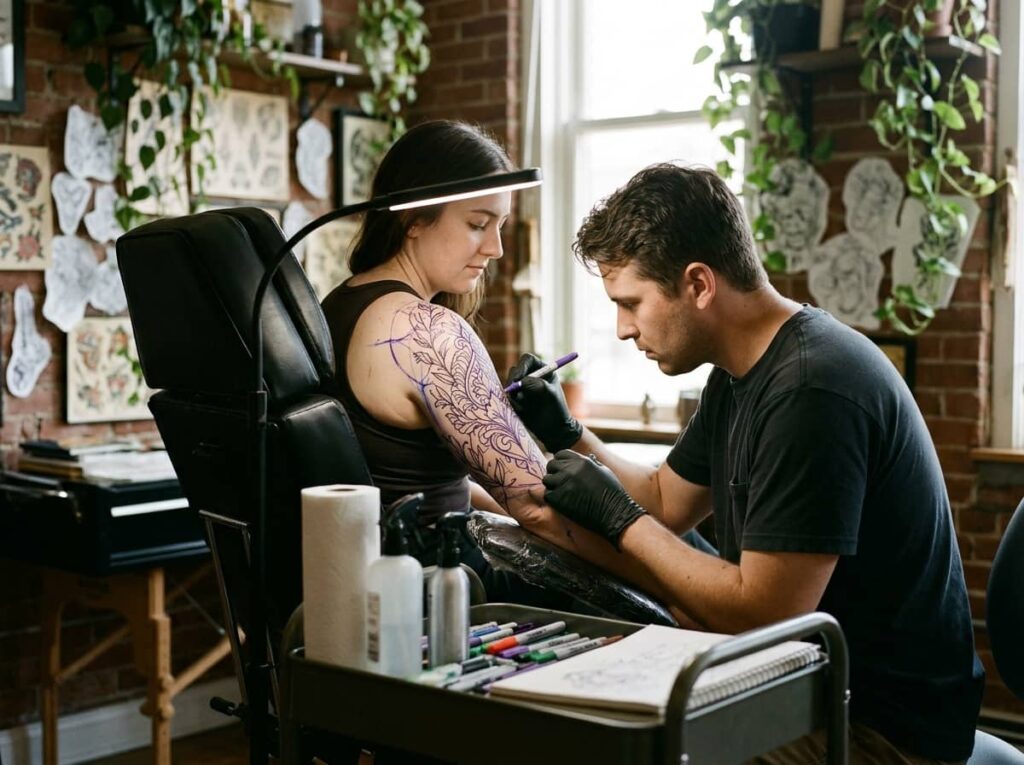
Every themed sleeve reads better when one piece is clearly the main event instead of fifteen equally sized pieces competing for attention. That anchor is usually the largest design, placed on the outer arm or shoulder, with everything else built to support it in scale and detail.
Pick the anchor first and the rest of the planning gets easier. Smaller pieces can echo its colors, line weight, or subject without needing their own separate design language.
Design the biggest piece first. Everything smaller should support it, not compete with it.
6. How Much Bare Skin to Leave Between Pieces
The most common fix for a sleeve that feels crowded is adding more ink, which usually makes it worse. Negative space, the plain skin between pieces, is what lets each design read clearly instead of blurring into the next one from a few feet away.
Too little space turns separate tattoos into one dark mass. Too much can make a themed sleeve look scattered instead of connected. The right gap depends on the theme: fine line or botanical work usually needs more breathing room than bold, saturated pieces.
Keep a consistent half inch to inch gap between unrelated pieces.
Leave extra room around fine line or detailed work.
Letting two pieces touch with no border between them.
Packing bold, dark pieces edge to edge.
Ask your artist to sketch the gaps directly onto your skin before anything goes under the needle.
7. Plan the Flow So Pieces Connect Instead of Floating
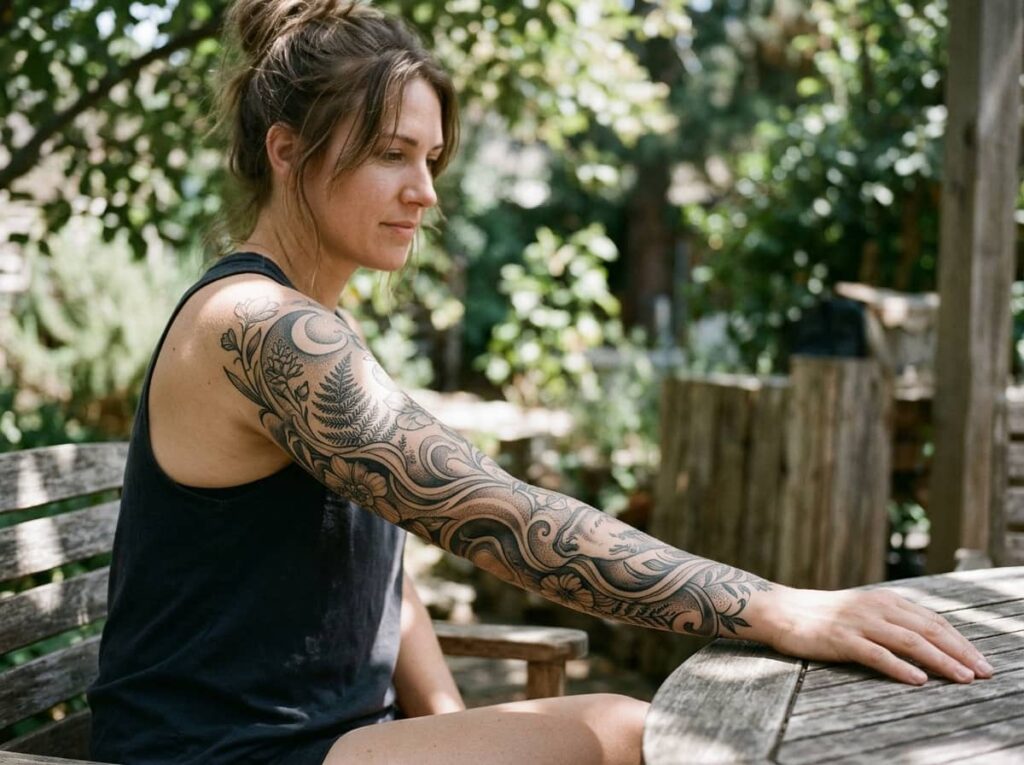
A sleeve where pieces float independently looks different from one where they lead into each other, even when each tattoo is skilled on its own. Flow comes from connectors: a vine trailing from one piece to the next, shading that fades instead of stopping abruptly, or a shared background texture running underneath everything.
Plan these connectors before you plan the final pieces themselves. It’s far easier to leave space for a linking line now than to add one in later, once three separate sessions have already healed.
Three separate tattoos, each with a hard outline, placed with no connection between them.
The same three pieces linked by a thin trailing vine and shared shading underneath.
Get the flow right and the sleeve reads as one piece, even from across a room.
8. Picking One Artist vs Multiple Artists for a Themed Sleeve
People planning multi-artist sleeves often choose based on who has an opening, not who matches the style already going on the arm. That mismatch becomes obvious the moment two artists’ linework sits side by side.
One artist keeps line weight, shading, and saturation consistent without you managing it. Multiple artists can still work for a themed sleeve, but only if you bring each one reference photos of the existing pieces and tell them upfront that matching matters more than showcasing their own style.
| One artist | Multiple artists |
|---|---|
| Style stays consistent without extra effort. | Access to specialists for different parts of the theme. |
| Scheduling moves at one person’s pace. | You have to manage the consistency yourself. |
Skip this step and you risk a sleeve where every piece looks like it came from a different set of hands, because it did.
9. How Many Sessions a Themed Sleeve Really Takes
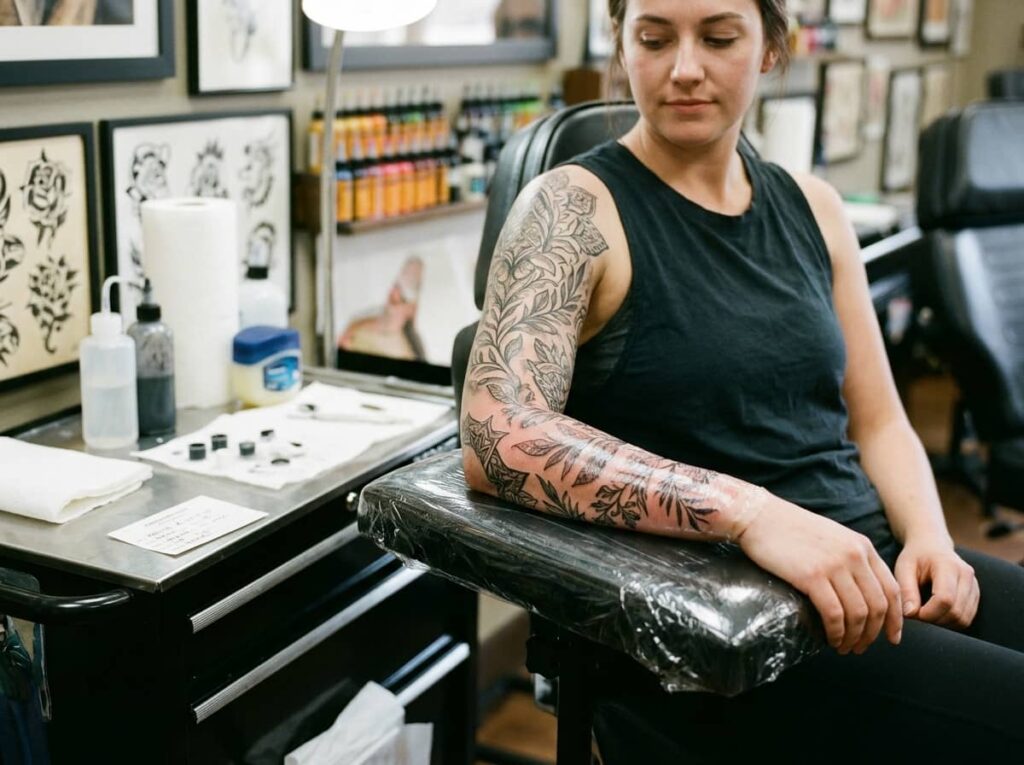
Most people underestimate how many sessions a full sleeve takes, because reference photos show the finished result as one clean image instead of the six or more separate sittings it actually took to get there.
A small accent piece might close out in a single two hour session. A detailed centerpiece with shading or color can run three to four hours on its own. Add healing time between sessions, and a themed sleeve built one stage at a time often spans a year or longer before it feels complete.
Plan the timeline like a project, not a weekend errand.
10. Budget the Sleeve in Stages Instead of All at Once
Treat the sleeve budget like a series of stages instead of one lump sum, and the total cost stops feeling overwhelming. Price out the anchor piece first, since it sets the scale and detail level for everything that follows, then budget each smaller piece against it rather than guessing at a total up front.
Build in a buffer for touch ups. Color and fine linework often need a follow up session within the first year that isn’t always included in the original quote.
What to budget for
This staged approach works best if you’re paying out of pocket in installments rather than saving up one total amount first.
11. Mock Up the Whole Sleeve Before the Needle Touches Skin
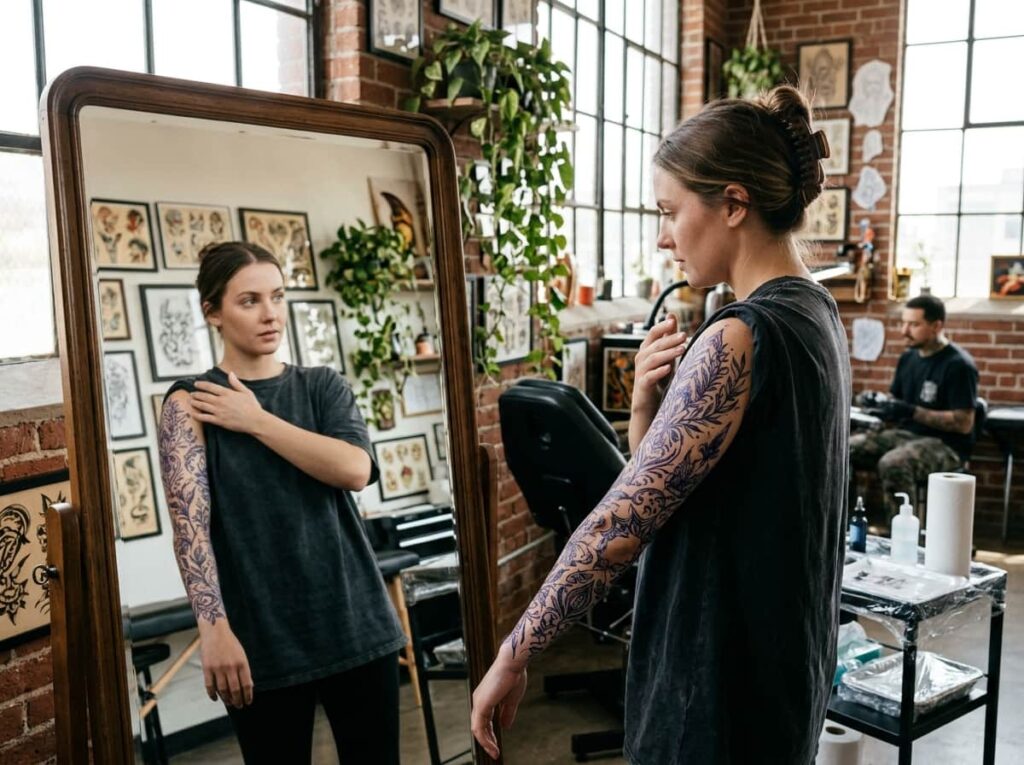
Seeing a design on paper and seeing it on your actual arm are two different experiences. What looks balanced on a flat page can sit strangely once it follows the curve of a bicep or wraps around the elbow.
A few low effort steps catch problems before they’re permanent:
Ask your artist for a stencil placement before any ink goes in.
Photograph the stencil in regular clothes, not just in the studio mirror.
Live with the stencil for a few hours before committing, moving your arm as you normally would.
If something feels off in the mirror, it will feel off for years. Say so before the session starts, not after.
12. Keep Line Weight and Shading Consistent Across Sessions
Months between sessions means it’s easy to forget exactly how heavy the linework or how dark the shading was on the last piece. Walking into a new appointment without that reference is how sleeves end up with one section looking bolder than the rest.
💡 Quick Tip
Bring close up, well lit photos of your existing pieces to every new session, even with the same artist, as a direct reference for line weight and shading.
It only takes a minute, and it’s the easiest way to keep the whole arm looking like one decision instead of several.
13. Leave Room in the Plan to Add Pieces Later
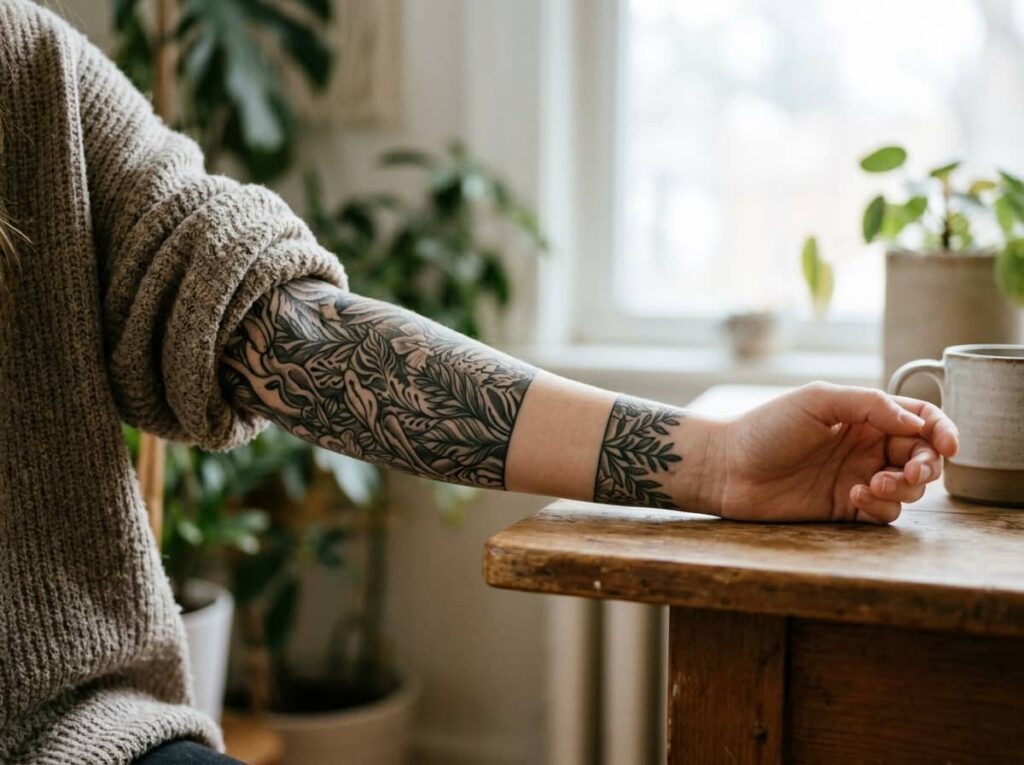
Filling every inch of available space on the first pass doesn’t leave anywhere to go if a new idea fits the theme a year from now. A sleeve that still has a little room left often ages better than one that was maxed out from session one.
A sleeve plan that leaves a little open space has somewhere to grow. One that’s maxed out on day one doesn’t.
14. Sleeve Planning Mistakes That Leave You With a Patchwork Look
Most patchwork sleeves aren’t the result of bad individual tattoos. They’re the result of good tattoos that were never asked to work together in the first place.
Pick a theme and an anchor piece before booking anything.
Bring reference photos of existing pieces to every new session.
Booking whatever design you like that week, with no plan behind it.
Switching artists without showing them what’s already there.
Conclusion
Planning a sleeve this way takes more patience upfront than walking into a shop and picking something off the wall. But that patience is what separates a sleeve that still makes sense five years from now from one that reads like a collection of unrelated decisions.
Start with the theme, pick one anchor piece, and let everything else build around it in stages. You don’t need the whole arm mapped out before your first session, just enough of a plan that each new piece has somewhere to go. That’s really what it means to know how to plan a sleeve tattoo: not having every detail decided, but knowing the shape the whole thing is working toward.







Leave a Reply