
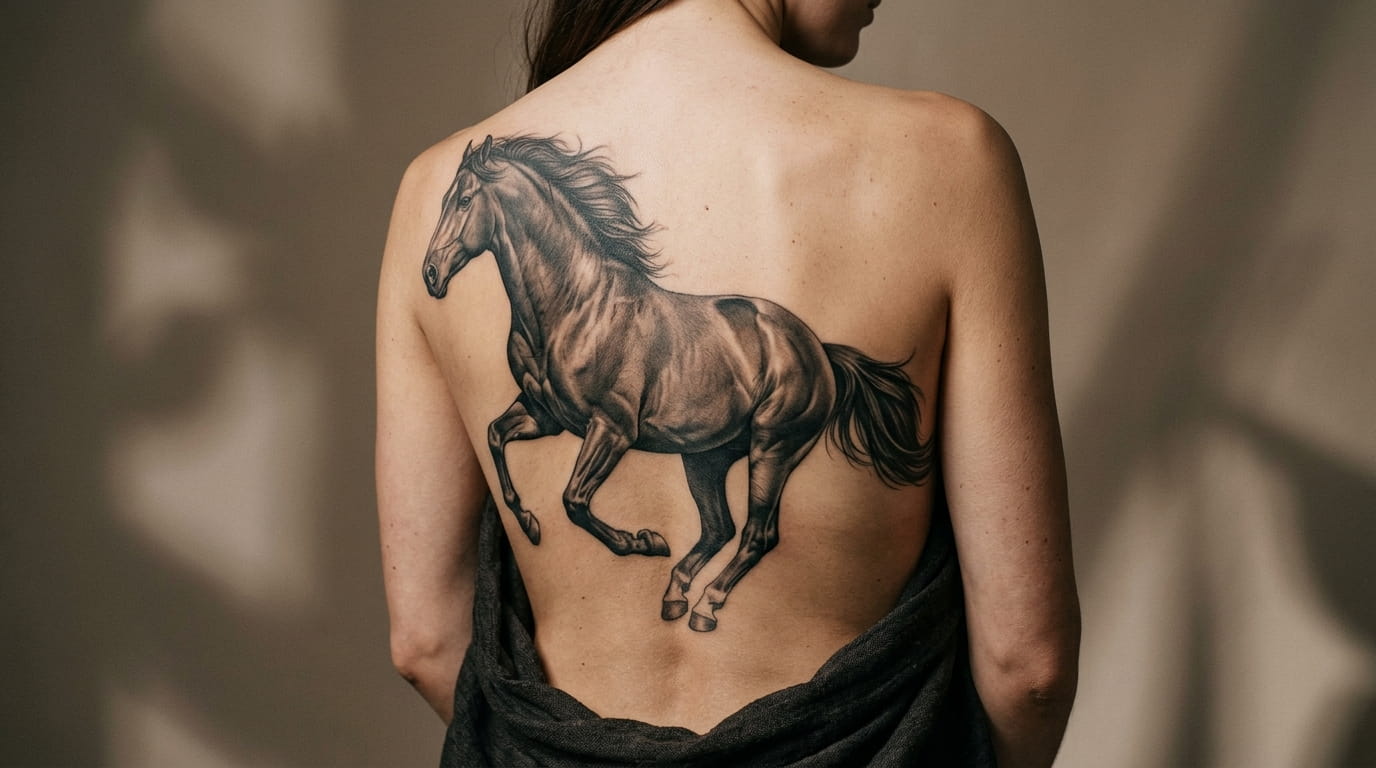
Horses are long, backs are wide, and that mismatch causes most of the trouble. A galloping horse drawn for a poster can end up too narrow for your shoulders. A full back scene can end up squeezed into a half back space.
Most people pick a picture first and check the fit second. That order is backward. A good horse tattoo back plan starts with the space, then the pose, then the style.
The steps below follow that order. First you will split your back into zones, choose between a half and a full piece, and pick a pose that suits the room you have. Then you will measure, walk through half back layouts, move on to full back layouts, and finish with session planning and a stencil check.
Nothing here needs art skills. You only need a mirror, a friend with a phone, and an honest look at how much of your back you want to use.
Paste each code block below into a WordPress Custom HTML block.
1. Divide Your Back Into Five Zones Before You Choose a Design
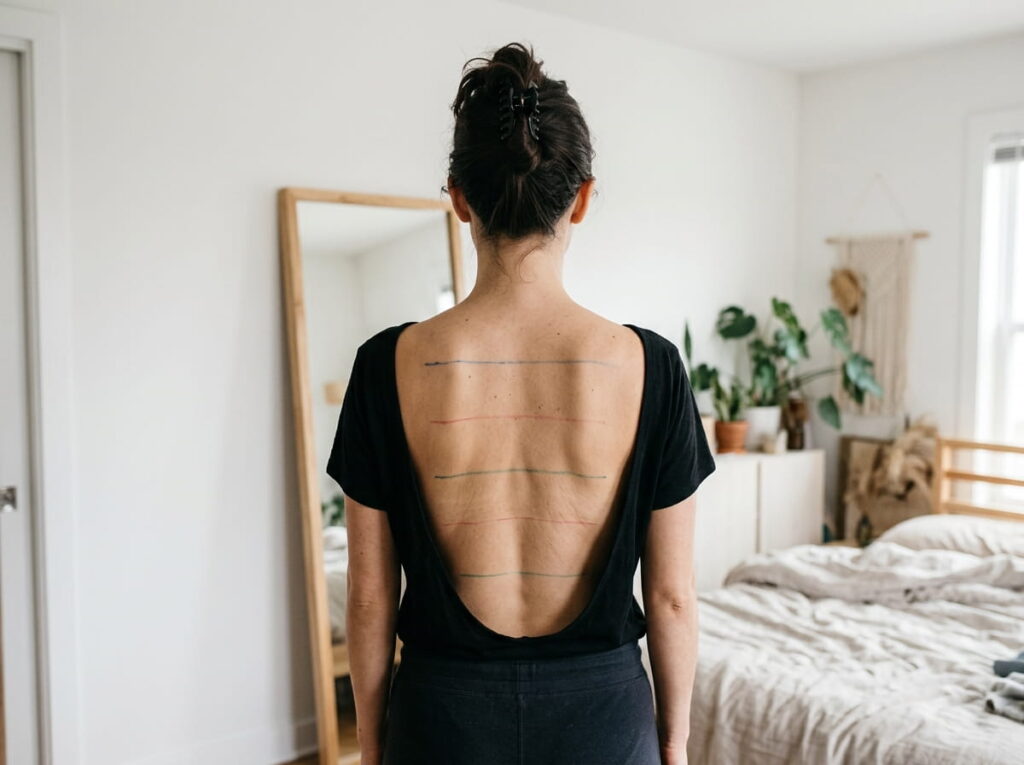
Grab a washable marker and a friend with a phone.
Stand straight and ask your friend to photograph your back from behind while you wear a sports bra or a tank top. Then draw five bands on the photo: upper back, shoulder blades, mid back, lower back, and hips. The lines do not need to be exact. The goal is a shared language, so you can tell your artist “the horse starts in zone two and ends in zone four” instead of waving a hand at your back.
Keep the photo, because you will need it for the measuring step.
2. Decide Between a Half Back and a Full Back Piece First
A half back piece and a full back piece are different projects, not just different sizes.
A half back piece covers one zone or one side, and it can grow later. A full back piece has to be planned as one design from the start, with the horse, the background, and the edges all agreeing. If you are unsure, begin with a half back horse that has room to extend, and let your artist leave the edges loose.
Ask them to draw the first half so it still works as a finished piece on its own.
| Half back piece | Full back piece |
|---|---|
| One or two zones, or one side. | Shoulders to hips, edge to edge. |
| Often fewer sessions, and it can be done in stages. | Usually several sessions with healing breaks. |
| Easy to extend later. | Planned as one design from the start. |
3. Pick the Horse Pose by the Space You Have
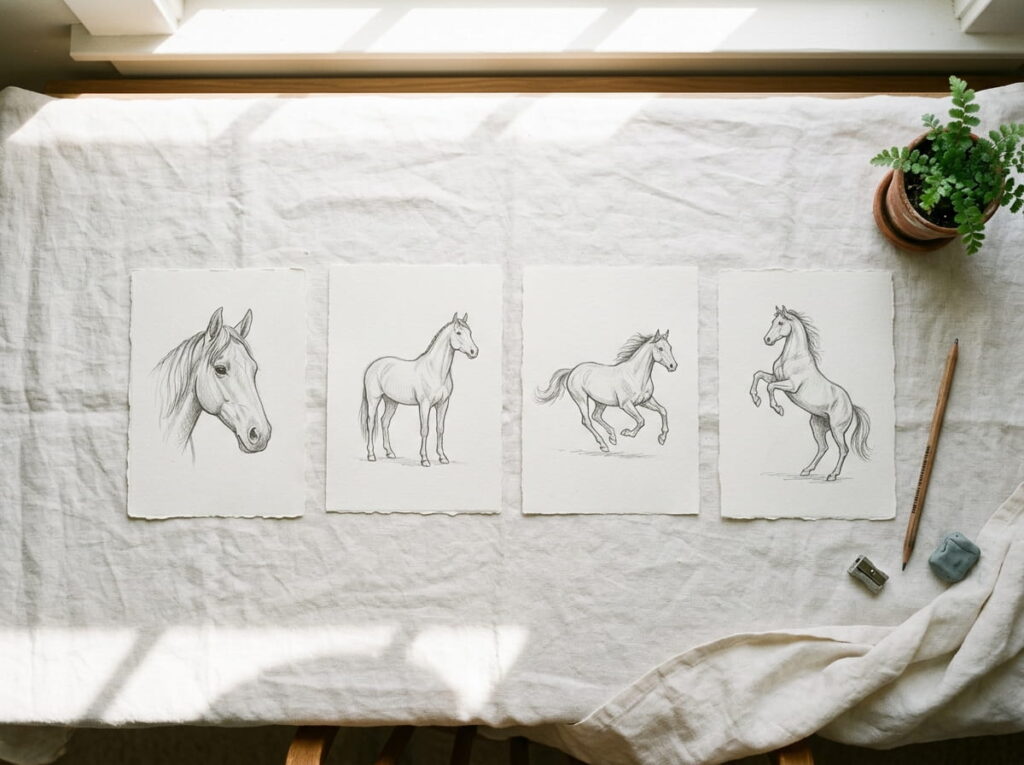
Space picks the pose, not the other way around.
A galloping horse is long and low, so it needs width. A rearing horse is tall and narrow, so it needs height. Drawing a galloping horse into a narrow strip squashes the legs, and the horse starts to look like a rocking toy.
A head alone fits almost anywhere, which is why so many people begin there. Choose the pose that matches the zones you marked.
4. Measure Your Back in Three Steps Before the Consult
Three measurements are enough.
Bring those numbers to your consult. An artist can scale a horse to your back in minutes when they have real measurements, and they will not have to guess from a photo. Measure standing straight with your arms relaxed, since your back gets wider when you lift your arms.
Width: ask a friend to measure straight across your back at the shoulder blades, then again at the waist.
Height: measure from the base of your neck down to the dip of your lower back.
Center line: mark your spine with a washable marker, so you can see how far the design sits from it.
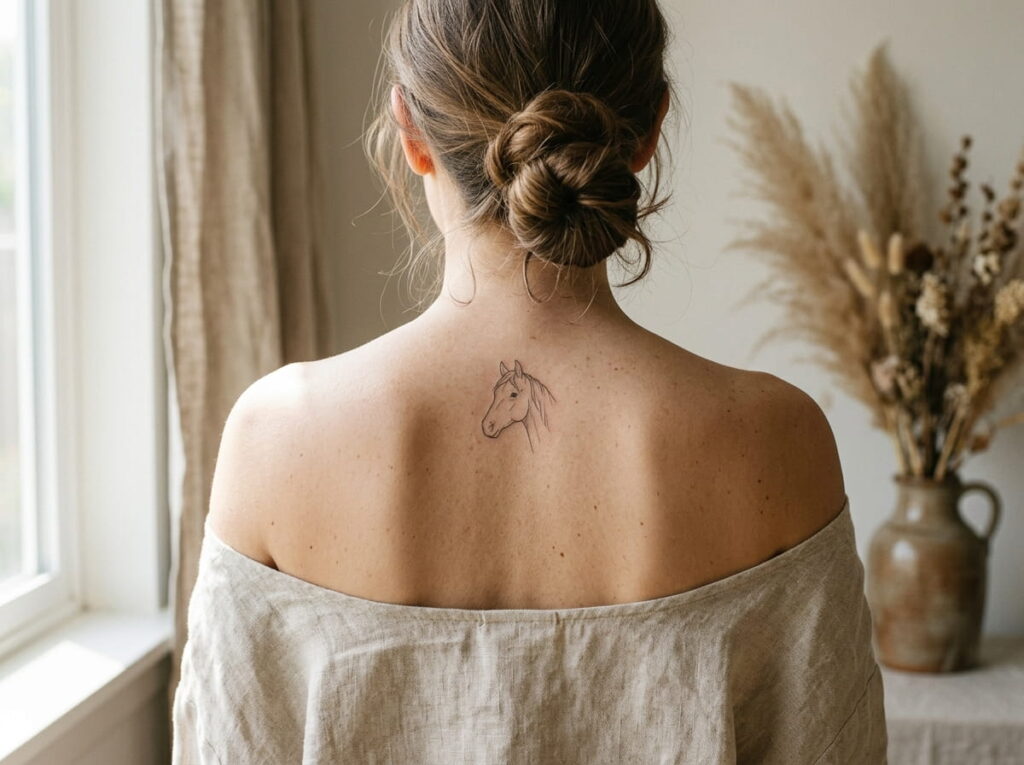
5. A Single Horse Head Centered Between the Shoulder Blades
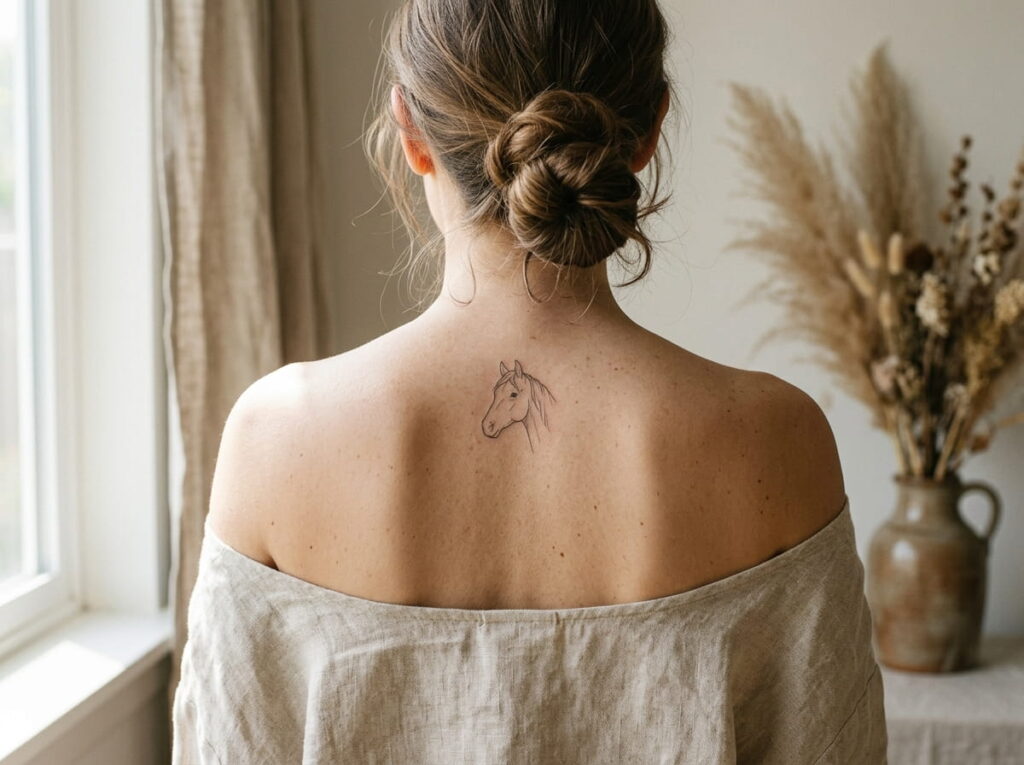
Look at the space between your shoulder blades. It is roughly the shape of a shield.
That makes it a natural home for a horse head, with the neck tapering down toward the spine and a few mane strands trailing below. Center it on the spine, but turn the nose slightly to one side so the head looks alive instead of stamped on.
- Tilt the head a few degrees, not straight up and down
- Let the neck fade out softly, with no hard bottom edge
It is also easy to extend later with a longer mane or a flower or two.
6. A Galloping Horse Across the Upper Back and Shoulders
The usual mistake with a galloping horse is stacking it too high on the back.
A gallop is long and low, so it belongs across the shoulder blades. Let the front legs reach toward one shoulder and the tail stream toward the other. Give the body a slight upward curve, like a wave, so the horse seems to be moving across your back instead of marching along a shelf.
- Keep the hooves off the spine line, so they do not look chopped in half
- Leave a little clear skin above the mane for breathing room
💡 Quick Tip
Decide which way the horse faces before the stencil goes on. Many people like the nose pointing toward the shoulder they glance over most, so the horse looks like it is leading the way.
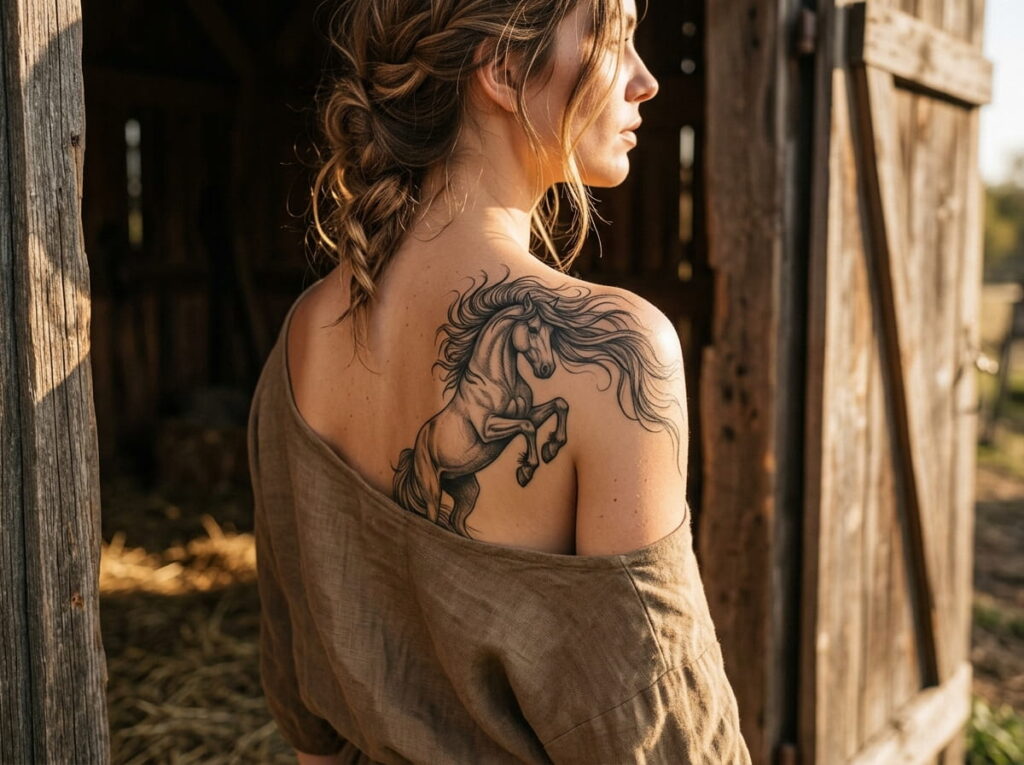
7. A Rearing Horse on One Shoulder Blade With the Mane Over the Shoulder
A rearing horse gives you height without taking over the whole back.
Set the hind legs low on the shoulder blade and lift the front legs toward the top of the shoulder. Then let the mane whip over the front of the shoulder, where you can see it in the mirror. That small spill of mane is what shows from the front, and it makes the piece feel connected to your body instead of sitting on it.
Keep the tail heavy and flowing, because it balances the raised front legs.
Leave open space above the raised hooves.
Let the mane cross the shoulder line in a few long strands.
Cramping the front legs against the top of the shoulder.
Cutting the mane off at a hard line where the shoulder turns.
8. A Horse Running Down One Side of the Spine
Centered and off center designs say different things.
An off center horse treats the spine as an edge instead of a midpoint. Run the horse from the shoulder blade toward the hip, with the mane and tail flowing toward the spine, and leave the other side open. That open side can hold a flower later, a second horse, or nothing at all, and bare skin is part of the design here.
It works well as a first back piece, since it never looks unfinished.
Ask your artist
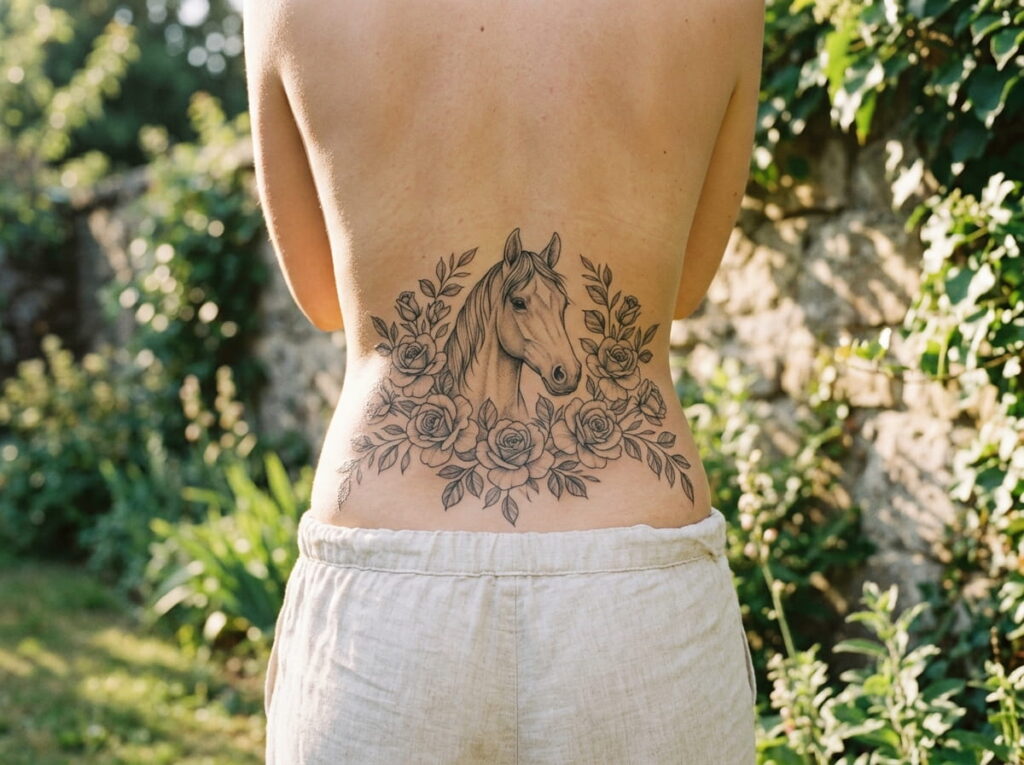
9. A Horse Head With Florals Framing the Lower Back
The lower back has a gentle dip, and a flat design can look stuck there.
Flowers solve that, because they bend and soften at the edges. Set the horse head just above the dip, then let blooms and leaves sweep outward and downward toward the hips, in the shape of a loose fan. Stick to two flower types and repeat them, so the frame looks planned.
- Keep the head the darkest and most detailed part
- Let the smallest blooms sit at the outer edges
Lower back tattoos can peek out of low waistbands, so choose something you are happy to show.
A horse head sitting alone on the lower back, with hard edges that stop short of the hips.
The same head with flowers fanning outward toward the hips, so the edges fade and the shape follows the curve.
10. A Mirrored Pair of Horses Facing Each Other Across the Spine
Mirrored does not mean identical.
Two horses facing each other across the spine look best when they echo each other, not copy each other. Slightly different head angles, mane lengths, or leg positions make them feel like two animals. Place the pair across the shoulder blades or across the full width of the back, depending on the size you want. Keep the space between them clear, so the spine becomes the quiet center of the design.
⚠️ Watch Out
Mirrored designs show every small mistake. A slight difference in height or angle between the two sides stands out right away. Ask your artist to mark a measured center line and to check both sides together on the stencil.
11. A Full Back Herd Running From the Shoulder Blades to the Hip
A herd works because of scale.
Make the lead horse the largest and place it across the shoulder blades. Put a medium horse at the mid back, then a small one near the hips, so the group seems to run into the distance. Overlap a leg here, a mane there, and a few strokes of dust or grass at the hooves, so the horses read as one moving group.
- Change each horse’s head angle, so they do not look copied
- Let the smallest horse trail off toward the hip, with no hard end
This is a full back plan, so book it as one design from the start.
largest
medium
smallest
How the layout reads
Each horse is about three quarters the size of the one before it.
The darkest shading sits on the lead horse, and the tone lightens down the back.
The spine sits off center, so no horse is split down the middle.
12. A Wild Mane Streaming Down the Spine on a Full Back Horse
Let the mane do the job of the spine.
Place the horse head near the base of the neck, then let the mane run down the spine as long, thin strands that fan out as they fall. The spine becomes a natural guide, and the strands keep the eye moving down the whole back. Taper them toward the tailbone, with the longest strands drifting off to one side as if the wind caught them.
It is a graceful design, and the thin lines demand a steady hand. Ask to see healed fine line work before you book.
- ▸Top of the mane: thick, dark, and close together near the neck
- ▸Middle: strands spread apart, with clear skin between them
- ▸Bottom: a few thin, drifting strands that end in a point
- ▸Sides: one or two loose strands that cross the shoulder line
13. A Full Back Horse Scene With Plains and Mountains Behind It
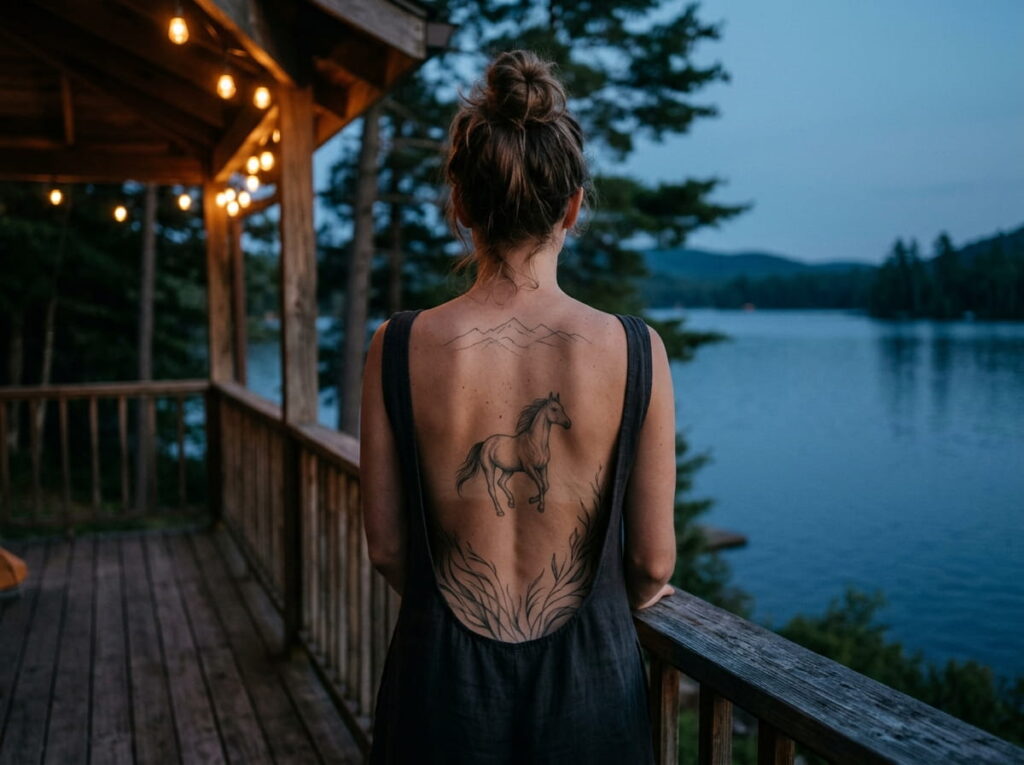
A scene needs three layers, and the horse must stay the darkest one.
Put grass strokes across the hips in the foreground, the horse across the mid back, and faint mountains behind it near the shoulders. Keep the mountains light and thin, with simple lines and soft shading, so they sit in the distance. If every layer is equally dark, the horse gets lost.
Pick one time of day, like sunrise or dusk, and let it set the tone of the shading.
14. Plan Your Sessions and Check the Stencil Before You Commit
Big pieces get done in stages.
A full back horse is usually split across several sessions, with healing time in between. Ask your artist how they divide it. Many start with outlines, then move on to shading, then add color or finishing details. A half back piece may take far fewer visits, and some people finish it in one.
Before the first session starts, check the stencil on your actual back. A photo cannot show how a horse moves when you do.
Stencil check, from every angle
Conclusion
A good horse tattoo back plan comes down to three choices, made in this order: the space, the pose, and the style. Mark your zones, measure your width and height, and decide early whether you are building a half piece or a full one. Everything else, from the mane to the florals, gets easier once those answers are clear.
Take your photos and measurements to the consult, and ask how the horse will move when you bend and stretch.
Save this layout guide for the day you start planning, and come back to it before your first appointment.
Space picks the pose, and the pose picks the style. Measure your back before you fall in love with a design.







Leave a Reply