
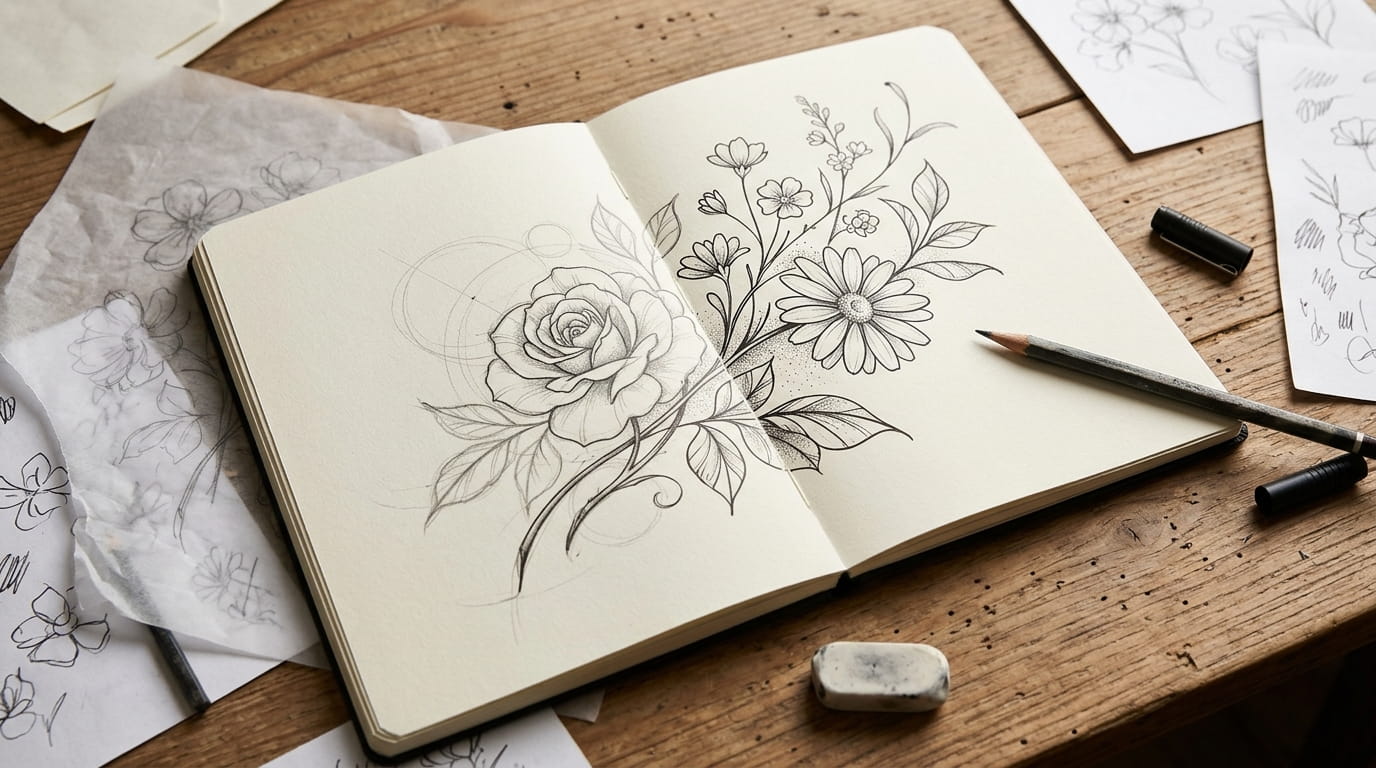
Most people decide on a flower tattoo, save a dozen Pinterest photos, then show up to their appointment hoping the artist can read their mind. That gap between liking a flower and being able to draw it yourself is where regret usually starts.
Learning how to draw flower tattoo designs on your own, even roughly, gives you a say in how the lines actually sit on your skin. You don’t need art school for this. Most flower tattoos break down into a handful of repeatable shapes: circles, spirals, teardrops, and curved stems. Once you can draw those in a notebook, a rose, a daisy, or a loose wildflower cluster stops feeling out of reach.
This list walks through the sketch process in order, from basic shapes to a finished line drawing you could hand straight to an artist. Grab a pencil and some scrap paper, because you’ll want to draw along as you go.
1. Start With Three Basic Shapes Before Any Petal Appears
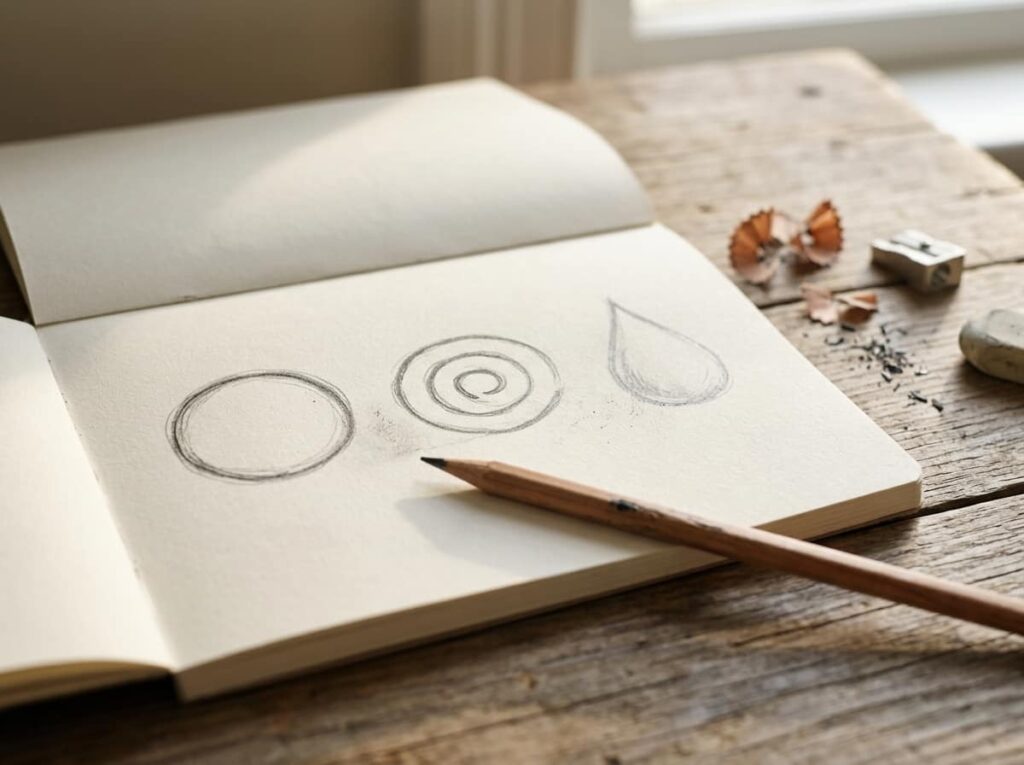
Every flower on your skin starts as a circle, a spiral, or a teardrop.
Before you worry about petals or shading, trace these three shapes on scrap paper until your hand stops hesitating:
- A circle for daisies and simple round blooms
- A spiral for roses and any flower with layered petals
- A teardrop for leaves, buds, and pointed petals
Pick one shape and draw it ten times in a row. Your lines tighten up faster than you’d expect, and that control carries into every flower later on this list.
2. Sketch a Five-Petal Rose Using the Spiral Guide Method
A rose looks complicated until you see it as one continuous spiral with a few petal flaps added on top.
Start your spiral in the center and let it loop outward three or four times, keeping the lines loose rather than perfect. Once the spiral feels balanced, add two or three curved petal shapes around the outer edge, overlapping the spiral slightly so it reads as one flower instead of a maze.
This version sketches fast, which makes it the one most people reach for when they’re testing rose placement before committing to size.
Draw a small spiral in the center, looping outward three to four times.
Add two to three curved petal flaps around the outer edge of the spiral.
Overlap each petal slightly into the spiral so it reads as one flower.
3. Center Your Daisy With One Dot Before You Draw a Single Petal
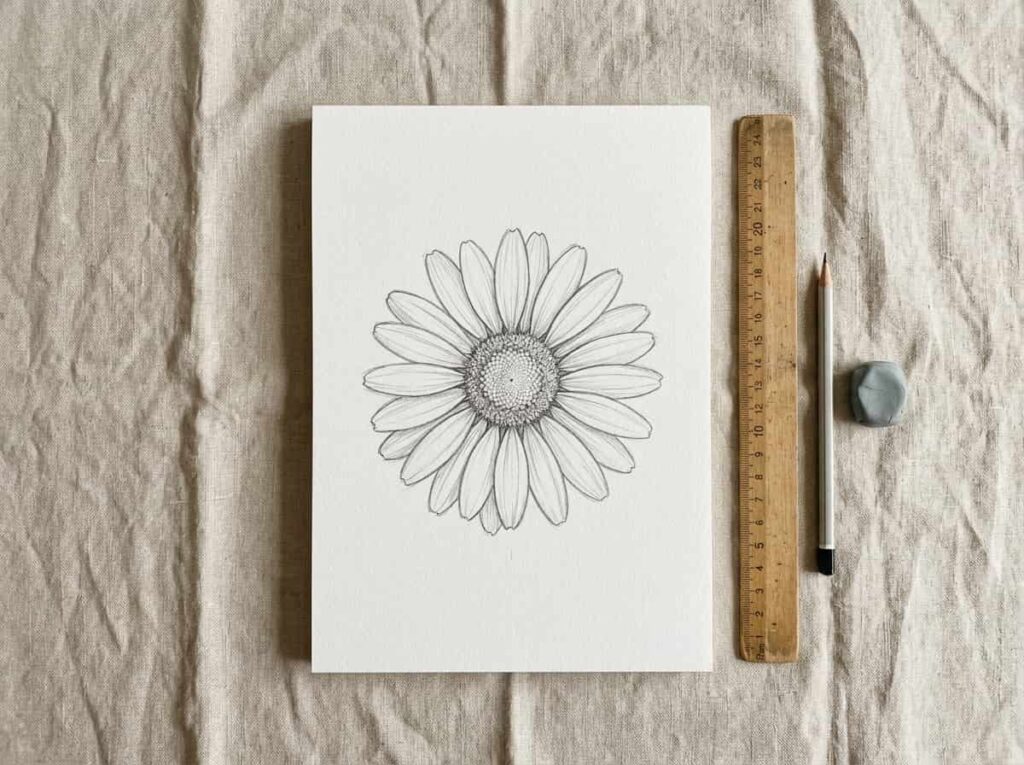
Daisies go lopsided fast because most people start drawing petals before they’ve placed the center.
Mark a small dot or tiny circle first. That one dot becomes your anchor point, and every petal gets measured against it instead of against the petal next to it.
From there, draw petals in pairs directly across from each other: top and bottom, then left and right, then fill the gaps. Eight to twelve petals is the sweet spot for a daisy that still reads clearly at small tattoo size.
💡 Quick Tip
Draw petals in opposite pairs, not one after another. Top and bottom first, then left and right, keeps the whole daisy balanced even if your hand isn’t perfectly steady.
4. Why Your Leaf Veins Look Stiff (and the Fix)
Leaves drawn with one straight line down the middle and rigid veins branching off at matching angles look more like a diagram than a tattoo.
Real leaves bend slightly along their main vein, and the smaller veins come off at slightly uneven angles rather than a mirrored ladder. Draw the center vein with a gentle curve first, then add three or four side veins that don’t match each other exactly.
That small bit of asymmetry is what separates a leaf that looks drawn from one that looks grown.
Straight center vein, side veins mirrored at matching angles. Looks like a diagram.
Center vein curves gently, side veins land at uneven angles. Looks grown, not drawn.
5. Turn One Straight Stem Into a Natural Curved Line
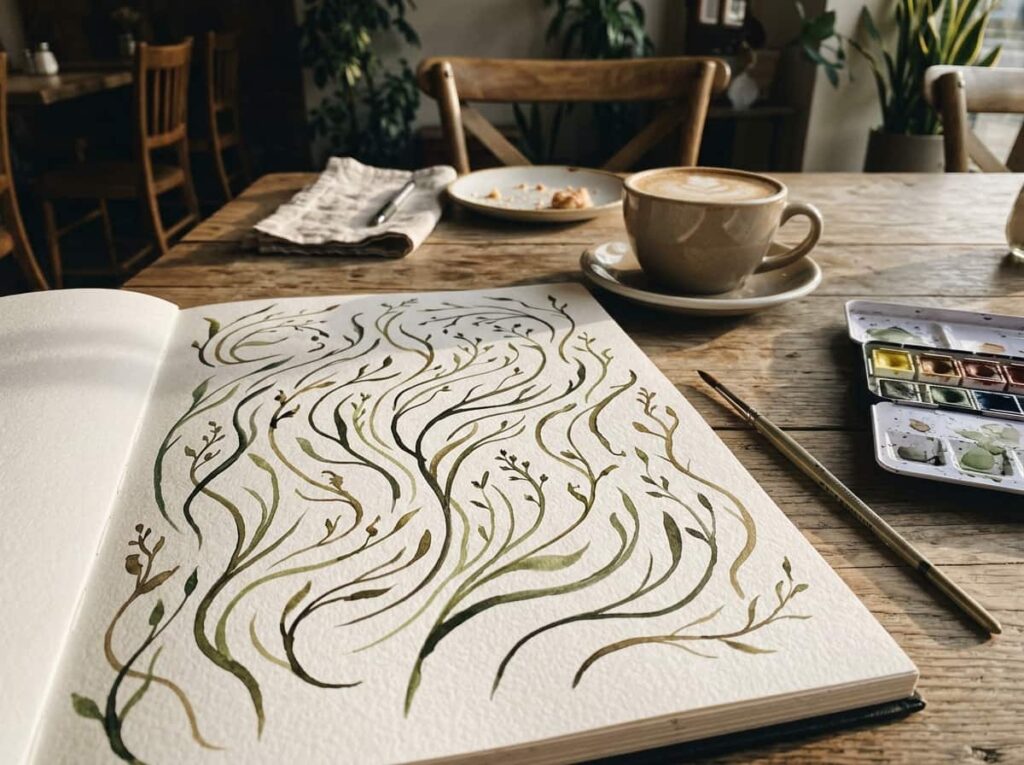
A stem drawn as one straight line reads as a ruler, not a plant.
Real stems lean and sometimes bend twice in opposite directions as they grow toward light. When you sketch yours, pick a direction for the first curve, then let the second half bend slightly the other way instead of mirroring the first.
A stem with one soft curve already looks more natural than a straight one. Two gentle curves in opposite directions is what makes it feel alive on skin instead of printed on paper.
| Straight Stem | Curved Stem |
|---|---|
| Reads as a ruler or a stick. | Reads as something that grew toward light. |
| One direction, no variation. | Two gentle curves bending opposite ways. |
6. Overlap Your Petals So the Flower Doesn’t Look Flat
A flower where every petal sits side by side with no overlap looks like a cutout, not a bloom.
Real petals stack. The front ones cover part of the ones behind them, which is what gives a flower depth even in a simple line drawing. When you sketch your next flower, draw the back layer of petals first, then layer two or three petals on top that slightly cover their neighbors.
Erase the hidden lines underneath once you’re happy with the overlap, and the flower will suddenly look three-dimensional instead of pasted flat.
Draw back petals first, then layer front petals over them.
Erase hidden lines once the overlap looks right.
Lining petals up edge to edge with no overlap.
Making every petal the exact same size.
7. The Three Pencil Pressures That Create All Your Shading
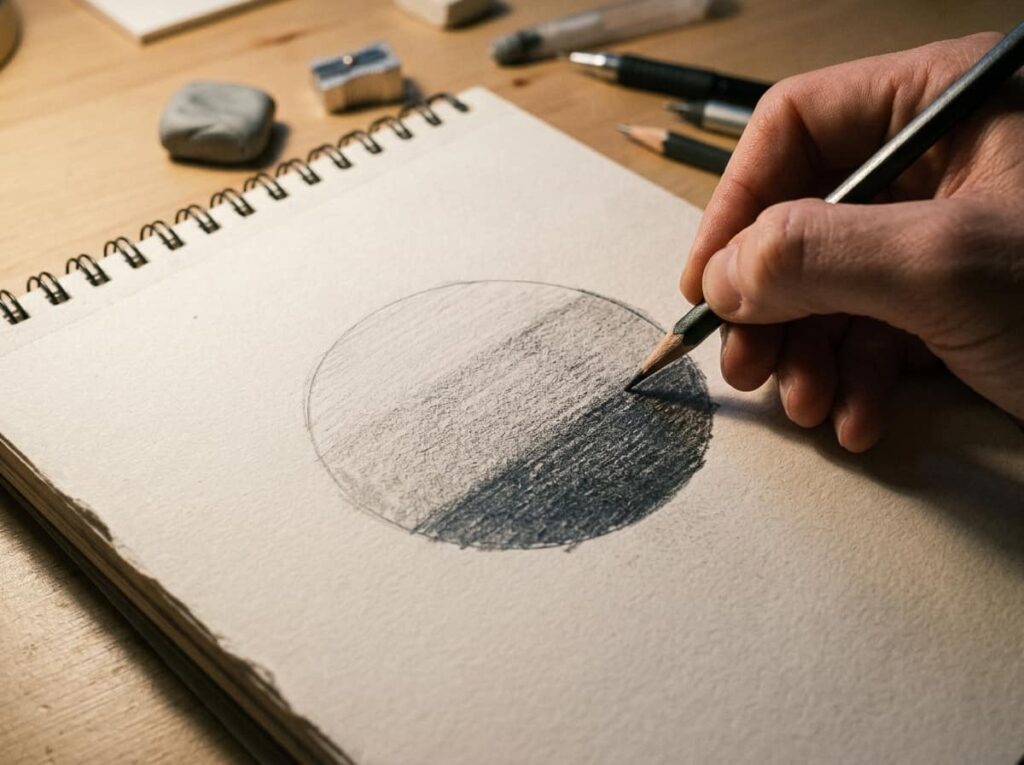
Flat line drawings are fine for a first sketch, but light pencil pressure changes are what tell your artist where shading should go later.
You only need three pressure levels: a light touch for the edges of petals, medium pressure for the folds where one petal overlaps another, and heavy pressure for the deepest point where petals meet the center. Practice all three on one scrap circle before applying them to your actual flower.
Your artist will thank you. A sketch with pressure variation translates into shaded linework far faster than a flat outline they have to guess at.
8. Fix the Most Common Flower Tattoo Mistake: Symmetry Overload
New sketchers often make every petal identical in size, spacing, and curve, then wonder why the flower looks stiff and artificial.
Real flowers are close to symmetrical, not exactly symmetrical. One petal is always a little bigger, one gap is always a little wider. Before you finalize any sketch, check for these:
Symmetry check before you finalize
That small imperfection is what makes a hand-drawn flower look intentional rather than traced from a template.
9. Sketch a Wildflower Cluster Without It Turning Into a Mess
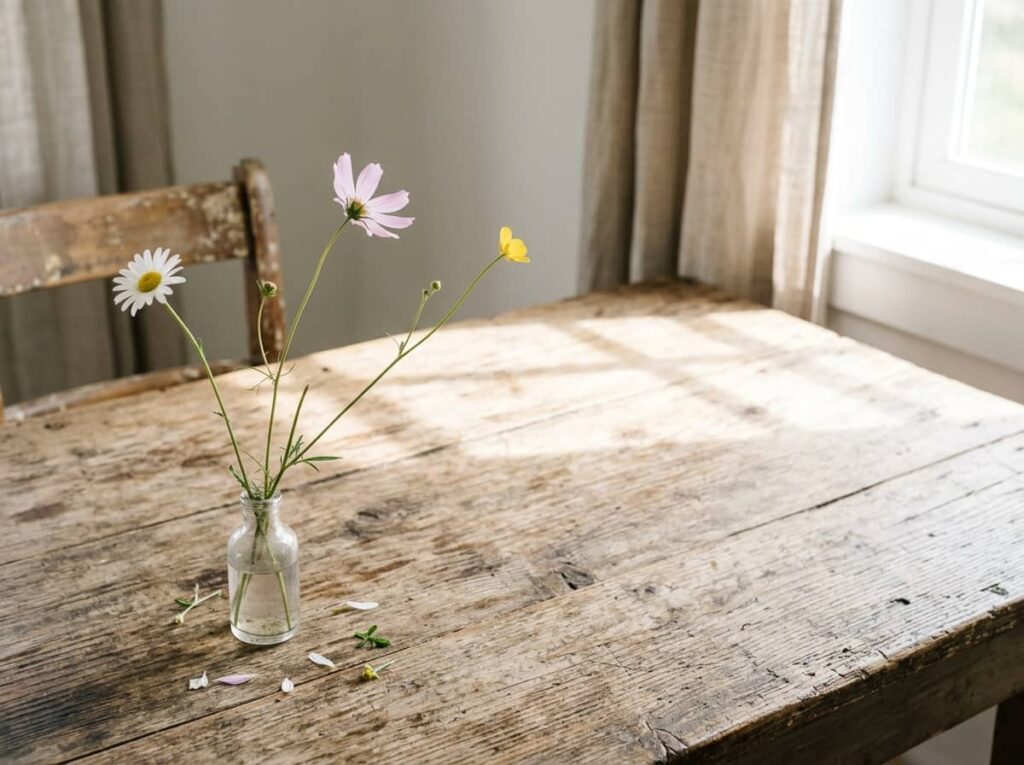
Three or four flowers crammed together with no plan usually turns into a tangle of overlapping lines nobody can read at tattoo size.
Start by placing one larger flower as your focal point, then sketch two smaller blooms at different heights around it, leaving visible gaps of blank space between each one. Add a few simple leaves or stems last, only where they help connect the cluster instead of filling every empty spot.
Clusters read best when roughly a third of the space stays empty. Resist the urge to fill it all in.
10. Draw a Botanical Line Tattoo With One Continuous Stroke
Single line, or “one line,” botanical tattoos look minimal but they’re unforgiving if you lift your pencil mid-flower.
Plan your route before you draw anything permanent. Trace the outline of your flower with your finger first, finding a path that touches every petal and the stem without doubling back over the same line twice. Once you’ve found that path, commit to it in one slow, continuous motion.
📌 Good To Know
If your finger-traced path crosses the same spot twice, simplify the flower rather than forcing a single line through a design that doesn’t naturally allow one.
11. Turn Your Pencil Sketch Into Clean, Tattoo-Ready Linework
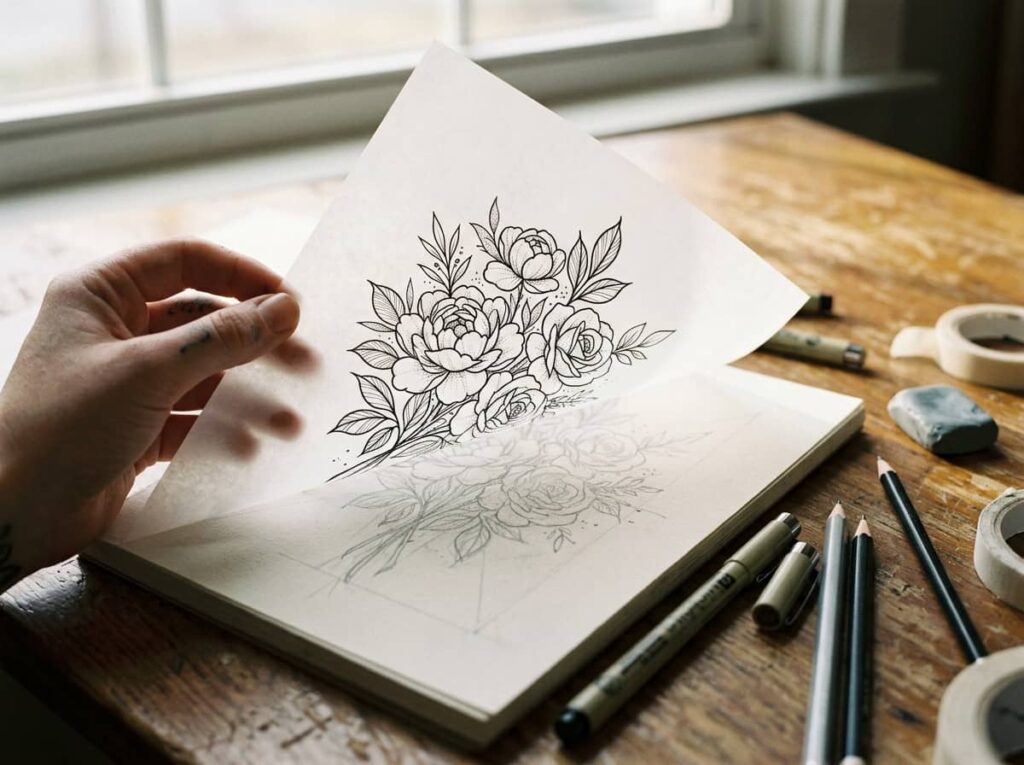
A pencil sketch full of construction lines and eraser marks isn’t what you hand to an artist. It needs one clean pass on top.
Lay a thin sheet of paper or tracing paper over your finished pencil sketch. Go over only the lines you’re keeping with a fine pen, ignoring every guide circle, spiral, and stray mark underneath. Let the ink dry, then lift the tracing paper and check it against a mirror. Lines that looked fine head-on sometimes reveal awkward angles once flipped.
This single step is what separates a sketch from a design an artist can actually work from.
Trace only the lines you’re keeping. Everything else stays in pencil and gets left behind.
12. Check Your Design at True Tattoo Size Before You Book
A flower that looks detailed on a full sheet of paper can turn into a muddy blob once it’s shrunk down to two inches on skin.
Before your appointment, photocopy or photograph your final design and resize it to the actual dimensions you’re planning to get tattooed. Tape it to the spot on your body where it’s going and look at it for a full day. Small details like extra veins or tightly packed petals are the first things that get lost at small scale, so this is the moment to simplify rather than after the needle’s already moving.
Resize your design to the exact tattoo dimensions you want.
Tape it to the placement spot and live with it for a day.
Simplify any detail that disappears or blurs at that size.
Conclusion
Learning how to draw flower tattoo designs doesn’t mean you need to become an artist overnight. It means you can walk into your appointment with a design you actually understand, petal placement, line weight, and all, instead of pointing at a Pinterest screenshot and hoping for the best.
Start with the basic shapes, practice one flower at a time, and don’t rush past the sizing check at the end. That last step saves more tattoos from looking crowded or lost than anything else on this list.
Keep your sketchbook close for the next few weeks. The more flowers you draw small and rough, the easier the real one gets when it’s time to commit it to skin.







Leave a Reply