

Your pen hovers over the page and the dots just will not connect the way they do in your head. That gap, between loving the idea of a constellation tattoo and actually getting the lines right, trips up more people than you would think. Most tutorials assume you already know how to space stars evenly or pick which points to skip, and you end up with a cluster that reads more like a smudge than a sky.
Learning how to draw a constellation tattoo really comes down to three small skills: picking the right pattern, placing your dots with intention, and choosing lines that hold up once they are on skin. None of it requires an art degree. A steady hand, a pencil, and a willingness to redo a sketch twice help more than raw talent does.
These eleven steps walk through the whole process, from choosing your first constellation to prepping your design for your appointment. Work through them in order the first time, then skip around once you know what trips you up.
1. Pick a Constellation With Under 10 Stars to Start

A simple constellation gives you room to practice your linework without the design turning into a tangle of dots. Orion’s belt, the Southern Cross, and a basic Big Dipper all sit under ten stars, which keeps spacing mistakes forgivable while you are still learning the ropes.
Before you grab a reference, gather a few things so your first sketch goes smoothly.
What to grab first
2. Map Your Dots on Paper Before You Touch Skin
Skipping the paper stage is the fastest way to end up with a constellation that looks lopsided once it is actually tattooed. Stars that seem evenly spaced in a reference photo can bunch together strangely when you resize the design for a wrist or a rib.
Sketch the dots first, check the gaps between them, then redraw until the spacing looks steady from a few feet away.
3. Keep Your First Lines in Pencil, Not Pen

Pencil first, every time, even if you have sketched constellations before. Pen locks you into a mistake the moment you make it, and constellation designs usually need a few rounds of adjustment before the proportions feel right.
Go over your dots lightly, connect them, step back, and erase anything that looks cramped or crooked before you commit to darker lines.
💡 Quick Tip
Keep a second pencil nearby that’s softer than your main one, so faint guide lines erase cleanly without smudging your finished dots.
4. Decide How Your Stars Connect: Straight, Curved, or Dotted Lines
Straight lines read as bold and modern. Curved lines feel softer, closer to a constellation drawn by hand than traced from a chart. Dotted or broken lines skip the connection altogether and let the stars carry the shape on their own, which works well on smaller placements like a finger or an ankle.
None of these is more correct than the others. The right choice depends on how much detail your chosen constellation needs to stay readable at tattoo size.
5. Vary Star Size to Show Which Ones Are Brightest
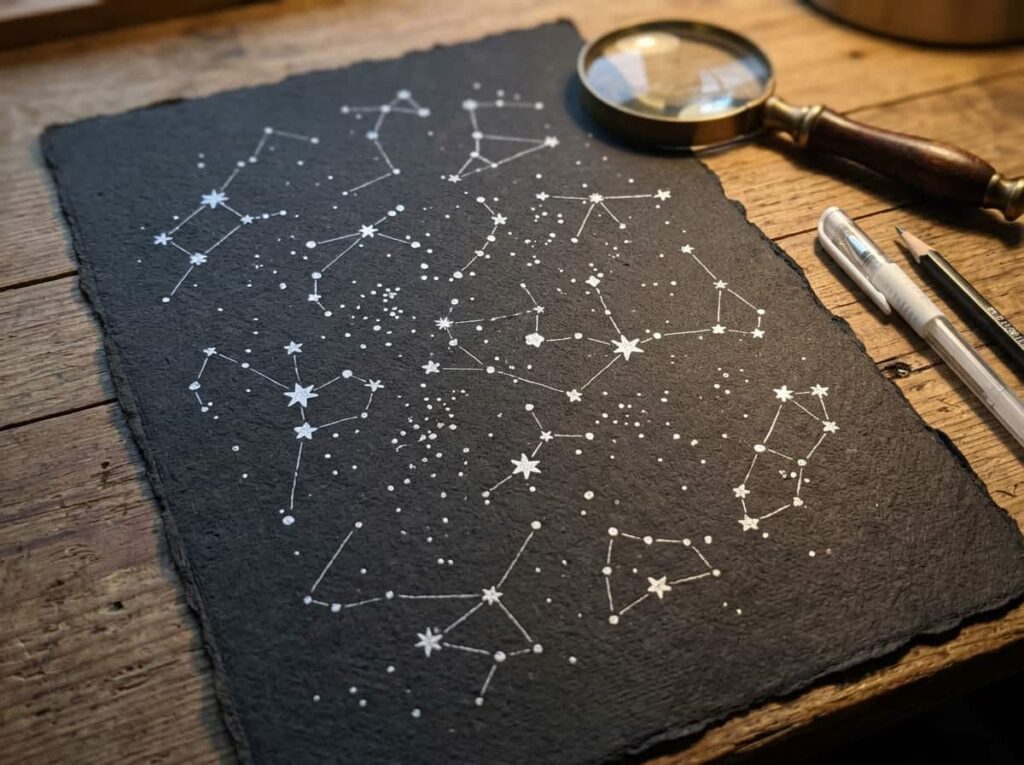
Real constellations are not made of identical dots. Some stars genuinely outshine their neighbors, and giving your brightest points a slightly larger size adds depth without any extra linework.
Pull up a reference chart, note which stars are listed as the brightest, and work through sizing them in this order.
Mark your one or two brightest stars first and draw those dots largest.
Size the mid-brightness stars noticeably smaller, about half the scale.
Keep the remaining stars as tiny dots so the size contrast stays obvious.
6. The Spacing Mistake That Makes a Constellation Look Crowded
People new to this tend to pack their stars too close together once they see how the design looks on paper. It feels balanced up close, then shrinks down for the actual tattoo and turns into a blur of dots with no breathing room.
Give each star enough space that a viewer standing a few feet away can count them individually. If you cannot tell two dots apart without squinting, they are too close.
Leave at least a finger’s width between neighboring stars.
Test your spacing at the actual size you plan to tattoo.
Cramming extra stars in just to match a reference chart exactly.
Sketching at full size and shrinking it down later.
7. Freehand Sketch vs. Printed Stencil: Which Fits Your Style
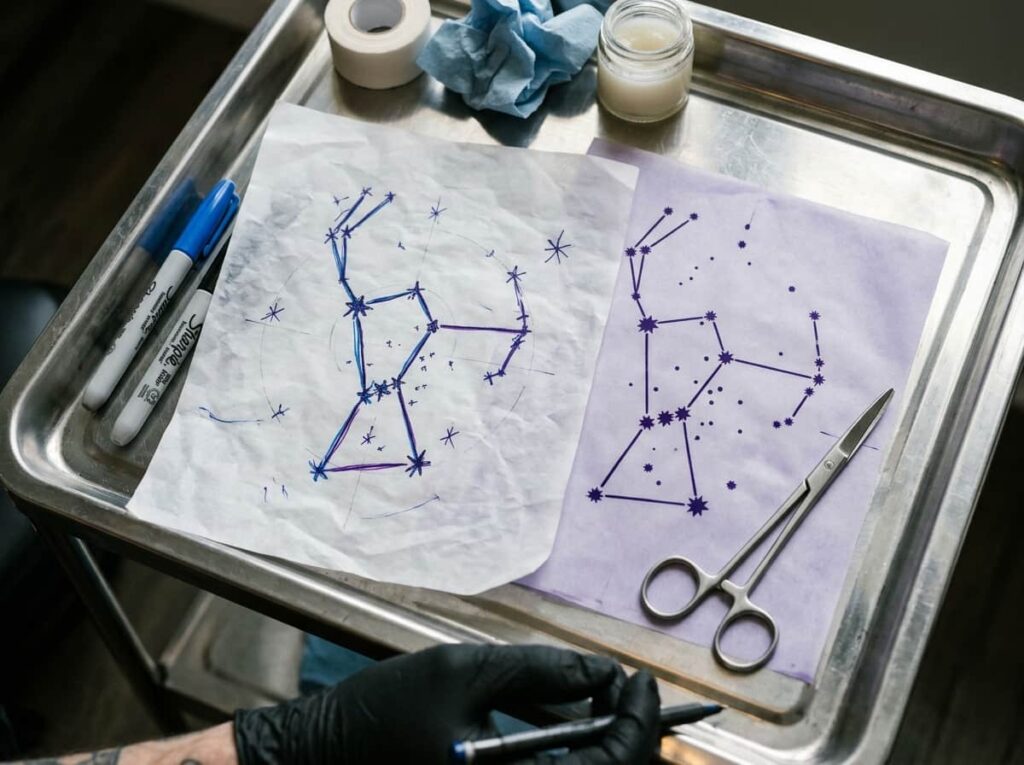
Freehand gives your constellation a looser, more personal feel, since no two dots will ever land in exactly the same spot twice. A printed stencil gets you precision instead, which matters more if you are working with a constellation that has an unusual or well known shape.
Neither approach is wrong. It mostly comes down to how much you trust your own hand and how exact the final shape needs to be.
| Freehand | Stencil |
|---|---|
| Looser, more personal lines | Exact star positions every time |
| Good for simple, forgiving shapes | Better for complex or unusual constellations |
8. Turn Your Rough Sketch Into Clean Tattoo Linework
Once your dots and connecting lines are settled, trace over the whole design with a fine liner pen. This is where a messy practice sketch turns into something you could actually hand to an artist.
Go slow on this pass. A shaky rough sketch is forgivable, but linework you plan to bring into a shop needs to read clearly even when it is scaled down to actual tattoo size.
A pencil sketch with smudges, stray lines, and uneven dots from multiple drafts.
Clean, confident linework ready to photograph or hand to your tattoo artist.
9. Add a Soft Glow Around Your Brightest Star
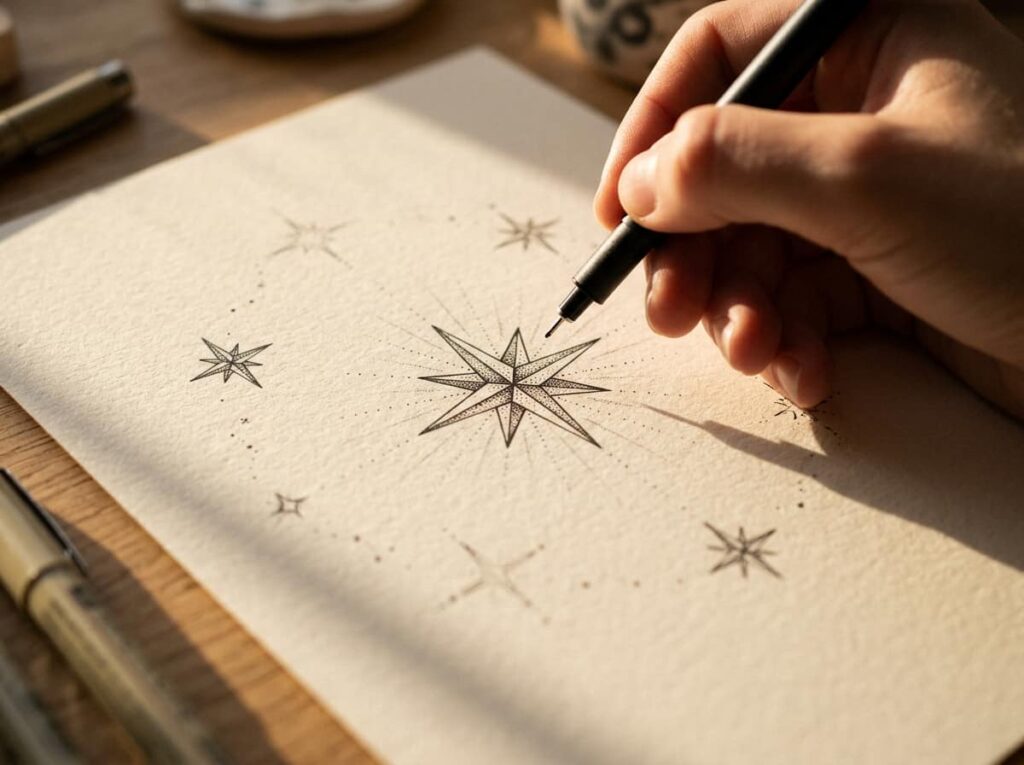
One small detail separates a flat constellation from one that feels like it belongs in a night sky. A faint ring of tiny dots or short radiating lines around your brightest star mimics a glow, and it only takes a minute to add.
Keep it subtle. One glowing star reads as intentional, but glow on every point just muddies the design.
💡 Quick Tip
Four to six tiny dots spaced evenly around the star reads as a glow without looking busy.
10. Do This Final Check Before You Call the Design Done
A design that looks finished on paper can still fall apart once it meets skin, so give it one last pass before you bring it anywhere near a tattoo shop.
Hold your sketch at arm’s length. If every star and line is still clearly readable from there, your design is ready.
11. Build Your Transfer-Ready Checklist Before Your Appointment

Your tattoo artist will need more than just your finished sketch to work from. A few extra details save time at your appointment and help your artist recreate the design accurately on the first try.
Pull these together before you walk in.
Before your appointment
Conclusion
A constellation tattoo looks complicated from the outside, but every version of it comes down to the same handful of moves: picking a pattern you can actually manage, spacing your stars with some room to breathe, and choosing linework that holds up at real tattoo size. None of that takes special training, just a willingness to sketch something twice before you settle on it.
Once you know how to draw a constellation tattoo this way, you can apply the same process to any star pattern that catches your eye, not just the ones in a tutorial. Keep your pencil sketches, since you will probably want to revisit this design again down the road.







Leave a Reply