
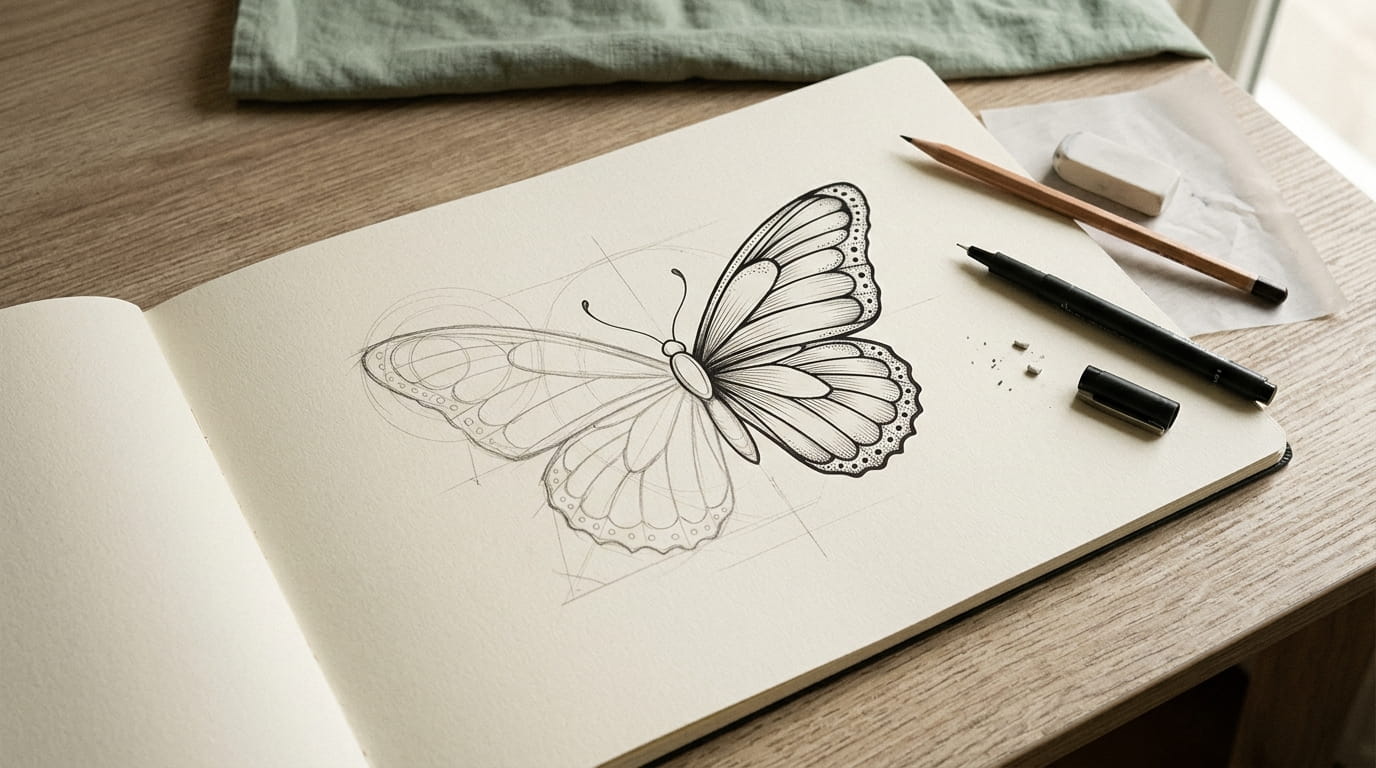
Most butterfly tattoo tutorials start with a finished drawing and expect you to copy it. That works if you already know where the wings attach and why one side always ends up bigger than the other. If you don’t, you end up with a lopsided shape and a pile of crumpled paper.
The fix is not more talent. It is a better order of steps. A butterfly is just an oval body, a cross for placement, and four wing shapes that mirror each other. Build it in that order and the hard parts get small.
This guide shows you how to draw a butterfly tattoo from a rough outline to the last bit of detail, one clear step at a time. You need a pencil, an eraser, and about an hour. Each step has a quick visual you can check on your phone while you draw.
Keep a scrap page nearby. Your first try is practice, and the second one is usually the keeper.
1. Gather Three Simple Tools Before You Draw a Single Line
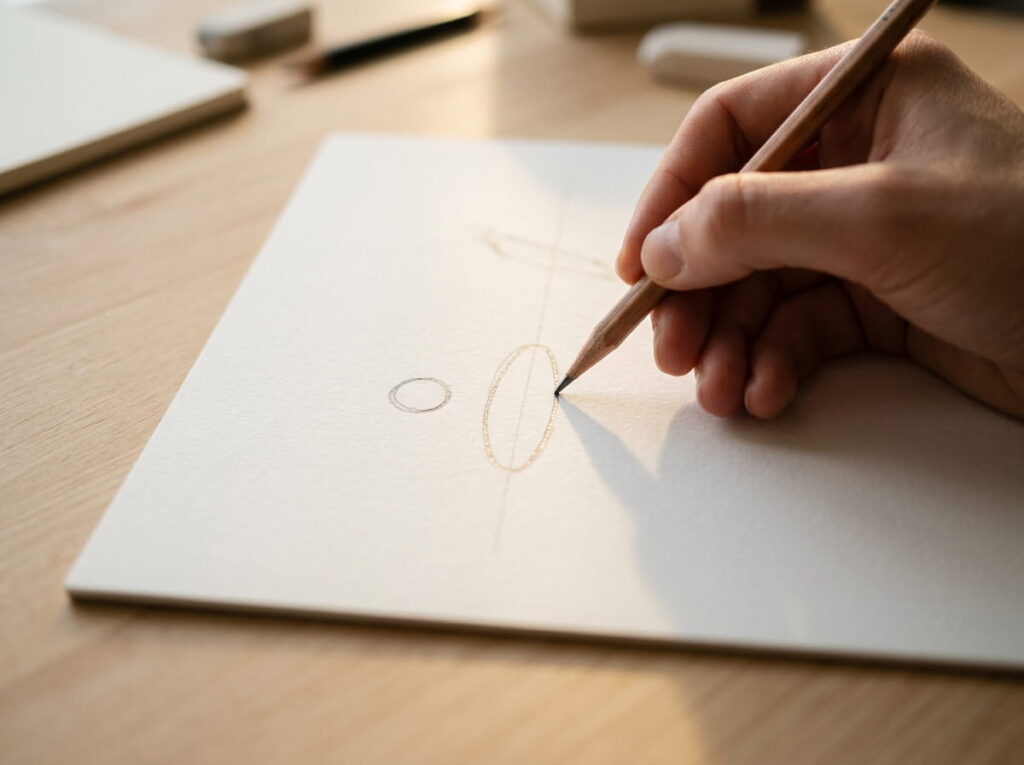
Nothing kills a good sketch like a pen that smears.
Start with a soft pencil, a plastic eraser, and plain printer paper. A 2B pencil makes light lines you can erase and darker lines you can build on. Skip the fancy sketchbook for now. Thin paper is easier to see through later, when you mirror the wings.
Keep a ruler close too. You will use it once, for the center line, and then put it away.
What to grab first
2. Pick One Wing Shape First: Rounded, Pointed, or Swallowtail
Rounded, pointed, or swallowtail. That one choice changes the whole look of the tattoo.
Rounded wings read soft and gentle. Pointed wings look sharper and more graphic. Swallowtail wings add a long tail on each lower wing, which gives the design a bit of movement.
If this is your first butterfly, go rounded. The curves forgive small mistakes in a way straight edges never will.
3. Start With a Slim Oval for the Body
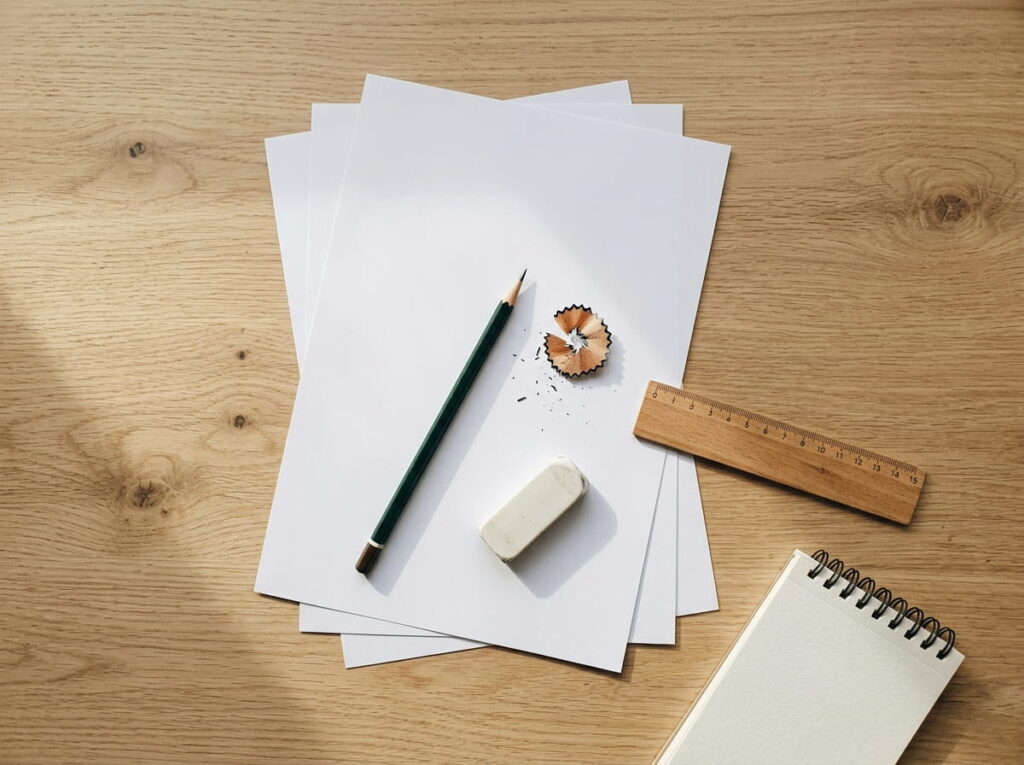
The body goes down first because everything else hangs off it.
Keep it slim. A fat body fights the wings for attention and makes the whole butterfly look heavy. Think of a grain of rice standing upright, with a small circle on top for the head.
Draw it lightly. You will erase parts of it later where the wings overlap.
Draw a straight vertical line down the middle of the page with your ruler. Keep it faint.
Center a long, thin oval on that line for the body.
Add a small circle at the top for the head, slightly overlapping the oval.
4. Sketch a Light Cross to Place the Wings
Most lopsided butterflies go wrong here, before a wing even exists. People eyeball the placement and the left side drifts higher than the right.
Draw a light X across the body, with the top arms longer than the bottom arms. Each arm marks where a wing tip will land. Press so softly you can barely see it. These lines are scaffolding, and they get erased.
Set it up once and every step after gets easier.
Make the top arms longer than the bottom arms.
Hold the page at arm’s length to check that both sides match.
Keep every line light enough to erase.
Drawing all four arms the same length.
Starting the wings before the cross is down.
Pressing hard, since dark guides never fully erase.
5. Draw the Upper Wing on One Side Only
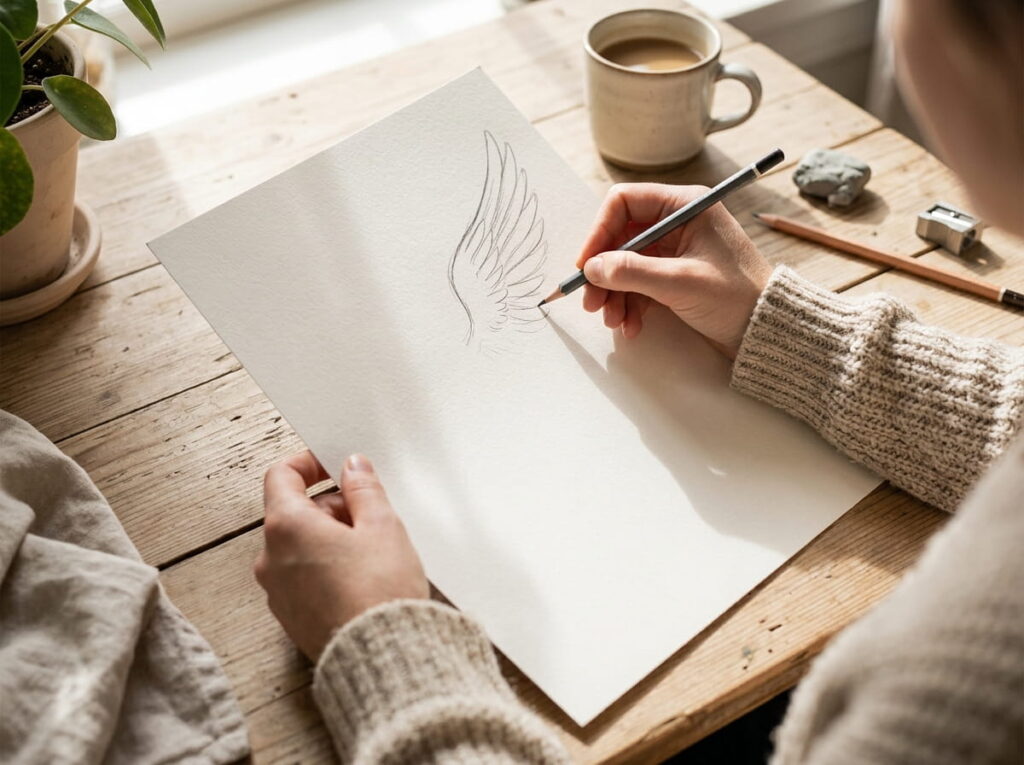
One rule for this step: draw only half.
Pick the left or right side and finish the upper wing there first.
- Start at the top of the body, where the wing joins.
- Sweep outward in one curve to the wing tip.
- Come back toward the body with a gentler curve.
Fix this single wing until you like it. The mirrored side will copy every flaw, so it pays to be picky now.
💡 Quick Tip
Turn the paper sideways while you draw the long curve. Your wrist naturally pulls curves in one direction, and rotating the page lets your hand take the easy path.
6. Tuck the Lower Wing Under the Upper One
Look at any real butterfly photo and you will see the same thing. The lower wing starts behind the upper wing, not beside it.
So draw the lower wing as a smaller, rounder shape that begins near the middle of the upper wing’s back edge. Let the two overlap on the page for now. Then erase the lower wing’s line wherever the upper wing sits in front of it.
- Make the lower wing about two thirds the size of the upper one.
- Round the bottom edge more than the top.
- Erase the hidden section last.
That erased overlap is what makes a flat shape look layered.
The lower wing floats beside the upper wing like a separate shape, or its lines cut straight through the upper wing and make the drawing look cluttered.
The lower wing starts behind the upper one, and the hidden lines are erased. Now the two wings read as one connected butterfly.
7. Mirror the Second Side With Tracing Paper, a Fold, or a Phone Photo
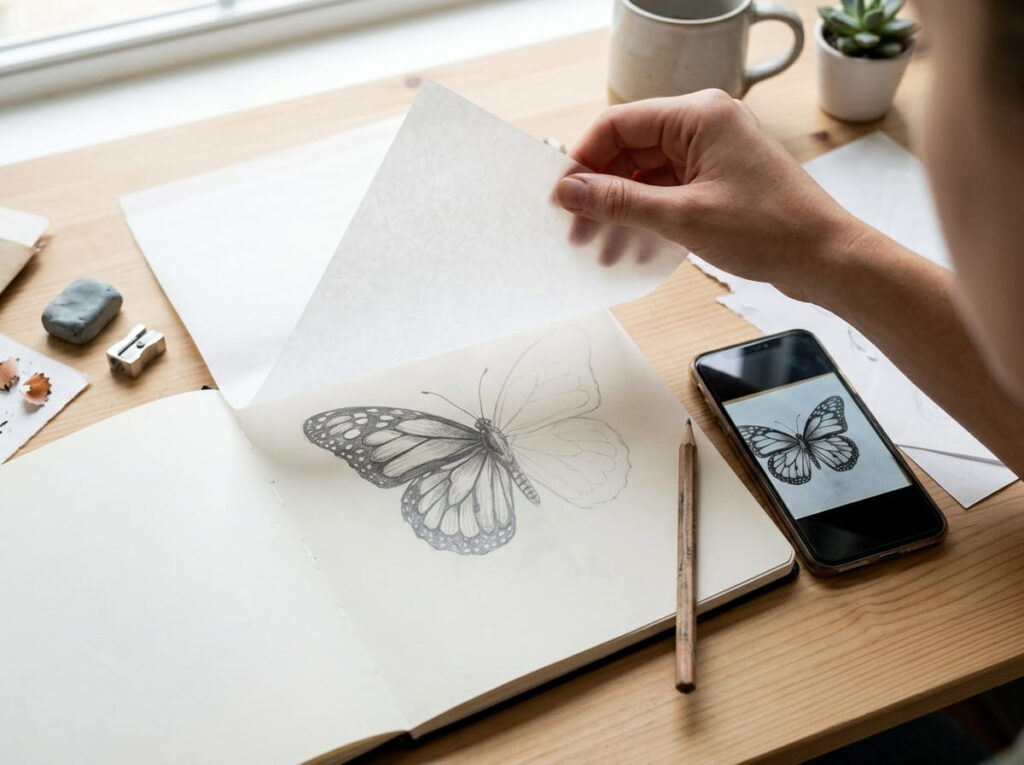
Drawing the second wing freehand is where most symmetry falls apart. Your eye is good at spotting a mismatch and bad at preventing one.
Let a tool do the matching instead. All three methods below work, and none of them is cheating. Tattoo artists mirror stencils all the time.
Pick the one you have on hand and do the mirroring in pencil, before any ink goes down.
| Method | How it works | Watch out |
|---|---|---|
| Tracing paper | Trace the finished side, flip the sheet over, and line up the center line. | Press lightly or the lines get thick. |
| Fold and press | Fold along the center line and rub the back so the graphite transfers. | The transfer is faint, so go over it right away. |
| Phone photo | Photograph one side, flip it in your photo editor, and trace from the screen. | Set screen brightness high so the lines show through. |
8. Curve the Antennae Outward, Not Straight Up
Straight antennae make a butterfly look like a bug that got stuck on a pin. A slight outward curve gives it a lifted, alive look.
From the top of the head, draw two thin lines that start close together and drift apart. Keep them shorter than the upper wing. If they run longer, they pull the eye away from the wings, which are the whole point of the design.
Finish each one with a tiny dot or a small curl. That little end detail is enough.
9. Trace Your Final Outline With One Confident Line
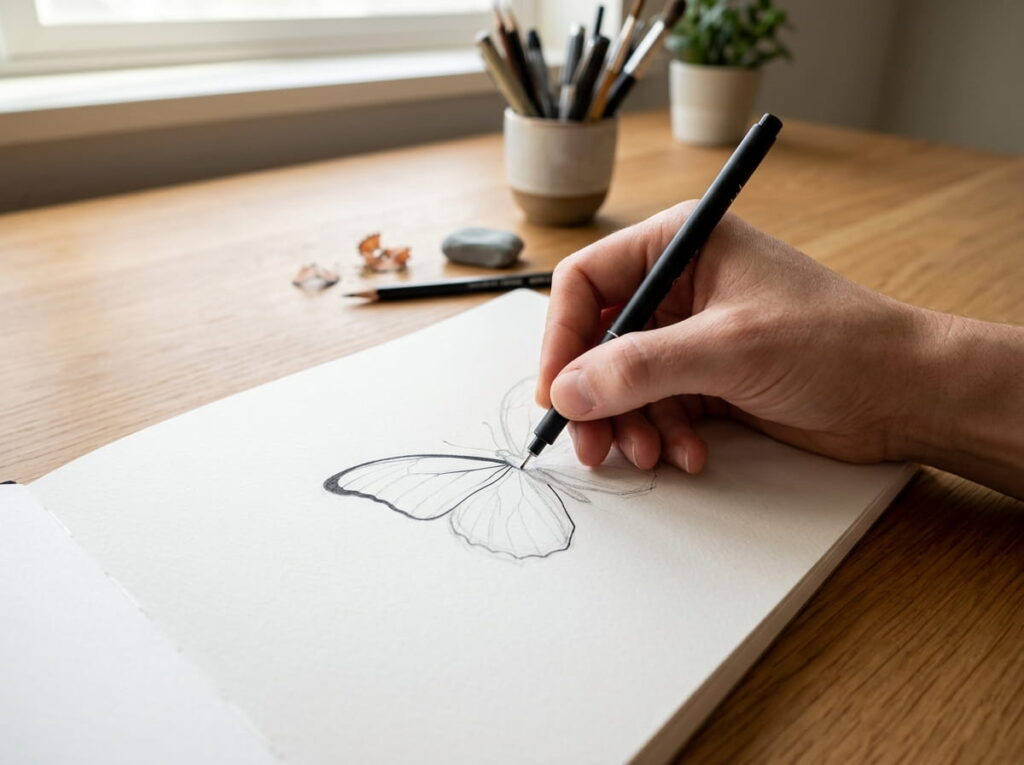
Here is the mistake that makes clean sketches look shaky. People trace slowly, one tiny stroke at a time, and every pause leaves a wobble.
Move at a steady, medium pace and draw each long curve in a single pass. Stop at the corners where the line changes direction, lift your pen, and start the next stretch there. Rotate the paper so your hand always pulls toward you.
Wait a minute for the ink to dry before you erase the pencil underneath.
- ▸Draw each long curve in one pass, without stopping midway.
- ▸Lift the pen at sharp corners and restart right there.
- ▸Make the outer wing edge a little bolder than the inner lines.
- ▸Rest your pinky on the page so your hand stays steady.
- ▸Erase the pencil guides only after the ink is fully dry.
10. Add Vein Lines That Fan Out From the Body
Veins give the wings structure, and they are easier than they look. They all start at the same spot, where the wing meets the body, and spread outward like the ribs of a paper fan.
Draw three to five lines in each upper wing, curving each one slightly to follow the wing’s edge. In the lower wing, use two or three. Let the lines stop just short of the outer border instead of touching it.
Make the lines thinner as they travel outward. A line that fades toward the edge looks natural, and one with constant weight looks like a ruler drew it.
Start every vein at the body, make it thickest there, and let it thin out before it reaches the wing edge.
11. Decorate the Wing Edges With Dots and Small Scallops
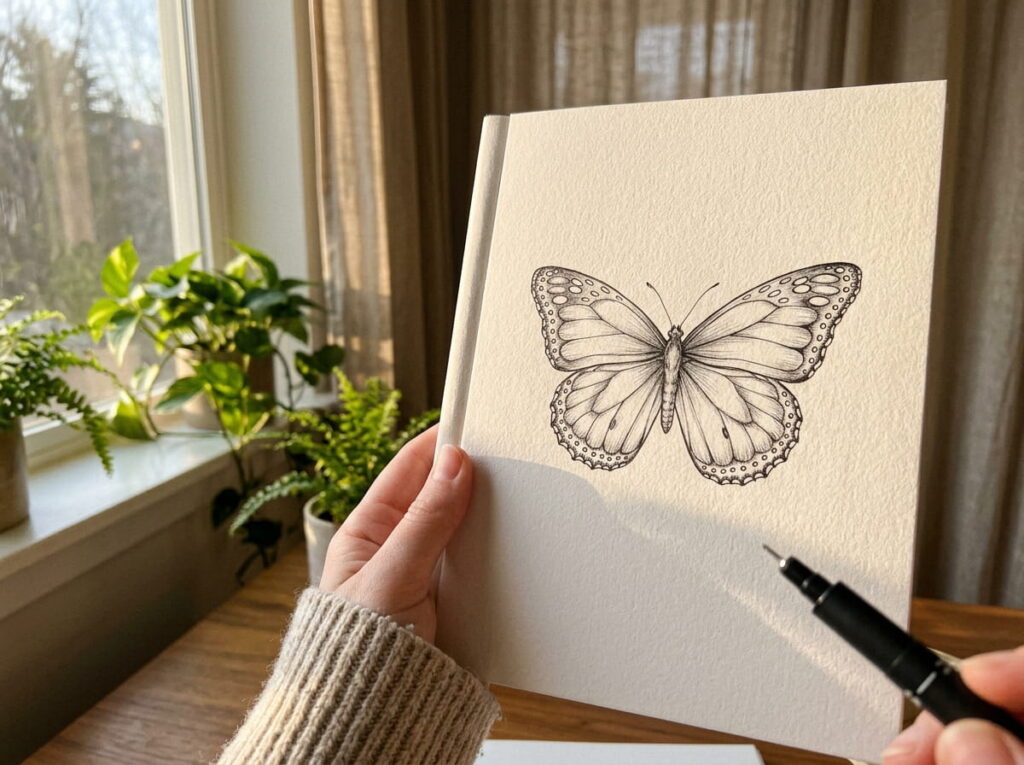
Real butterflies carry their detail along the edges, so that is where yours should go too. Leave the center of each wing open and save the decoration for the border.
Pick one or two edge details and repeat them evenly. Mixing five styles makes the wings look busy and muddy at tattoo size.
Space them by eye, then adjust. Evenly spaced details look planned, and uneven ones look like mistakes.
Edge details to choose from
12. Shade With Simple Hatching Instead of Smudging
Smudged pencil shading looks soft on paper, but it turns to a gray blur once it is shrunk down to skin size. Lines hold up better.
Hatching means short, parallel strokes that follow the wing’s shape. Put them where shadow would fall naturally: close to the body, along the lower edge of each wing, and inside the scallops.
Keep the strokes in one direction per area. Crossing them in two directions is cross-hatching, and it gets dark fast, so save it for one small spot if you use it at all.
13. Test the Design at Skin Size Before You Commit
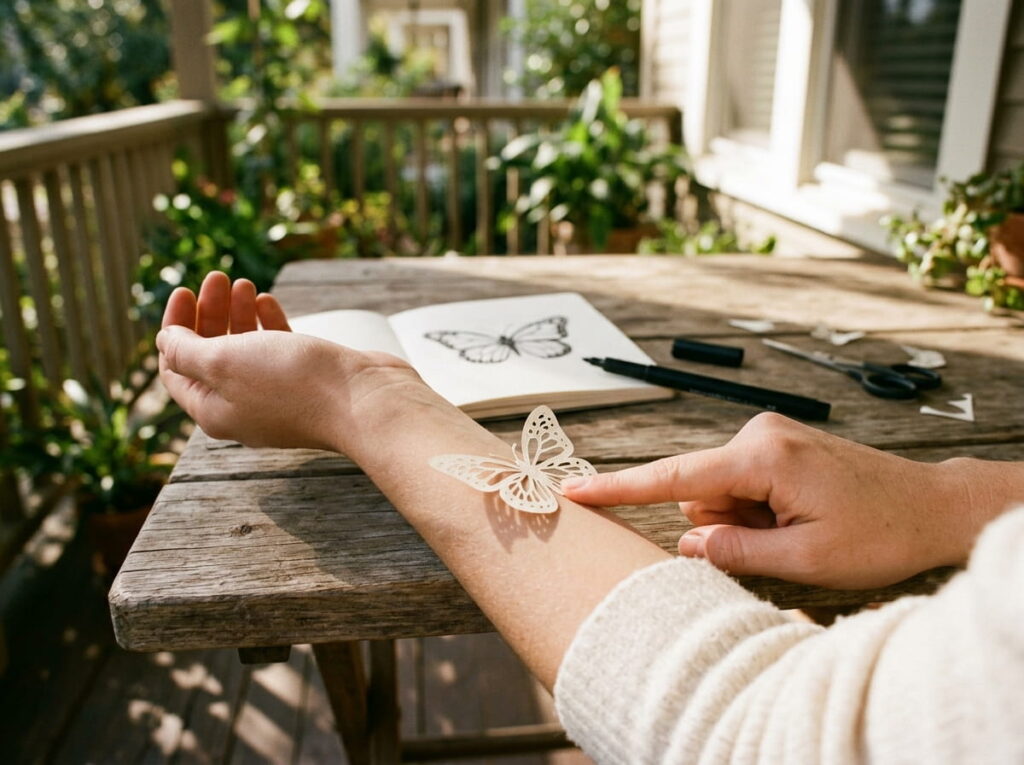
A drawing that looks great on a full page can fall apart when it shrinks. Fine lines close together blur into one dark patch, and tiny dots disappear.
Photocopy or print your butterfly at the size you want on your body. Cut it out and tape it to your skin, or sketch it there with a washable pen. Leave it for a day and see how it feels where it will live.
If you plan to get it tattooed, bring the drawing to an artist. They can tell you which lines will age well and which need more space between them.
📌 Good To Know
Your sketch is a starting point for a tattoo artist, not a finished stencil. Artists often adjust line spacing and thickness so the design stays clear as skin changes over the years.
Conclusion
You now have the full order: tools, wing shape, body, cross, one upper wing, the tucked lower wing, a mirrored side, antennae, a clean outline, veins, edge details, shading, and a skin size test. Each step is small. Stack them in that order and learning how to draw a butterfly tattoo stops feeling like guesswork.
Your first butterfly will probably have one wing that fights you. That is normal. Draw it again, and the second one will come faster, because your hand remembers the curves.
Keep your best sketch somewhere you can find it. If you ever take it to a tattoo artist, a drawing you have already refined gives them a real starting point.
Save this list to your butterfly tattoo board so you can come back to it the next time you pick up a pencil.







Leave a Reply