
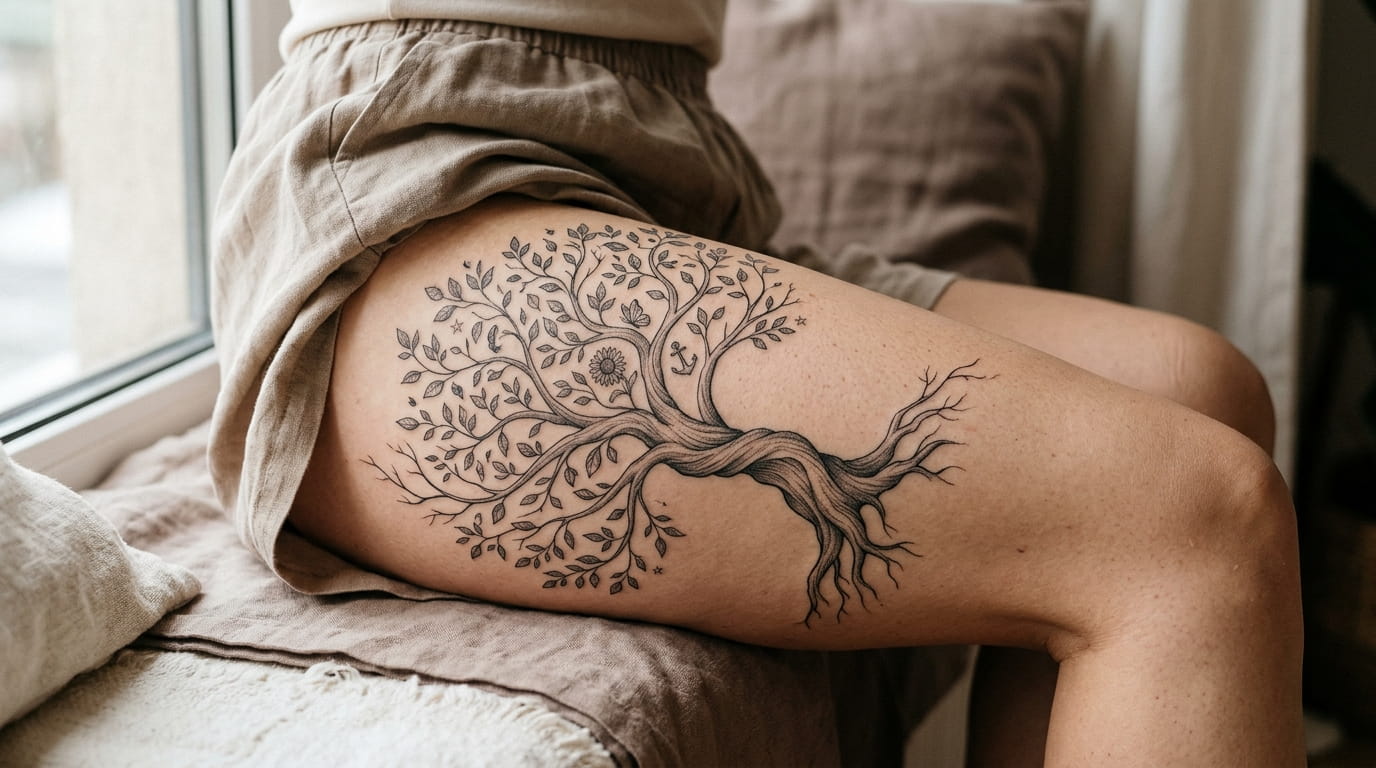
Most family tree tattoos go wrong before the artist picks up a needle. The tree gets drawn first, and the family gets squeezed in afterward.
That is how someone ends up with a tidy trunk, six branches, and seven people who need a spot on them. Then a niece is born, a cousin gets married, and the design has nowhere left to grow.
A good family tree tattoo starts in the opposite order. You decide who belongs, how much detail you want, and how big the finished piece can be. Then the tree is shaped around those answers.
The steps below move from simple layouts to detailed ones. You will start with a single trunk, add branches and roots, and finish with a full multi generation design. Along the way you will find ways to handle symbols and names, plus a few checks to run before you book.
1. Decide Who Belongs on Your Family Tree Tattoo Before You Sketch a Branch

Make the guest list first. Every layout choice after this depends on it.
Most people start with a rough headcount and then adjust. Think about who sits on the tree now and who might join it later. Some families keep it tight. Others want everyone.
Groups people often include:
- Parents and siblings only
- Grandparents, aunts, uncles, and cousins
- Stepfamily and blended family
- Chosen family, close friends, and pets
Write the names on paper and count them. That number tells the artist how many branches, leaves, or symbols the design has to hold.
Write every name down and count them before the first sketch.
Ask the people involved if they want a place on the tree.
Drawing the tree first and fitting people in afterward.
Leaving someone off by accident and finding out after it is inked.
2. Start With a Single Trunk Line That Has Room to Grow
A tree with a thick, crowded trunk has nowhere to go. A trunk with a clean line and a little empty space above it can take new branches for years.
Ask for a trunk that is taller than the first design needs. It should have a few open spots where a branch could split off later. Many artists can add to a tree they drew, but they can only work with the space you left.
If this is your first tattoo, a lone trunk with two or three branches is a solid starting point.
💡 Quick Tip
Ask the artist to sketch the tree with blank space on both sides of the trunk and above the top branch. Then picture where a new cousin, spouse, or baby would fit. If you cannot see the spot, the design is too full.
3. A Bare Branch Tree With One Leaf for Each Person
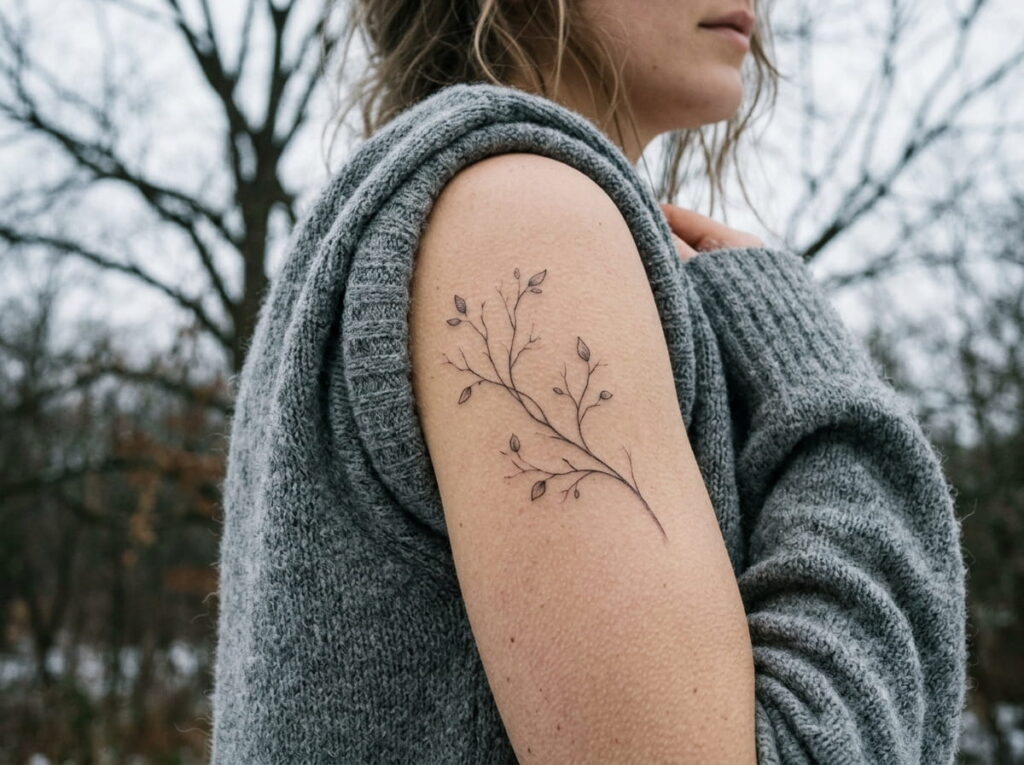
Look at a winter tree. Every branch is visible, and a single leaf would stand out.
That is the idea here. Draw the branches bare, then place one small leaf for each person. The leaves can be different shapes, different sizes, or the same, and they stay readable at a small scale. A full canopy fills in fast and turns into a dark mass as the years go by.
Bare branches also make it easy to add one more leaf later without redrawing anything.
A thick leafy canopy where seven names are packed between the leaves and none are easy to read.
Thin bare branches with seven small leaves, each one clear, with open space left for the next addition.
4. Roots at the Bottom for the Generations Who Came Before You
Roots are the quiet half of a family tree tattoo. They sit underground, hold everything up, and nobody sees them first.
Use them for grandparents, great grandparents, or the people who started the line. Some artists draw roots as a mirror of the branches. Others draw them wider and more twisted so they feel older.
Keep the root spread in proportion. Roots that swallow the bottom of the design make the living family look small.
| Roots | Branches |
|---|---|
| Grandparents and earlier | Parents, siblings, and children |
| Thicker, twisted lines feel older | Thinner, lighter lines feel newer |
| Fixed once the design is done | Can grow with the family |
5. Pick a Different Symbol for Every Family Member
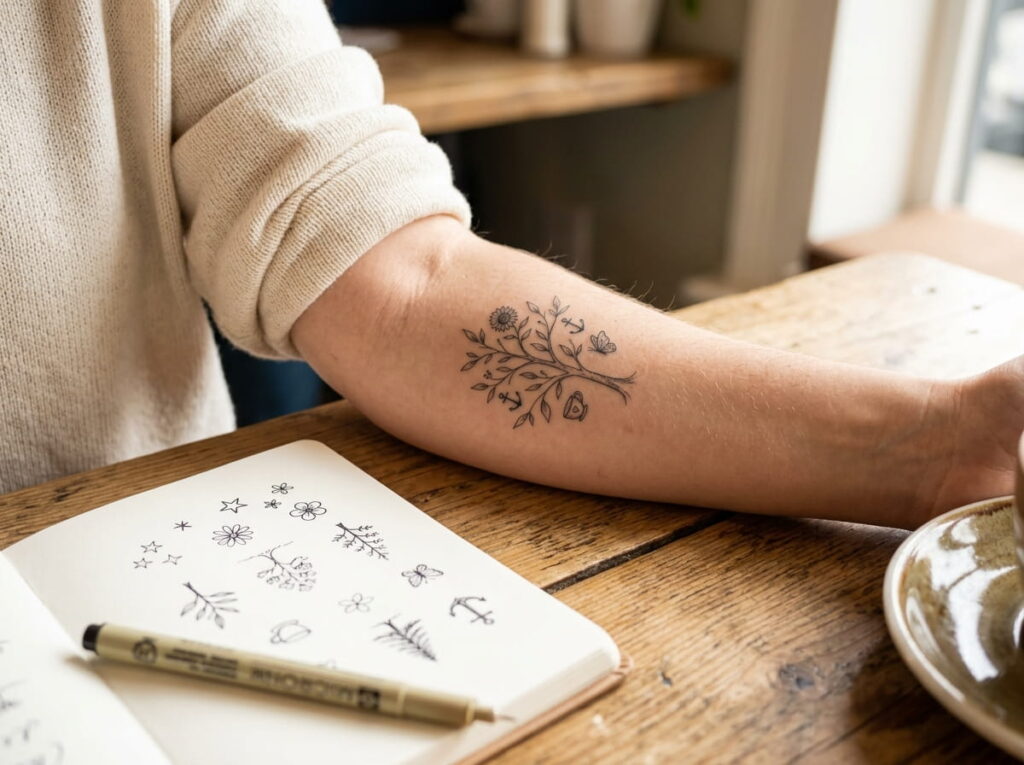
Initials get lost at a small size, but a tiny shape is easy to read from a distance. That is why a symbol for each person can work better than a name.
Choose something that fits who they are, not what they look like. Your brother who is always outdoors might be a pine cone. Your mom who hosts every holiday might be a teacup. The best ones make your family laugh when you explain them.
Write down a short reason for each symbol so you remember it when the artist asks.
6. Choose Initials, Full Names or Dates by How Small the Tattoo Will Be
Size decides this one, not preference. A full name needs room, and a date needs even more.
On a small piece, stick to a single initial per leaf or branch. On a medium piece, first names in tiny script can work if the artist keeps the letters spaced. Full names and dates belong on large placements like the upper arm, back, or thigh, where the lines have space to stay separate as the skin changes over time.
When in doubt, go smaller on the text and let the symbols carry the meaning.
What to give the artist
7. Fit the Tree Inside a Circle When Space Is Tight

A tree inside a circle solves a common problem. Branches that spread out need width, and a circle keeps them contained.
The outline acts like a frame. The branches curve to follow it, the roots echo the bottom, and the whole thing becomes a compact badge that fits on a wrist, ankle, or shoulder blade. It also reads as one finished piece even before you add a single leaf.
Ask whether the circle should be a thin ring, a double ring, or a partial arc that leaves the top open.
8. Print the Layout at Real Size and Test It on Your Skin
A design that looks good on a phone can look cramped on an arm. Screens shrink everything and hide how big it really is.
Ask the artist for a printed stencil or a paper version at the actual size. Hold it against the spot and look at it from a few steps away, then in a mirror. Move around and bend the joint if the tattoo sits near a wrist or elbow, since the lines shift when you do.
Skipping this step is the most common way people end up wishing it was bigger or smaller.
Ask the artist for a paper print or a stencil at the exact size.
Tape or hold it on the spot and check it in a mirror from several feet back.
Wear it for a day if the artist allows, then decide on size and placement.
9. Build a Detailed Layout With Parents, Siblings and Children on Separate Branches
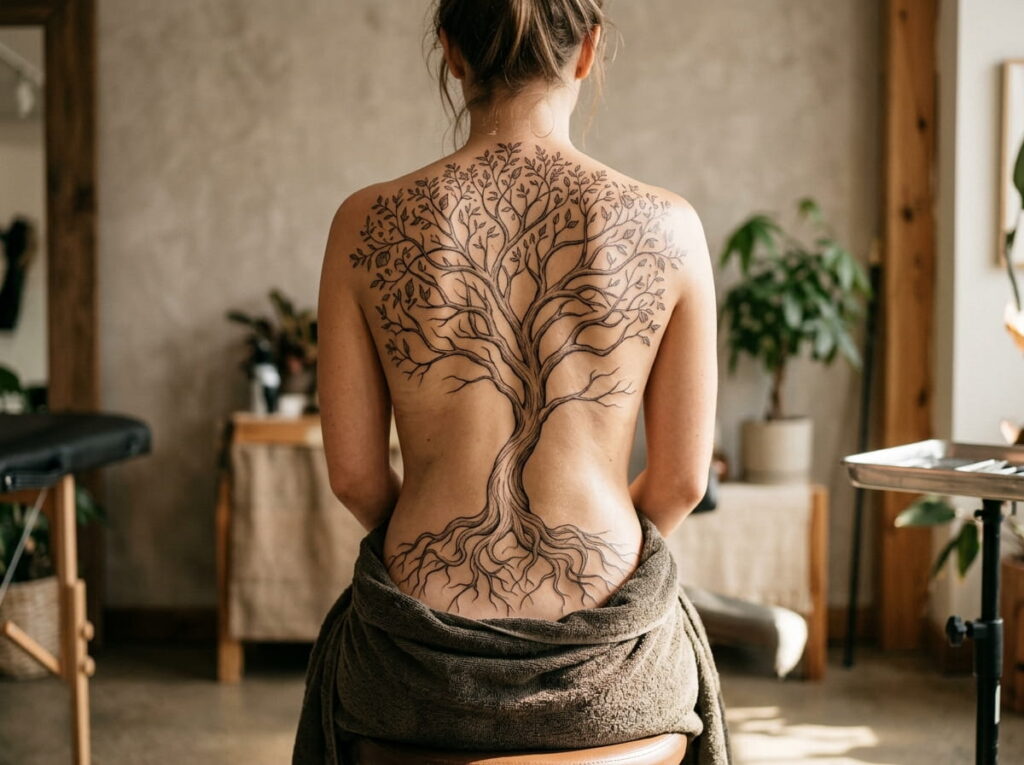
Once you know your head count, you can give each generation its own level. Parents sit on the main limbs, siblings on the next set, and children on the tips.
This layout takes the most space, so it suits a back piece, a forearm wrap, or a thigh. It also needs the cleanest planning. Give each group a different branch direction or leaf shape so the eye can tell them apart without reading names.
The ladder below shows how the layouts grow, from the simple trunk in item 2 to this full design.
10. Leave Empty Branches for Babies, Weddings and New Family
Families change. A tree that looks finished today can feel unfinished the day someone gets engaged.
So plan for it. Ask the artist to draw two or three short, bare twigs with no leaf on them. They look natural, and they give you a ready spot for the next person. Some people add a tiny bud instead, so the branch already has a hint of what is coming.
This works best when the choice is yours to make. Decide as a family whether you want to leave room and who gets to fill it.
⚠️ Watch Out
Talk with family before adding a spouse, partner, or in law to a permanent design. Relationships can change, and a leaf that is hard to remove is hard to explain later. A bud or a bare twig leaves the choice open.
11. Mark a Loved One Who Has Passed With a Gentle Detail
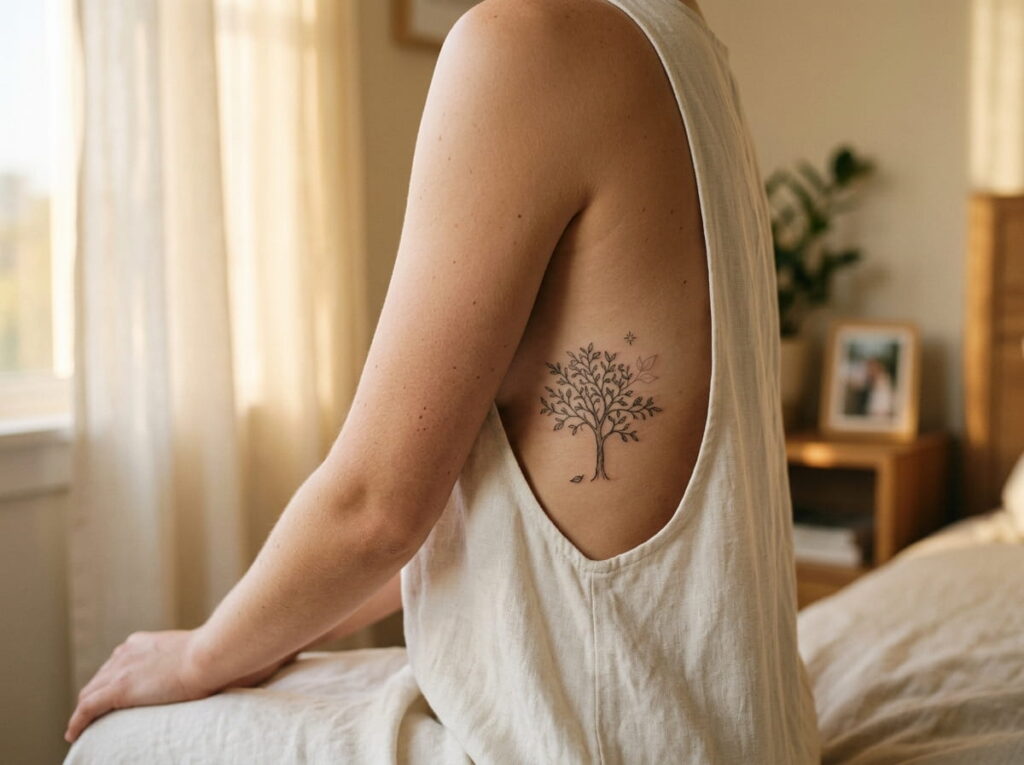
Some trees carry someone who is no longer here. The goal is to honor them without making the design feel heavy.
Choose a small detail that sets their branch apart. A tiny star above the leaf, a fallen leaf drifting beside the trunk, or a leaf drawn in a lighter outline all work well. Skip dates of death if you prefer, since the shape alone can say what you need.
Ask the family before you decide. Some want the mark visible, and others want it quiet.
A small change to one leaf can say more than a long inscription, so let the detail be quiet and let the branch stay part of the tree.
12. Match the Style to the Detail You Want: Fine Line or Dotwork
Pick the style before the artist draws a single branch. It decides how much detail the tree can hold.
Fine line gives thin, crisp branches and lets you fit small leaves and tiny lettering. Dotwork builds the tree from many small dots, which gives a soft, textured look, but it needs more space and does not suit tiny text. Neither is better. They just suit different layouts.
Look through the artist’s healed work before you commit. Healed photos show how the lines settle, which a fresh photo cannot.
| Fine line | Dotwork |
|---|---|
| Crisp, thin branches | Soft, textured shading |
| Handles small names and leaves | Works best with larger shapes |
| Can soften with age, so go a bit bolder | Usually needs more space and time |
13. Bring a Reference Sheet to an Artist Who Draws Trees Well

A clear sheet saves you from vague guesses. It also gives the artist something real to design from.
Collect everything in one place before the consult: the names, the symbols, your layout, and a few pictures of trees you like. Then look for an artist who draws organic shapes well. A great portrait artist is not always the right fit for branches, so check their portfolio for trees, plants, or flowing line work.
Book a consult first. A good artist will tell you if the layout needs fewer names or more room.
A Family Tree Tattoo Works Best When It Has Room to Grow
The strongest designs on this list have one thing in common. They were planned around real people, not around a template. Someone made the guest list, picked a layout that fit the space, and left a few bare twigs for whoever comes next.
A family tree tattoo does not need to hold everyone on day one. It needs a solid trunk, a clear idea of who belongs, and an artist who draws branches well. Start small if you are unsure. You can always add a leaf, but you cannot take one away.
Take your time with the sketch, test the size on your skin, and bring the family into the conversation.
When you are ready to plan yours, save this list to your Pinterest board and share it with the people on your tree.
Write the name list, pick your layout level, leave room for new branches, and test the stencil at real size before the first line is inked.







Leave a Reply