
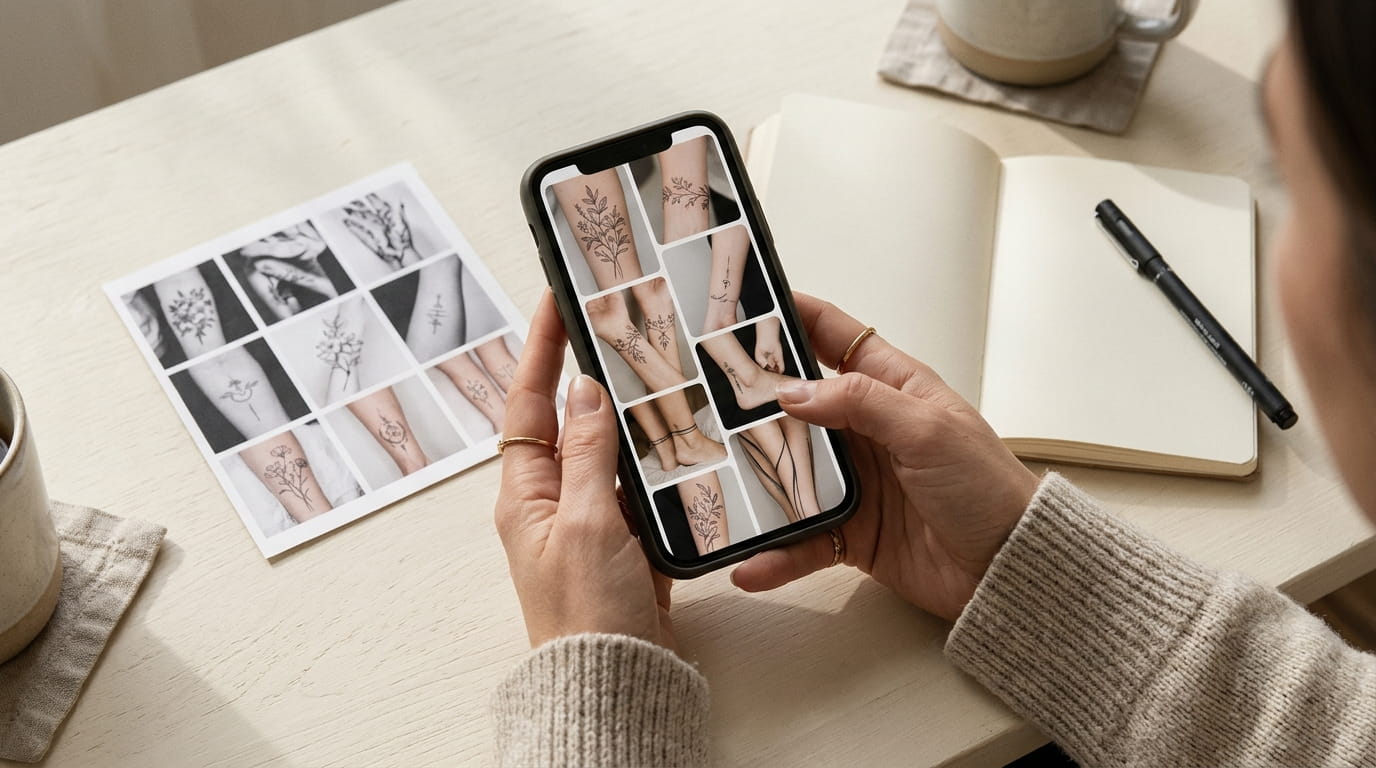
Most people walk into a tattoo consultation with a Pinterest board that looks like it belongs to three different clients. Fifteen pins, four completely different styles, a mermaid sitting next to a geometric wolf, and no sense of what they actually want. The artist nods politely and starts asking the questions the board should have already answered.
A real tattoo mood board does more than collect pretty images. It tells your artist your style, your size, your placement, and your linework preference before you’ve said a word. The issue isn’t a lack of taste. It’s that Pinterest rewards endless scrolling and saving, not narrowing anything down.
This walkthrough skips the scrolling spiral. In about ten minutes, you’ll go from a blank secret board to one that actually makes sense to someone holding a tattoo machine. No design background required, just a phone, a timer, and a plan to follow.
1. Start With One Word, One Feeling, or One Body Part
One clear anchor beats twenty scattered pins. Before you touch Pinterest, decide what’s steering this board: a single word like “quiet” or “wild,” a feeling you want the tattoo to carry, or the body part you already know you’re getting inked.
Skip this step and you’ll end up pinning anything remotely tattoo shaped, which is how boards turn into mood soup instead of direction. Pick one lane to start. You can always loosen it later, but skip this and you’ll spend your ten minutes pinning at random instead of narrowing anything down.
2. Turn Your Board to Secret Before You Pin Anything
Public boards turn into a performance. Once your pins can be seen by anyone who follows you, you start saving the image you want people to think you’d choose, not the one you’re actually drawn to. Flip the board to secret before your first pin.
It’s one tap in board settings, so there’s no reason to skip it. A private board means nobody’s judging your taste, and that’s exactly when your real preferences start showing up in what you save.
💡 Quick Tip
Tap Boards, then Create Board, then toggle Secret on before you save a single pin.
3. Search These Specific Phrases Instead of “Small Tattoo Ideas”

Typing “small tattoo ideas” feels productive. It isn’t. That phrase is so oversaturated that Pinterest keeps serving you the same handful of viral designs everyone else already has saved.
Swap it for the style plus the placement: “fine line tattoo ankle” or “single needle tattoo wrist” pulls from a narrower, more relevant pool almost immediately. Try three or four phrase variations before you settle into pinning. Specific searches pull specific results.
| Vague Search | Specific Search |
|---|---|
| “small tattoo ideas” | “fine line tattoo ankle” |
| “cute tattoos” | “single needle tattoo wrist” |
| “minimalist tattoo” | “micro tattoo placement ribs” |
4. Pin Fast for the First Two Minutes, Judge Nothing
The first two minutes should feel almost careless. Set a timer and pin anything that makes you pause, without asking whether it’s realistic for your size or budget yet.
That filtering works better later, once you can compare patterns across ten pins instead of debating each one alone. Treat this stage as instinct only, no second guessing. This step matters most if you’re the type who usually overthinks every choice before committing to it.
Pin anything that makes you pause.
Move fast for the full two minutes.
Stopping to weigh cost or size.
Debating each pin before moving on.
5. Pin a Few Styles You Already Know You Don’t Want
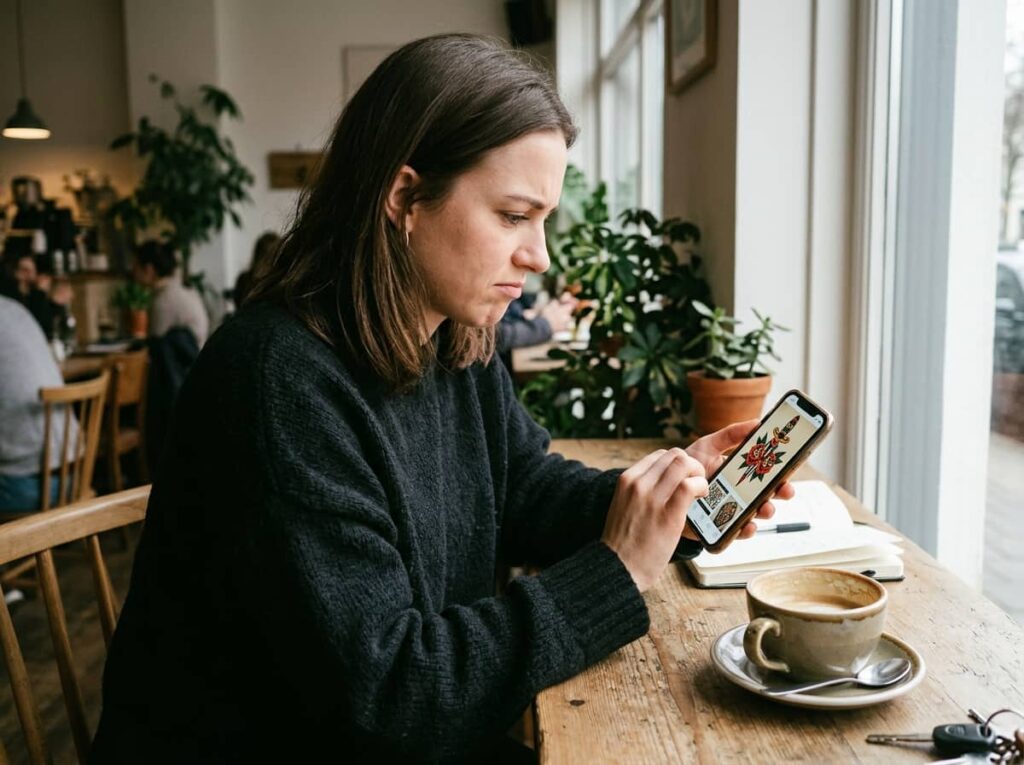
A board of only things you like is only half the picture. Add two or three pins of styles you know you don’t want: bold traditional if you’re after fine line, or a full sleeve if you want something coin sized.
Artists read contrast fast, and showing what you’re avoiding narrows the gap between what you’re imagining and what actually ends up on your skin. Showing what you don’t want often tells your artist more than another ten yes pins would.
A few “not this” pins to add
6. Sort Everything Into Three Quick Piles: Style, Placement, Size
Fifteen random pins don’t tell anyone anything. Go back through what you’ve saved and mentally sort each one into a pile: style, placement, or size. If a pin doesn’t fit cleanly into one of the three, that’s usually a sign it doesn’t belong on this board at all.
This step takes maybe ninety seconds, but it’s the difference between a board that reads as “here’s everything I like” and one that reads as “here’s exactly what I want.” Cut anything that can’t be sorted.
- ▸Style pile: fine line, dotwork, blackwork, watercolor.
- ▸Placement pile: wrist, ankle, ribs, behind the ear.
- ▸Size pile: coin sized, palm sized, longer vertical line.
7. Add One Reference Photo for Exact Placement
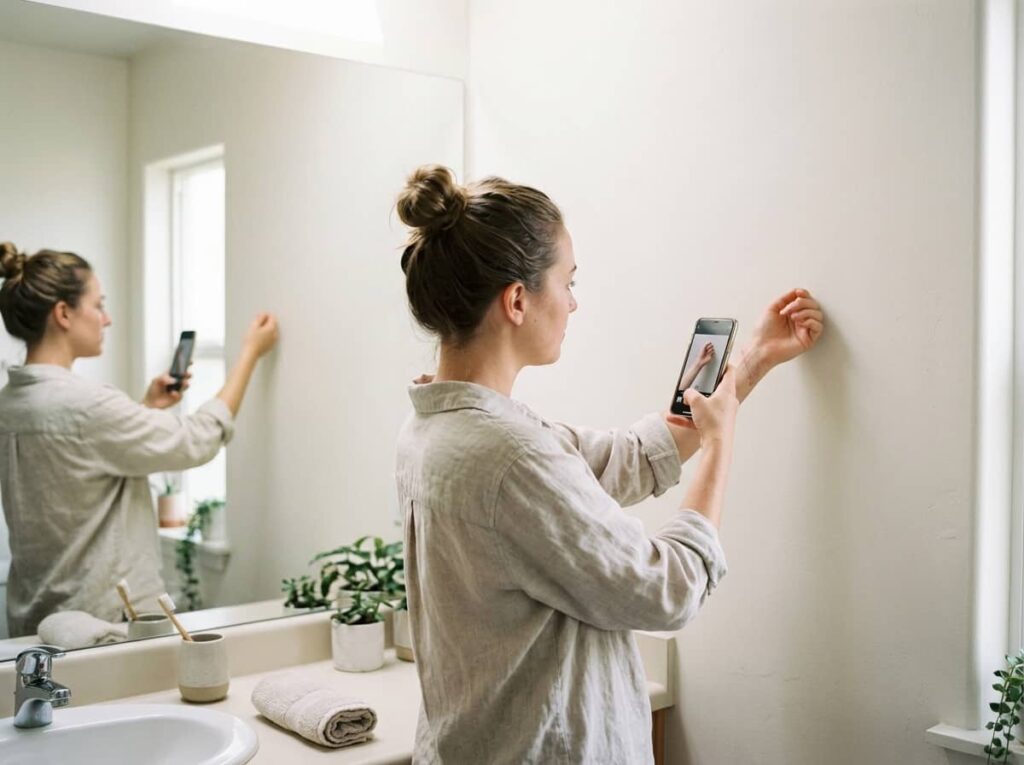
Here’s a mistake almost everyone makes without realizing it: they pin plenty of design inspiration and zero photos of their own body. An artist can’t guess how a design wraps around your specific wrist or sits on your specific ribs.
Take one photo of the actual spot, angled the way you’d normally see it, and pin that alongside your style references. It takes thirty seconds and saves an entire conversation about sizing at your consultation.
Photograph the exact spot in natural light, no filter.
Hold the angle you actually see it from, not a stretched pose.
Pin it next to your style references, not off on its own.
8. Pin at Least Two Linework Weights So Your Artist Knows the Difference
Thin lines and bold lines age differently, and “fine line” means something slightly different to every artist. Pin one example of hairline single needle work and one example of a slightly heavier line, then note which one you lean toward.
That small side by side does more to communicate your preference than paragraphs of description would. Artists read linework at a glance faster than they read your explanation of it.
9. Step Back and Check for One Clear Theme, Not Ten

Close the app for a minute, then open the board fresh and scroll through it like a stranger would. If you can’t describe the theme in one sentence, the board still needs work.
A board doing its job doesn’t need captions. The style, scale, and placement should already be obvious from the pins alone. This is the pass most people skip, and it’s the one that actually turns a pile of saved images into a usable reference.
Fifteen pins across three styles, two sizes, no clear direction.
One style, one scale, one placement, describable in a sentence.
10. Screenshot Your Board and Crop Out the Noise
Your artist doesn’t need to scroll through your whole Pinterest account. Screenshot the finished board, crop out the app’s header and navigation bar, and bring just the grid of pins.
That cropped image is what actually gets referenced during your consultation, not the app itself. A clean screenshot signals you’ve done the thinking already, which tends to earn a more detailed, collaborative conversation once you sit down.
A ten minute tattoo mood board with one clear theme beats an hour-long board with ten.
Conclusion
Ten minutes is really all this takes once you stop treating Pinterest like a scrapbook and start treating it like a brief. Pick one anchor, search specific phrases, pin fast without judging, then slow down and sort.
The pass most people skip, stepping back to check for one clear theme, is the one that actually makes the board useful. A tattoo mood board built this way does the explaining for you, so your consultation starts with “yes, exactly that” instead of twenty minutes of guessing.







Leave a Reply