
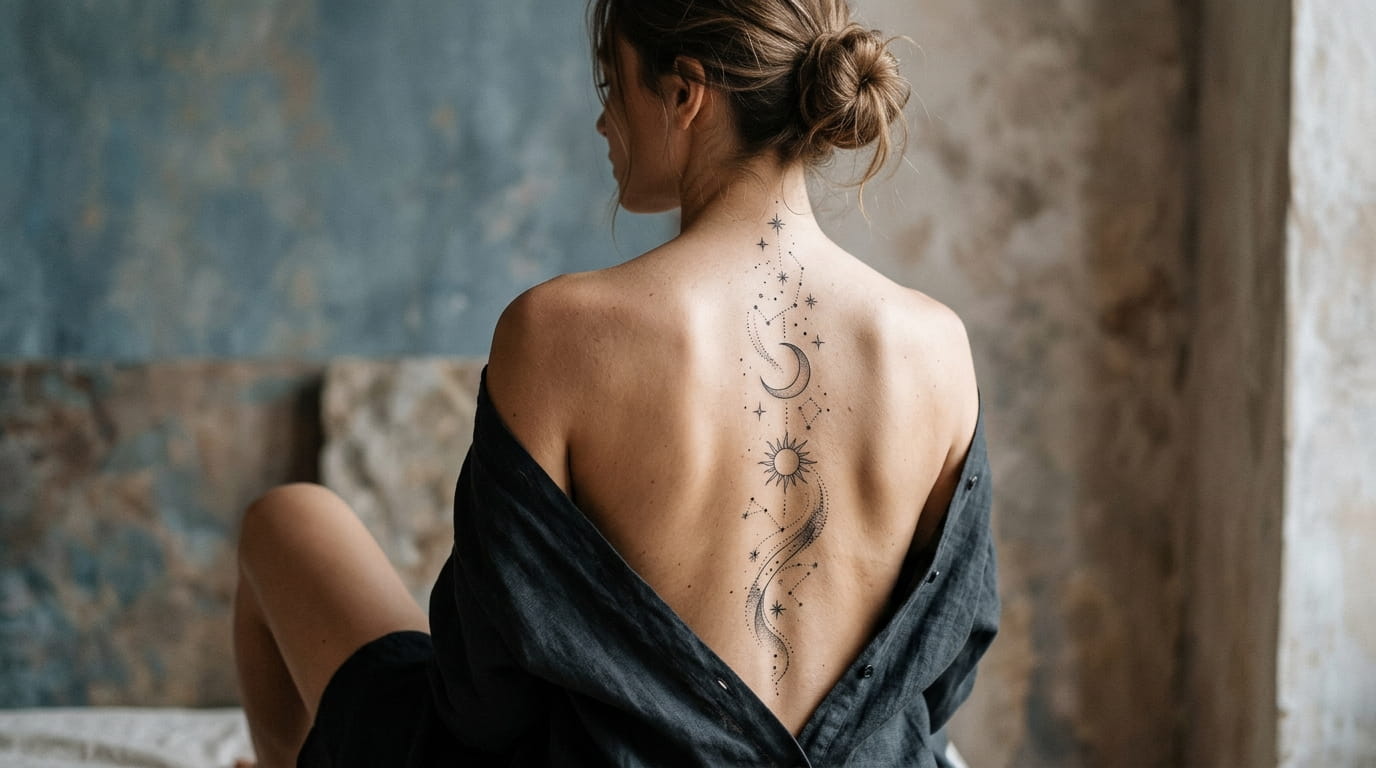
Most people pick a celestial tattoo based on the design alone, then find out later that placement is what actually makes or breaks it. A tiny crescent moon that looks perfect in a sketch can get lost on a thigh, and a detailed star map that reads as gorgeous on your back can turn into a blurry mess squeezed onto a finger. Celestial tattoo placement is not just about where it looks cute. It comes down to how your skin moves, how much detail the design actually needs, and how often you want people to see it.
Some spots are built for small, simple symbols. Others can hold a full night sky without turning into a smudge five years from now. The right spot depends on size, your pain tolerance, and whether you want the piece visible at work or saved for yourself.
This list walks through twelve solid placement options for moons, stars, and suns, from the obvious ones to a few people forget to consider, so you can match the design you want to a spot that will actually hold up.
1. The Inner Wrist for a Dainty Crescent Moon
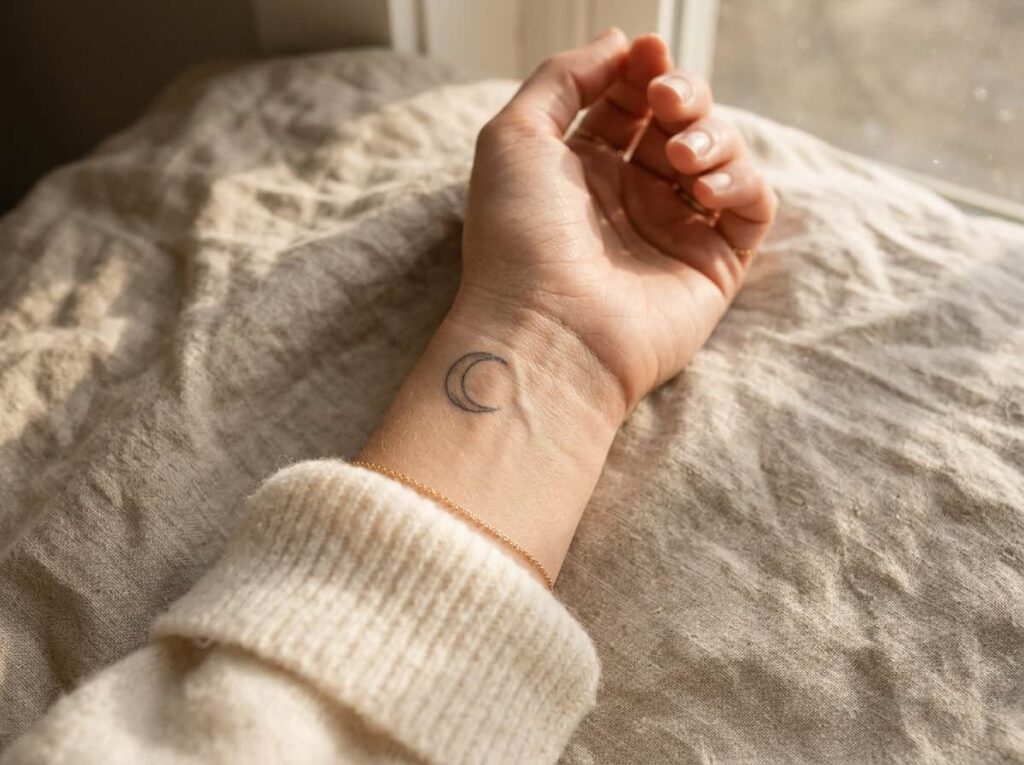
The inner wrist is thin skin, close to the surface, so fine lines hold their shape instead of blurring into a smudge over time. A crescent moon works well here because the design stays small, usually under an inch, and small keeps the detail sharp.
What makes this spot work:
- Easy to see every day, good for a personal reminder
- Heals faster than thicker skin areas
- Simple to cover with a watch or sleeve for work
The trade-off is pain. Wrist skin sits close to bone, so expect more sting than a fleshier spot like the shoulder.
2. Behind the Ear for a Tiny Star Cluster
A lot of people want a tattoo nobody notices unless they are looking for it, and that is where behind the ear earns its reputation. Hair covers it most days, so a tiny star cluster stays private until you pull your hair back.
This spot is tight on space, so the design has to stay simple. Three or four small stars work better than a packed constellation, since the skin here is thin and close to cartilage. Expect a quick session, but also more sensitivity than most placements on this list.
💡 Quick Tip
Keep each star under a quarter inch so they stay crisp and don’t blur into one blob as the skin ages.
3. The Collarbone for a Sun and Moon Pairing
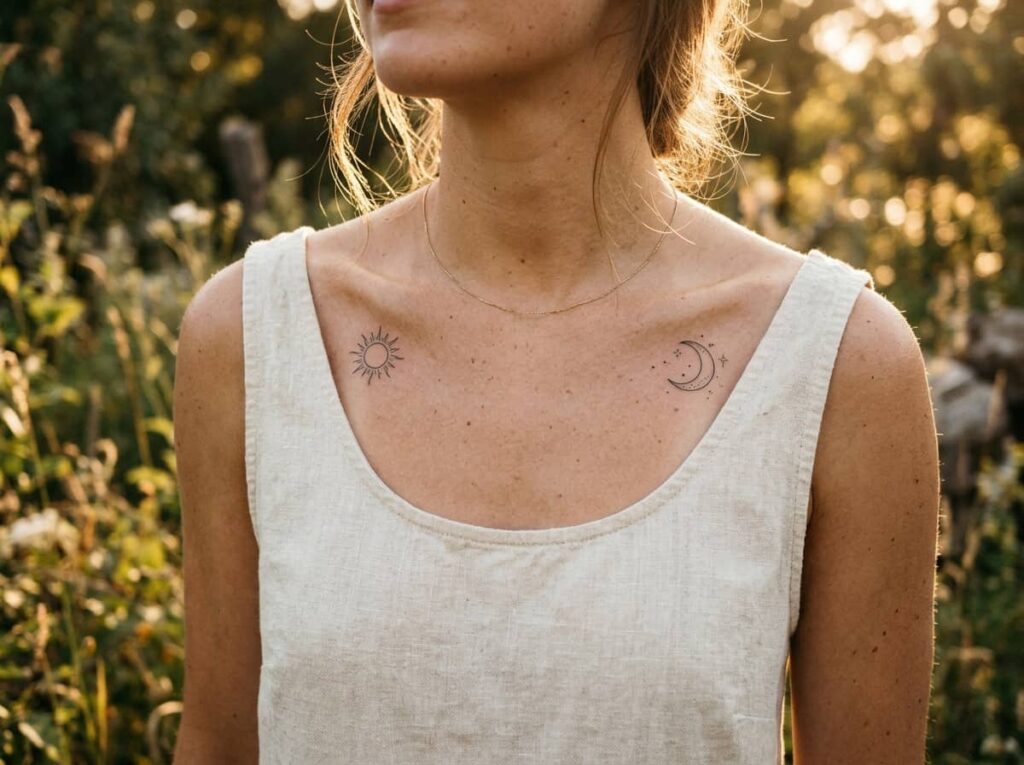
People assume a two-part design like a sun paired with a moon needs a big canvas to work, but the collarbone proves otherwise. The bone gives the tattoo a natural frame, so even a small sun on one side and a small moon on the other reads as intentional instead of cramped.
Symmetry matters more than size here. Match the scale of both pieces and keep the spacing even on each side so the pairing looks planned rather than scattered.
Keep the sun and moon the same scale.
Space them evenly from the center.
Making one symbol noticeably bigger.
Placing them where a necklace or collar will rub.
4. Rib Cage for a Full Night Sky Scene
Plan the full scene before you sit down for a rib cage piece. This spot has enough flat space for a detailed sky with stars, a moon phase, and small clouds, but that much detail usually needs real session time, often split across two visits.
Rib skin holds fine shading well, which makes it a strong choice for depth and gradient work. Just know this is one of the more painful spots on the list, close to bone with almost no muscle underneath.
Sketch the full layout first so nothing gets cut off at the ribs.
Talk shading options with your artist before the session starts.
Plan for two visits if the scene has a lot of detail.
5. The Ankle for a Single Star
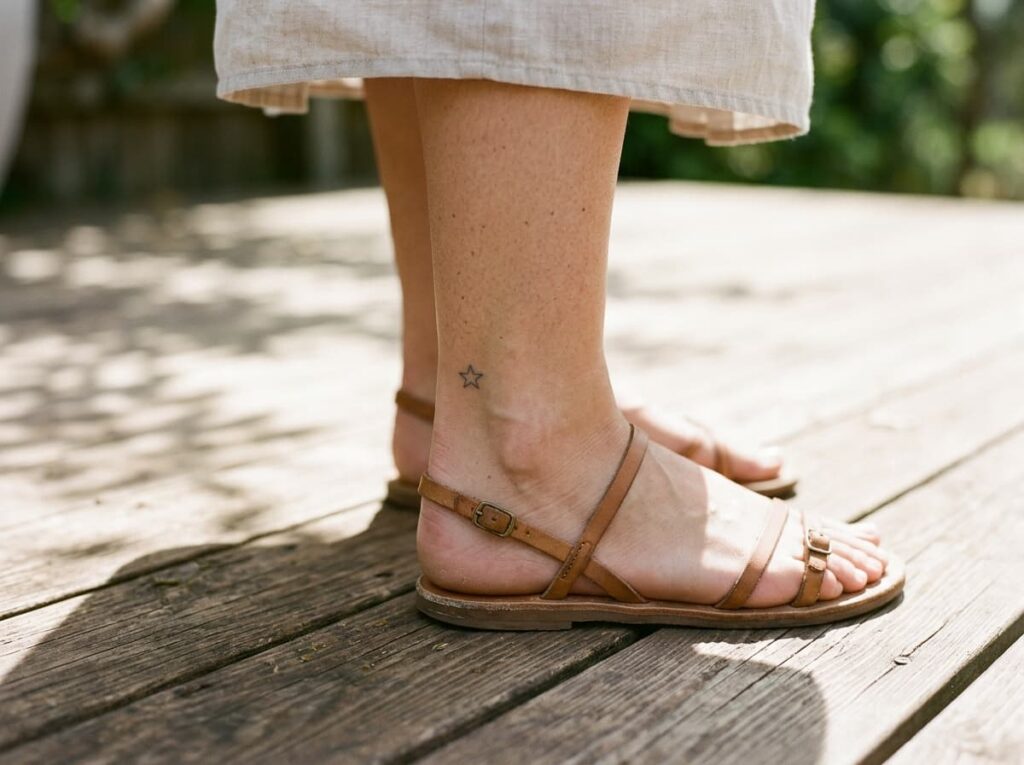
A single star on the ankle is one of the easiest celestial placements to live with day to day. It sits low enough to stay subtle in work settings, but shows the moment you wear sandals or roll up your pants.
Size matters more than style here. Anything bigger than about an inch can look heavy against the thin ankle bone, so a simple outline beats a shaded, filled-in design.
6. Forearm for a Celestial Phase Timeline
If you’ve ever wanted your tattoo to actually mean something you can point to, a moon phase timeline across the forearm does exactly that. The flat, elongated shape of the forearm fits a horizontal line of phases naturally, from new moon to full and back again.
Before booking, figure out which phases matter to you and in what order, since this isn’t a design you want to freehand decide in the chair. A few things worth sorting out first:
- Pick 5 to 8 phases, more tends to look cluttered on this width
- Decide if you want the line straight or slightly curved with the arm
- Choose whether it wraps toward the inner or outer forearm
The forearm also tans and shows wear faster than covered areas, so plan on sunscreen if you want the linework to stay crisp.
Before you book
7. Shoulder Blade for a Statement Sun Mandala
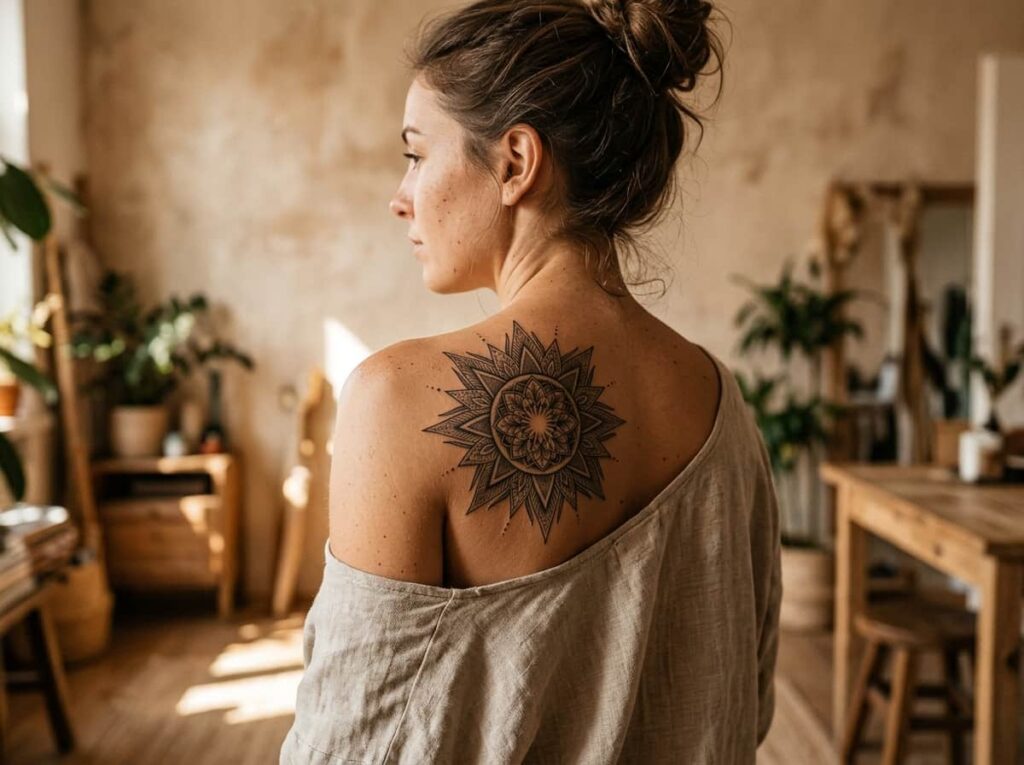
The shoulder blade is one of the only spots on this list that genuinely rewards going bigger. A sun mandala with rays, dot work, or layered linework has room to breathe here without crowding into other parts of the body.
It’s also one of the most forgiving placements for a first large piece, since the shoulder blade sits over muscle rather than bone, which tends to make sessions more tolerable. Fully covered by most shirts, it stays yours to show or hide.
The shoulder blade is one of the easiest spots to go bold without it clashing with everyday clothing.
8. The Spine for a Vertical Star Trail
A trail of stars running down the spine creates a visual pull that most other placements can’t match. The vertical line elongates the back and draws the eye downward in a way that flat horizontal designs just don’t do.
That said, this is widely considered one of the more painful spots to get tattooed, since it sits directly over bone with very little padding. It also means total trust in your artist’s steady hand, since any wobble in a straight vertical line is hard to miss.
| Spine | Shoulder Blade |
|---|---|
| Higher pain, close to bone | Lower pain, over muscle |
| Best for narrow, vertical designs | Best for wide, rounded designs |
9. A Finger Tattoo for a Tiny Crescent Moon
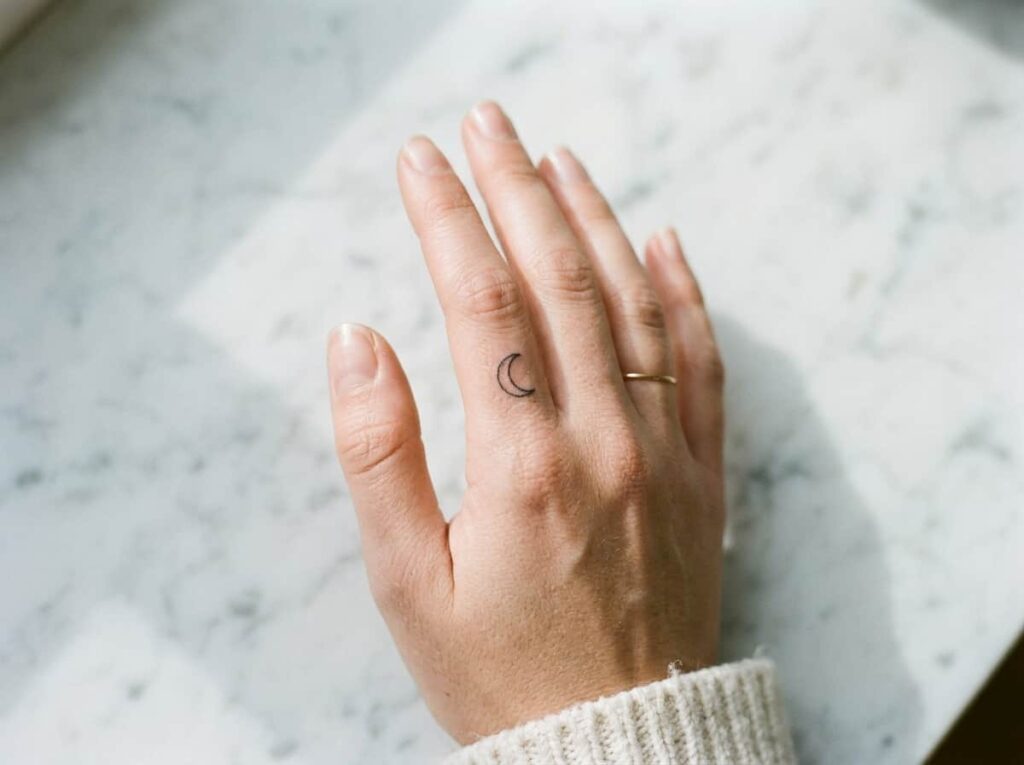
Finger tattoos look irresistible in photos, but they come with a catch most people don’t hear about until after. The skin on fingers sheds and regenerates faster than almost anywhere else on the body, so ink fades and breaks up sooner, often within a year or two.
A tiny crescent moon can still work well here if you go in expecting touch-ups rather than treating it as a one-and-done piece.
10. The Hip for a Hidden Celestial Cluster
Private, low on the body, and almost never seen unless you choose to show it. The hip is a go-to for anyone who wants the meaning of a celestial piece without the public visibility that comes with hands, wrists, or necks.
📌 Good To Know
Hip skin stretches with weight changes and pregnancy more than most areas, so a design with some open space tends to age better than one packed edge to edge.
11. Behind the Neck for a Small Hidden Sun
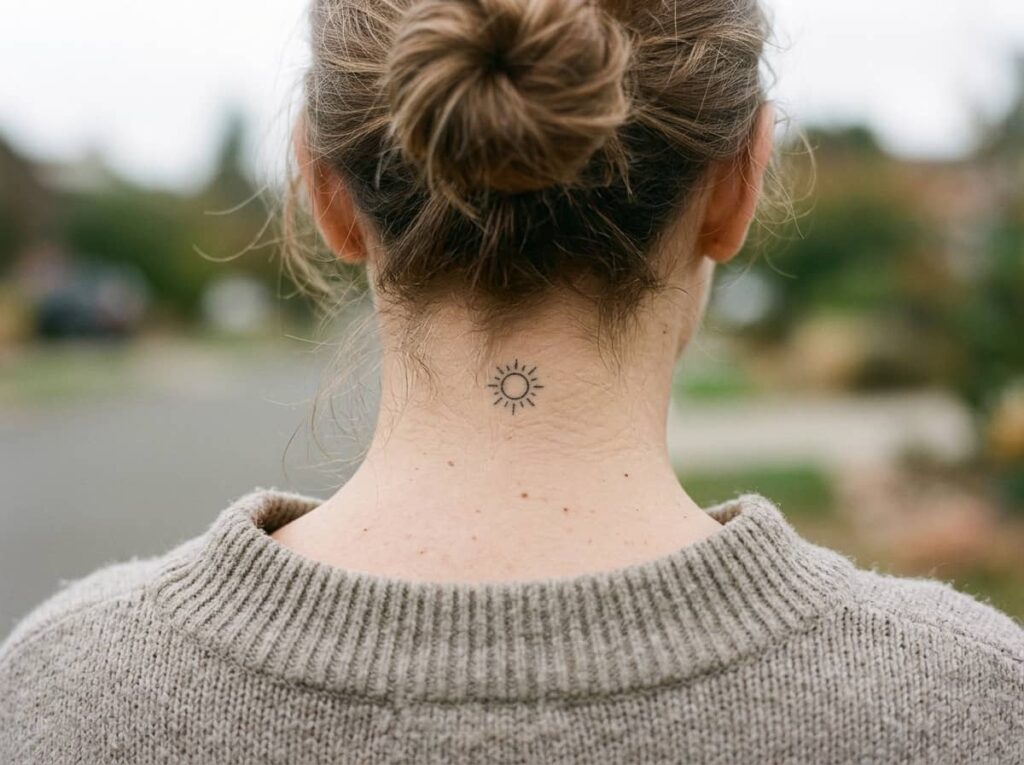
The back of the neck sits in a strange, useful middle ground. Down with your hair, it disappears completely. Pulled up or in a bun, it becomes the first thing people notice. That flexibility is the whole appeal.
A small sun works especially well here because the curve of the neck gives even a simple design a bit of natural shape and depth.
Keep the design under 1.5 inches.
Center it where a bun would reveal it fully.
Placing it off to one side where hair parts won’t hide it.
Going too detailed, this skin shows wear fast.
12. The Thigh for a Large-Scale Moon Phases Band
Few spots give you as much room to work with as the thigh. A full moon phase band, wrapping or running down the leg, has space to include real detail: shading, tiny stars between phases, even a horizon line, without feeling cramped.
It also heals well compared to bonier areas, since there’s muscle and fat underneath to cushion the process.
Planning a thigh piece
Final Thoughts
Celestial tattoo placement comes down to matching the design to the body part doing the work for you. Small, simple symbols hold up best on thin, visible skin like the wrist or ankle. Bigger, detailed scenes need the flat real estate of the ribs, shoulder blade, or thigh to actually breathe. None of that is about trends, it’s about what will still look clean in ten years.
Before you book, sketch out your size and detail level first, then let that decision point you to the right spot on this list. Save this list so you have it ready when you’re sitting down for the consult.







Leave a Reply