
Intro
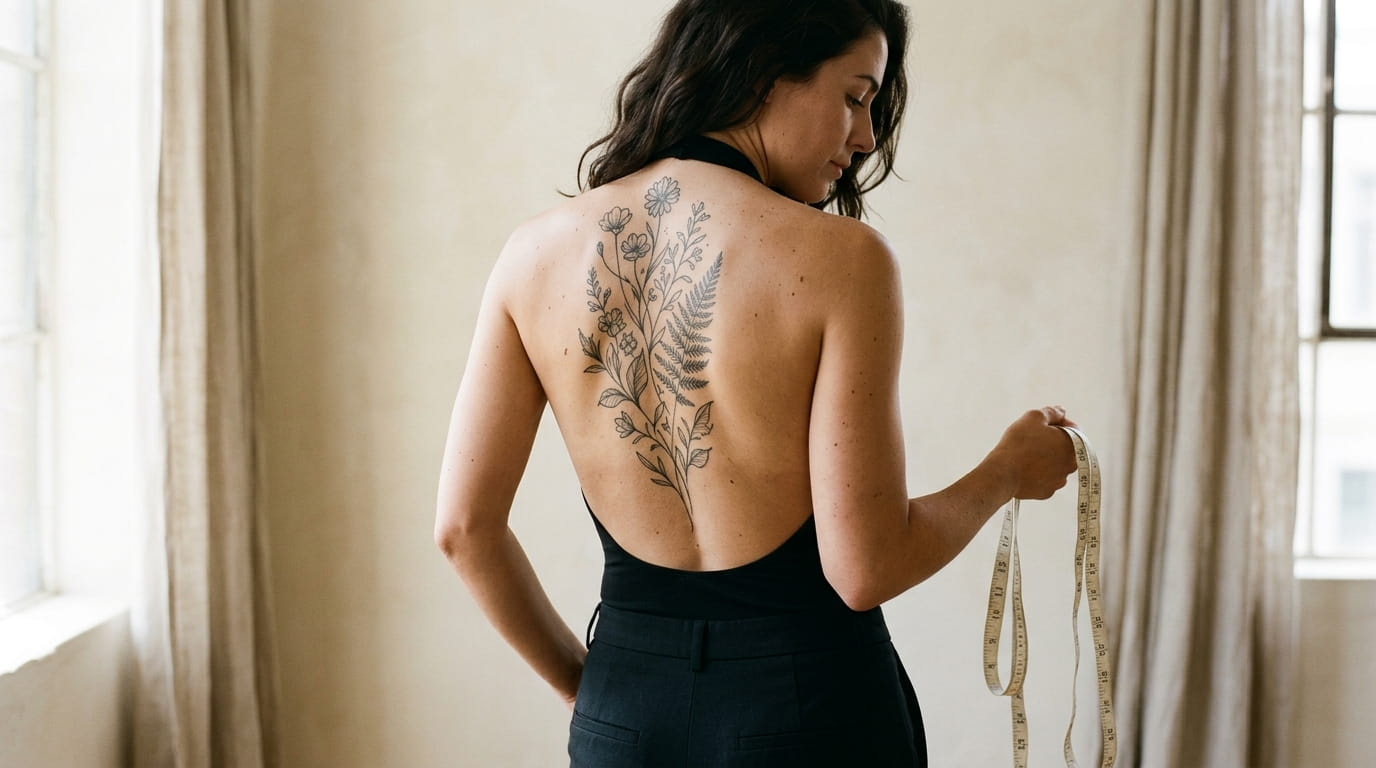
Most people pick a back tattoo design first and think about size second. That is usually where things go wrong. A design that looked delicate on a phone screen can turn into a tiny smudge on a wide shoulder blade, or a stretched stencil that fights the curve of your spine.
The back is a big canvas, but it is not one flat rectangle. The nape is narrow, the spine is long and thin, the shoulder blades curve outward, and the lower back tapers in. Each area has its own comfortable range, and a size that fits one spot can look lost or crowded in the next.
This back tattoo size guide breaks the back into zones and gives you a starting inch range for each one. You will learn how to test a size with paper, how to measure your own body, and how to match a design to the space. The numbers are general starting points, not rules, so your frame and your artist’s advice always come first.
1. The Back Tattoo Size Guide Map: Where Each Inch Range Fits
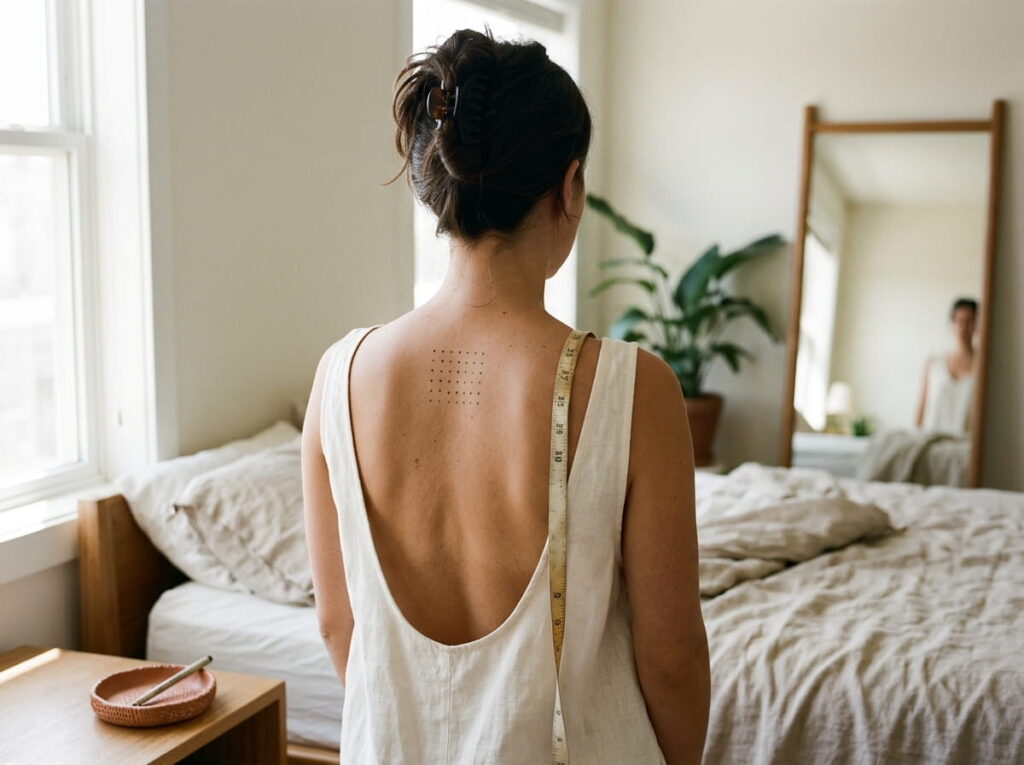
Think in zones, not in one big canvas.
Your back changes width, curve, and flatness as you go down it. The map below shows a typical starting range for each area. Width matters as much as height, because the skin curves away from the center line. A design that sits flat between the shoulder blades will look wider once it wraps toward the ribs.
Find your zone on the map first, then read the matching section for fit details. Every other idea on this list points back here.
Back Zone Map
Typical starting sizes on an average adult back
1 to 3 in
2 to 5 in
3 to 6 in
2 to 5 in
4 to 8 in tall
1 to 2 in wide
4 to 8 in tall
narrow
up to 10 in
narrow
3 to 6 in
🧭 Bigger pieces
Full upper back: 10 to 14 in wide. Full back: planned in sections.
📏 How to read it
Ranges show height for tall designs and width for wide ones.
🤝 Final say
Your frame and your artist can shift every number here.
2. Cut a Paper Template Before You Pick Any Size
Print the design, trace it on paper, and cut it out. That is the whole trick.
A screen shrinks everything. Paper held against your actual skin shows what 4 inches really looks like on your frame. You cannot see your own back, so use a mirror, a patient friend, or a phone camera on a timer.
Run the test with three sizes, not one. The middle size usually wins, but the smaller and larger ones tell you why.
Print or draw the design at the size you are considering, then cut it out.
Tape it lightly to your skin with skin safe tape, or have a friend hold it in place.
Stand naturally and take a photo from behind. Then roll your shoulders and bend forward and take another.
Repeat with a version one inch smaller and one inch larger, then compare all the photos side by side.
3. Nape of the Neck: Keep It to 1 to 3 Inches
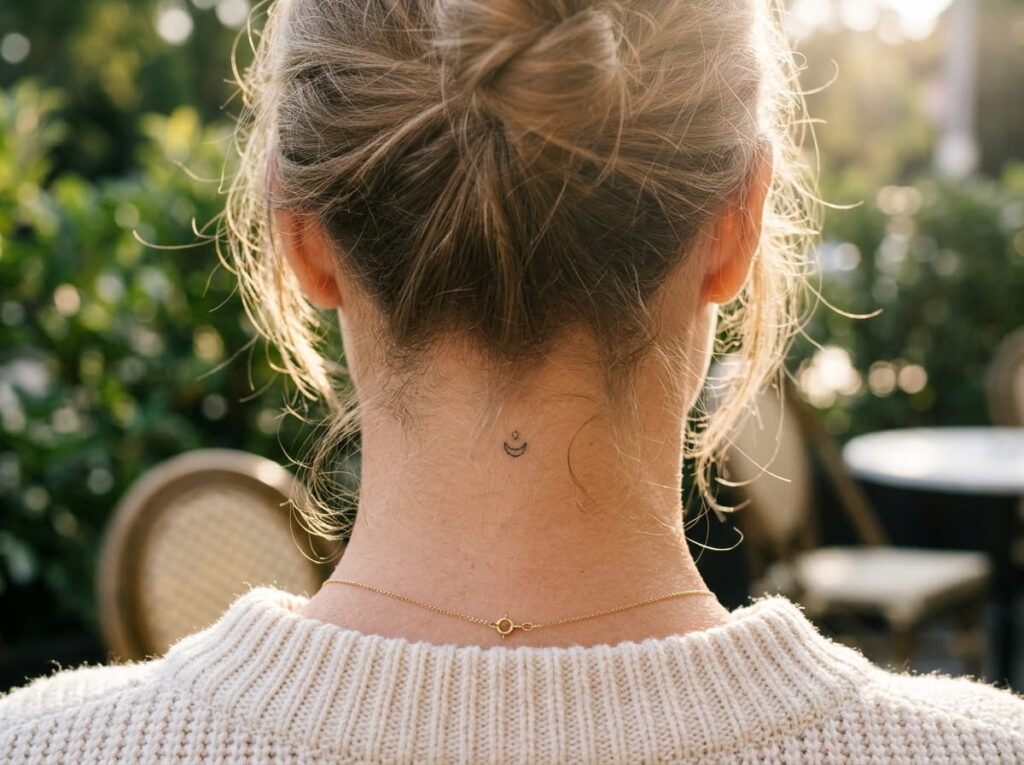
Small is the rule here.
The nape is a short strip of skin between your hairline and the bump at the base of your neck. Go much past 3 inches and the design starts to crowd the hairline or slide onto the shoulders.
Before you commit, check two things:
- How you wear your hair most days. Hair down hides a nape piece, and hair up shows it.
- How the skin looks when you tilt your head forward. Folds can bend thin lines.
A tiny symbol, a short word, or a small vertical line holds up well at this size. Fine detail does not.
4. Spine Tattoos: Narrow Width, Longer Length
A spine tattoo reads top to bottom, like a line of text.
Keep the width narrow, usually 1 to 2 inches, and let the length do the work. Shorter designs around 5 to 6 inches sit comfortably between the shoulder blades. Longer ones can run 10 inches or more down the center.
The spine is not a straight rail. It dips at the neck and curves at the lower back, so a perfectly straight line can look off when you bend. Soft, flowing shapes forgive that movement better than rigid geometric ones.
A good fit if you want something that stays hidden under most tops.
💡 Quick Tip
Mark your top and bottom points with a skin safe pen while standing straight, then check them again while bending forward. If the points shift a lot, ask your artist to place the design with that curve in mind.
5. Between the Shoulder Blades: The 3 to 6 Inch Sweet Spot

This is the spot where symmetrical designs finally get room to breathe.
The area between your shoulder blades is flat enough for wings, florals, or a short line of script. Most designs here land between 3 and 6 inches wide.
To find your own limit, stand relaxed with your arms down and measure the gap between the inner edges of your shoulder blades. Keep the design narrower than that gap, so the edges do not ride onto the blade when you reach or lift your arms.
Leave a little bare skin on each side. Tight fits look cramped fast.
A 7 inch design pushed into a 5 inch gap. The outer edges climb onto the shoulder blades and the lines stretch when you reach forward.
A 4 to 5 inch design centered in the gap, with a little bare skin on each side. It stays crisp and even when you move.
6. Shoulder Blade Pieces: Vertical or Wide, Sized to the Bone
Shoulder blades are not flat, so the same design can look different on each one.
A vertical piece follows the long edge of the bone and usually sits around 4 to 8 inches tall and 2 to 4 inches wide. A wide piece sits across the flat center of the blade and tends to land around 4 to 6 inches across.
Decide the direction first, then size it. If you want one blade or a matching pair, measure both sides, because most people are slightly uneven. Ask your artist to stencil each side separately.
| Vertical piece | Wide piece |
|---|---|
| Follows the edge of the bone | Sits across the flat center |
| Starting range: 4 to 8 in tall | Starting range: 4 to 6 in across |
| Suits branches, feathers, script | Suits florals, moons, small scenes |
| Shows least when arms are down | Shows most when you reach forward |
7. Shoulder Caps and Back of Shoulder: 2 to 5 Inches That Wrap
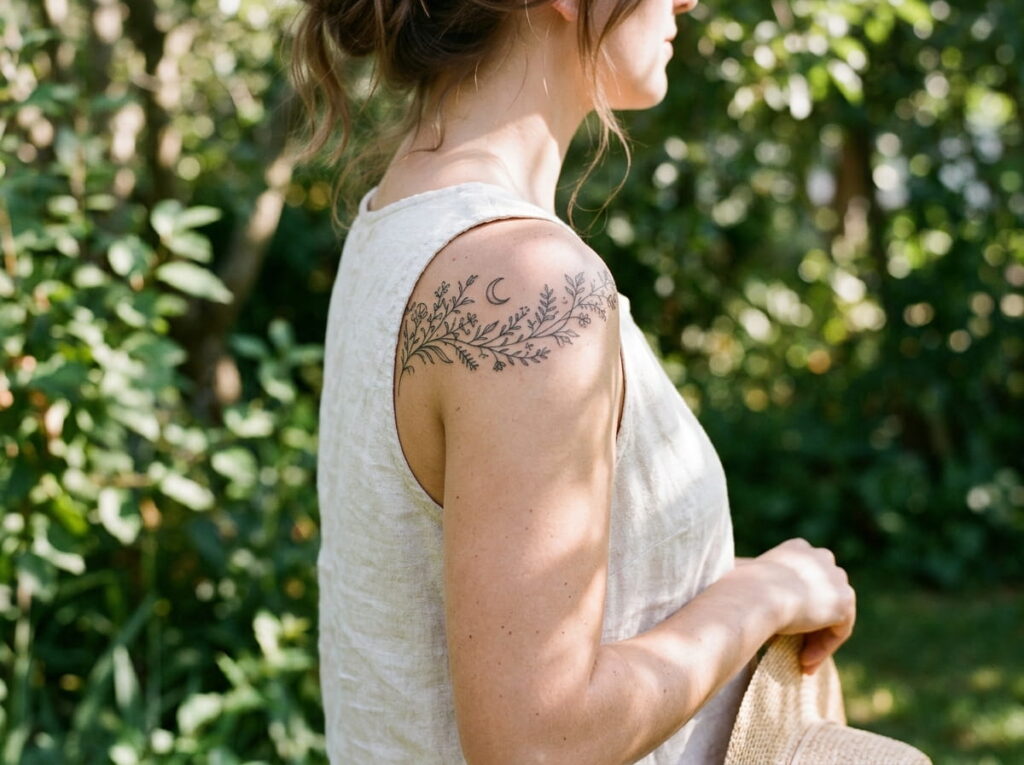
Look at your shoulder from the side and you will see the problem. The skin curves down and around, so anything you place there bends.
A small cap piece often works at 2 to 3 inches. Pieces on the back of the shoulder usually stretch to 3 to 5 inches. Round shapes like flowers and moons handle the curve well.
Here is the catch. A design that looks centered from behind can drift toward the front of the arm. Have your artist place the stencil while you stand with your arm relaxed at your side.
8. Mid Back Centerpieces: Going Up to 10 Inches Without Crowding
Most people go too big here and too tight at the edges.
The mid back is the longest flat stretch you have, so a single design can reach up to about 10 inches. That is enough for a large floral, a winged figure, or a detailed botanical. Large does not mean filled to the edges, though.
Leave a visible margin of skin around the design, and leave breathing room above the waistband line. Bra straps, swimsuit ties, and shirt seams all cross this zone, so check where they fall before you lock in the size.
Check before you size up
9. Lower Back Tattoos: Why 3 to 6 Inches Usually Works

Some people think the lower back is the safest place for any size. It is not.
The area tapers toward the tailbone, so the usable width is smaller than it looks in a mirror. A range of 3 to 6 inches fits most frames. Wider designs tend to spill toward the hips, where the skin curves and stretches.
This is also a zone where sitting and bending fold the skin. Choose a shape that tolerates that movement, such as a symmetrical piece with some space between the elements.
Keep the width within the tapered area, usually 3 to 6 inches.
Test the paper template while sitting and bending.
Stretching the design across the hips just to look wider.
Packing in tiny details that blur when the skin folds.
10. Side Back and Rib Edge: Sizing for a Curve That Moves
Keep it narrow, and keep it flowing.
The side back wraps around the ribs, so a flat design gets pulled out of shape as the skin turns. A good starting point is about 2 to 4 inches wide, with the length running up and down along the body.
Long, soft shapes such as a vine, a branch, or a line of script follow the curve better than a round design. Breathing changes the shape of this area, so a rigid outline can look uneven from certain angles.
⚠️ Watch Out
Ribs are bony and thin skinned for many people, so this spot can feel more intense to sit through. Ask your artist about session length before you choose a large piece here.
11. Full Upper Back Pieces: Planning 10 to 14 Inches Wide

This is the zone where a measuring tape matters more than a mood board.
A full upper back piece runs from the base of the neck to about the bra line, and across from shoulder to shoulder. Most land around 10 to 14 inches wide and 8 to 12 inches tall, depending on your frame.
Two things set your final number:
- The width across your shoulder blades at the widest point.
- Where you want the bottom edge to stop, which decides the height.
Bring a measuring tape to your consult. Your artist can then scale the stencil to your real back instead of a guess.
Size a large piece to your own measurements, not to a photo of someone else’s back. Shoulder width and torso length change the right inches more than anything else.
12. Full Back Projects: Size It in Sections, Not All at Once
Many people plan a full back in one go, then stall when the budget, the time, or the pain tolerance runs out.
A better approach is to treat the back as a set of zones and use the ranges from this guide as building blocks. The upper back, the mid back, and the lower back can each be a complete piece that also joins the others later.
Sections also mean you can stop at any point and still have a finished look. That is a big relief if your plan changes.
Measure your full back width and length, then divide it into upper, mid, and lower zones.
Pick the zone you care about most and size that piece first, using the ranges in this guide.
Ask your artist to leave open edges and a few inches of connecting space between zones.
Let each section fully heal before you plan the next one, then adjust the size if your plans have shifted.
Conclusion
The right size comes down to one habit. Look at your back as a set of zones, not one flat rectangle, and match each design to the space it will actually live in. A nape piece wants a few inches. A spine piece wants length without width. A mid back centerpiece can stretch, as long as it keeps some bare skin around it.
Use this back tattoo size guide as your starting point, then test with paper and bring a measuring tape to your consult. Your frame, your skin, and your artist’s eye will fine tune every number here. A size you checked in a mirror beats a size you guessed from a screen.
html
Cut a paper template, check it standing and bending, and measure the zone you are filling. Those three steps catch most sizing regrets before the needle ever starts.







Leave a Reply