
Some tattoos look like they were stamped on. Others look like someone set down a pencil on your skin and walked away. If you want the second kind, you are probably tired of scrolling past bold outlines and heavy shading that never match the soft sketch you have in mind.
The good news is that the pencil sketch look is a real style with real rules. It comes from thin lines, small gaps, light hatching, and designs that are allowed to look a little unfinished. Where the tattoo sits matters just as much as what it shows.
This list of fine line tattoo ideas for women covers 15 designs that borrow the feel of a quick sketch in a notebook. Each one comes with a size thought, a placement note, and a small visual you can screenshot for your artist. Save the ones that make you slow down, because those are usually the ones you will still like years from now.
- 1. A Single Wildflower Stem Drawn in One Unbroken Line
- 2. A Tiny Crescent Moon With Loose Pencil Style Shading
- 3. Fern Fronds With Hatch Marks Along the Inner Forearm
- 4. An Unfinished Looking Butterfly With Open, Sketchy Wings
- 5. A Rose Built From Contour Lines Only, No Fill
- 6. A Doodle Style Ribbon Bow Behind the Ankle
- 7. A Mountain Ridge Line Across the Collarbone
- 8. Your Pet’s Portrait Reduced to a Few Confident Strokes
- 9. A Handwritten Word in Slanted, Pencil Thin Script
- 10. A Constellation Joined by Faint, Scribbled Lines
- 11. A Thin Vine Wrapping the Wrist With Tiny Sketched Thorns
- 12. Two Hands Almost Touching, Drawn Behind the Ear
- 13. A Lavender Sprig Along the Ribs, Shaded Like a Field Sketch
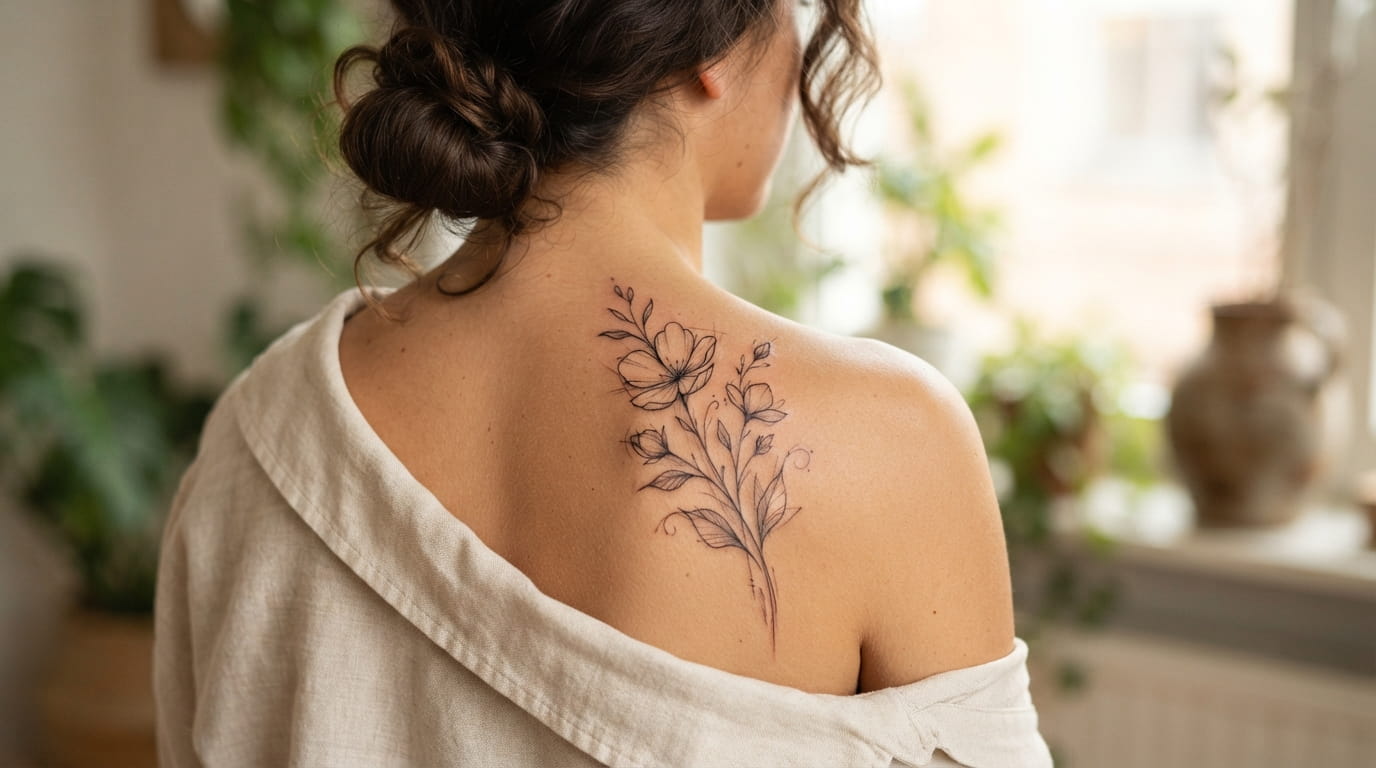
- 14. A Loose Bouquet Trailing Over the Shoulder Blade
- 15. Your Birth Flower in Cross Hatching and Open Petals
1. A Single Wildflower Stem Drawn in One Unbroken Line
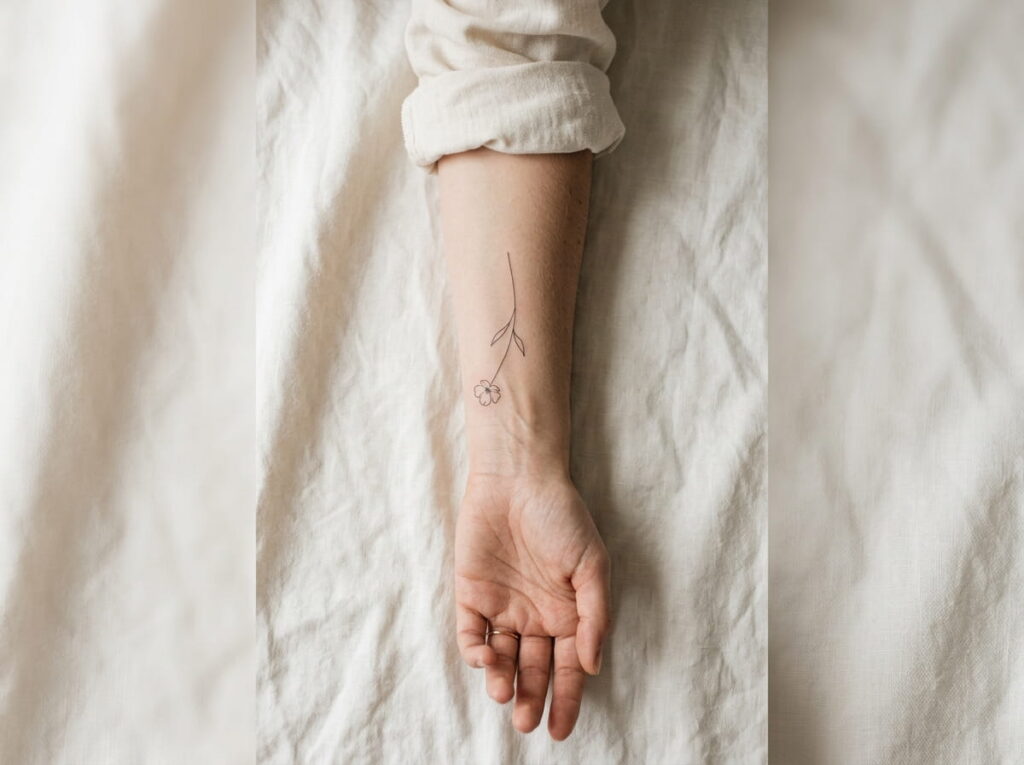
Look at a pencil drawing up close and you will see the line barely stops.
A one line stem tattoo copies that. One stroke rises from the base, bends a little, and sends off a few leaves without lifting.
What to ask for:
- A slight wobble in the line, so it feels drawn by hand
- Two or three leaves at most, with a small gap near the tip
- One wildflower head, kept open instead of filled in
Size it to follow the natural line of your forearm. A dead straight stem on a curved arm can look stiff once it settles.
2. A Tiny Crescent Moon With Loose Pencil Style Shading
Here is the rule: draw the shade, do not fill it.
On a crescent moon, the sketch effect comes from a handful of short diagonal strokes along the inner curve, all leaning the same direction. Skip solid black and let your skin show between the lines.
Behind the ear and along the ankle both give the moon room to breathe. A small dot or star set off to one side keeps it from feeling like clip art.
💡 Quick Tip
Bring a photo of a real pencil sketch with the shading you like. Your artist can match the stroke spacing much more closely from a drawing than from a photo of another tattoo.
3. Fern Fronds With Hatch Marks Along the Inner Forearm
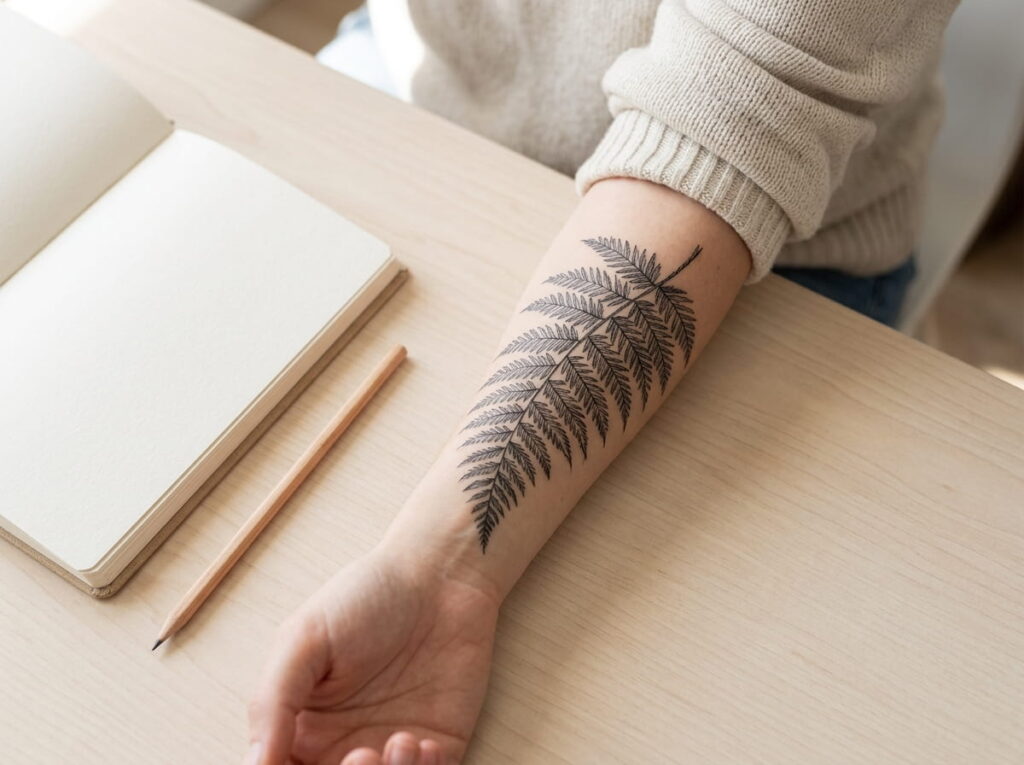
Ask for a fern where the leaflets are short, parallel strokes instead of solid shapes.
That is hatching, the same technique a pencil artist uses to suggest shade. On skin it reads as texture while the lines stay thin.
Three details to mention:
- Visible gaps between strokes, since lines packed too tight can blur together as they heal
- A thin stem with smaller leaflets near the top
- A gentle taper toward the wrist
The inner forearm gives you a long, flat space, so the frond can grow in one direction without wrapping.
4. An Unfinished Looking Butterfly With Open, Sketchy Wings
Most butterfly tattoos go wrong by closing every shape.
A sketch style butterfly leaves the wing edges broken, so the outline stops and restarts like a quick pencil pass. One wing can even be lighter than the other.
It suits someone who likes a delicate look but does not want a tidy, symmetrical symbol. Small enough for a shoulder or the side of the neck, loose enough to feel personal.
Pick a reference sketch where the wing edges are not fully closed.
Ask for broken outlines, with tiny gaps where the line pauses.
Request one wing lighter than the other so it feels hand drawn, not stamped.
5. A Rose Built From Contour Lines Only, No Fill
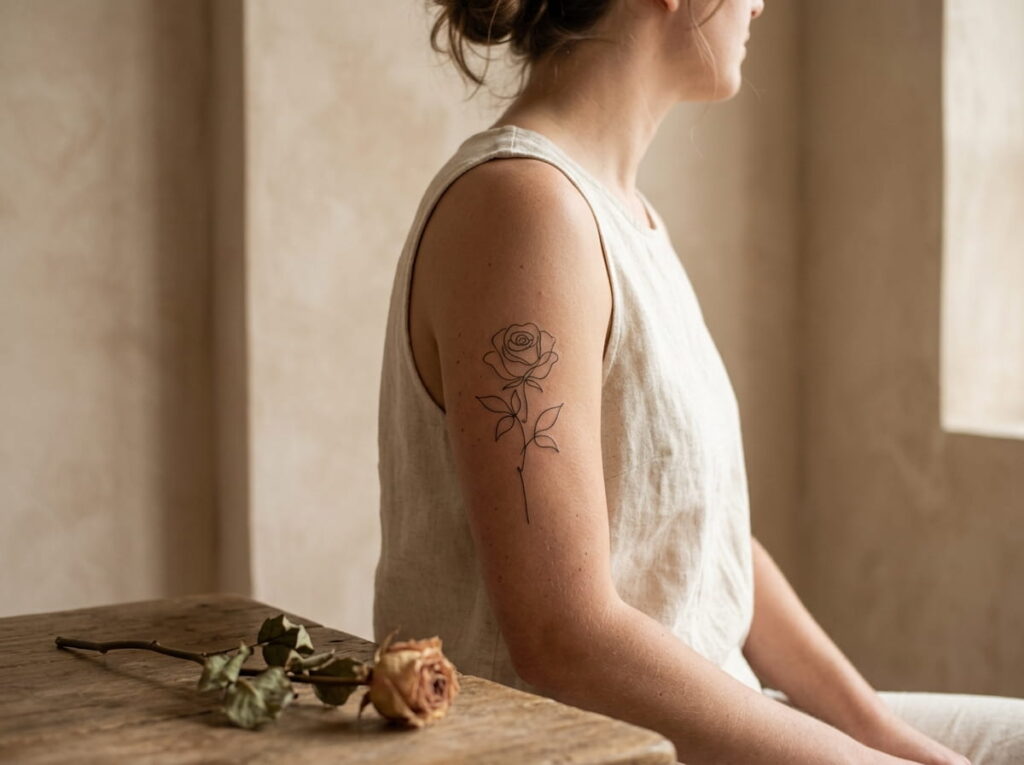
A filled rose and a contour rose are two different tattoos.
Contour means the artist draws only the edges of the petals and a few inner folds, like a quick study in a sketchbook. Nothing gets packed in with black or grey.
The trick is line weight. Let the outer petals run a touch bolder and the inner curls go finer, so the flower has depth without any shading at all.
Less ink, more flower.
Vary the line weight slightly between petals.
Leave gaps where light would hit the petal.
Keep the center a small, loose spiral.
Closing every petal edge into a tight shape.
Adding a solid black center.
Crowding in more petals than the space can hold.
6. A Doodle Style Ribbon Bow Behind the Ankle
Bows are all about the loop.
On the back of the ankle, a tiny ribbon drawn with a few relaxed strokes looks like something doodled in the margin of a notebook. Keep the loops a little uneven and let the two tails trail down at different lengths.
Shoes and socks rub this spot, so ask your artist to keep the lines slightly away from the bony edge. Settle the small choices before you book.
Before you book
7. A Mountain Ridge Line Across the Collarbone
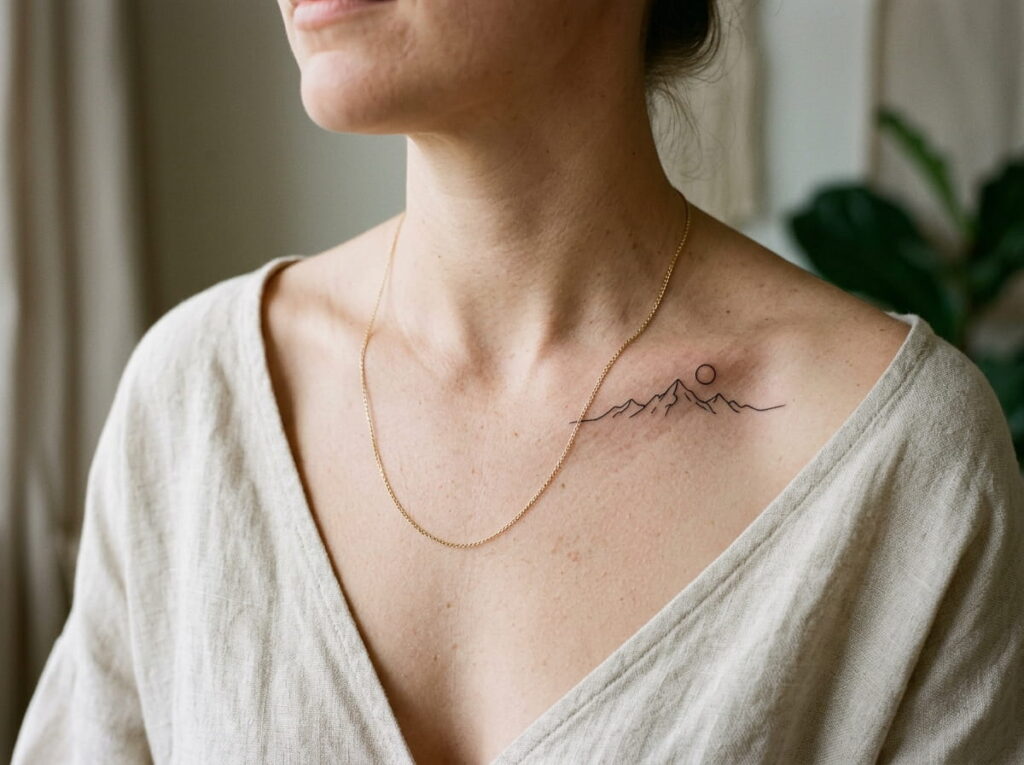
A collarbone does half the work for you. It gives a single line somewhere natural to travel.
A ridge of five or six peaks, with a few small slopes underneath, can follow the bone from one side to the other. Add a small sun circle above one peak if you want a focal point.
Keep the peaks uneven. Evenly spaced triangles read as a zigzag instead of a landscape. Wear a loose neckline for the first few days so fabric does not rub the area.
A bare collarbone with a plain neckline and nothing drawing the eye across.
One thin ridge that follows the bone, with uneven peaks and a small sun circle off to one side.
8. Your Pet’s Portrait Reduced to a Few Confident Strokes
Fur is the first thing to blur in fine line work.
So skip it. Ask for the outline of the ears, one curve for the back, and two small dots for the eyes. Your dog or cat shows up in the shape instead of the detail, and shape is what people recognize first.
Most artists work best from a photo of your pet sitting in profile. A side view gives the cleanest silhouette to trace. The calf and upper arm have flat areas that suit this kind of drawing.
| A few strokes | Full detail |
|---|---|
| Reads clearly even from a few steps away. | Can look muddy as thin lines soften with time. |
| Works from a simple, everyday photo. | Needs a sharp, well lit photo to copy. |
| Easy for an artist to refresh later. | Harder to touch up without changing the look. |
9. A Handwritten Word in Slanted, Pencil Thin Script
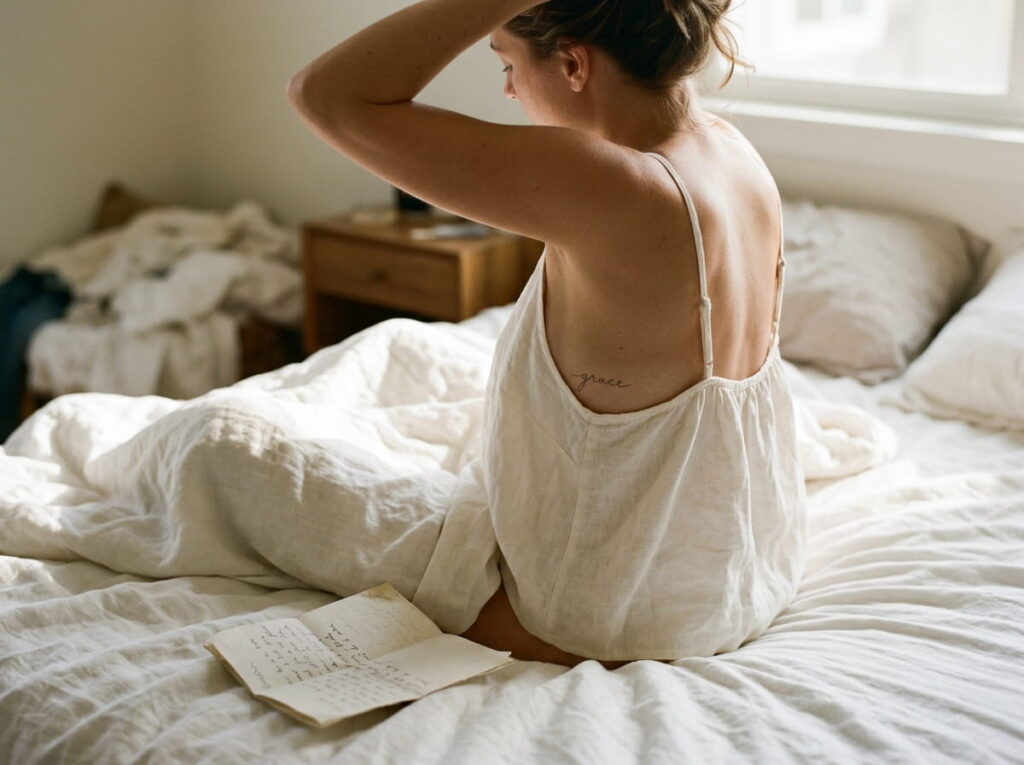
Thin does not have to mean fragile.
A common belief says delicate lettering always ends up a smear. It can, when the letters sit too close together. Space is what protects fine script.
Pick one short word, a name, or a single date. Ask for slanted letters with generous gaps between them. Then use real handwriting, such as a line from a note someone wrote you, and have your artist trace it for the stencil. The small uneven loops are what give it that pencil feel.
The ribs and inner bicep both offer a clean stretch to run along.
Give every letter room. Space between letters does more for fine script than extra thickness ever will.
10. A Constellation Joined by Faint, Scribbled Lines
Most constellation tattoos go wrong in the same place: the dots sit too close together.
Spread the stars out. Keep the connecting lines faint and a little uneven, like a quick pencil link between points. Let one star be slightly larger so the eye has somewhere to land first.
The shoulder, upper back, and outer arm all have the room for a pattern to breathe.
⚠️ Watch Out
Dots placed very close together can blend into one blob as they settle. If two stars look almost touching on the stencil, ask your artist to move one before the needle starts.
11. A Thin Vine Wrapping the Wrist With Tiny Sketched Thorns
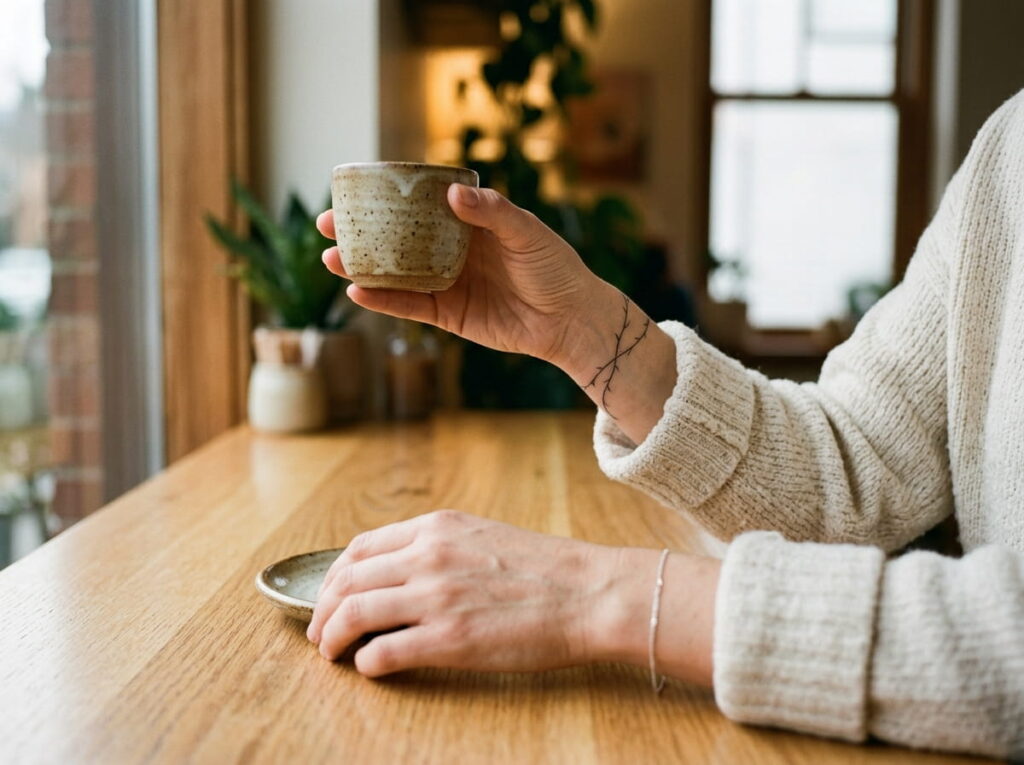
Wrists move all day, so a vine here should be able to flex.
Let it spiral loosely instead of closing into a ring. A full circle can look like a bracelet that has gone wrong as the lines settle. A partial wrap that starts on the inside and fades out near the outer edge feels more like a sketch.
Add thorns as short flicks, three or four in total, and leave a few leaves unfinished. Ask for the thinnest needle setup your artist trusts on this spot, and expect that a touch up may be part of the plan.
12. Two Hands Almost Touching, Drawn Behind the Ear
Hold your phone up to your ear and you will see how little space there is back there.
That is the point. Two tiny hands, reaching toward each other with a gap in between, are drawn with just a few strokes each. No fingers fully detailed, no shading, only the curve of a wrist and the suggestion of a thumb.
It works as a quiet tribute to a person or a moment. Keep the gap between the hands wide enough to stay clear once the lines soften.
Test the spot first
13. A Lavender Sprig Along the Ribs, Shaded Like a Field Sketch
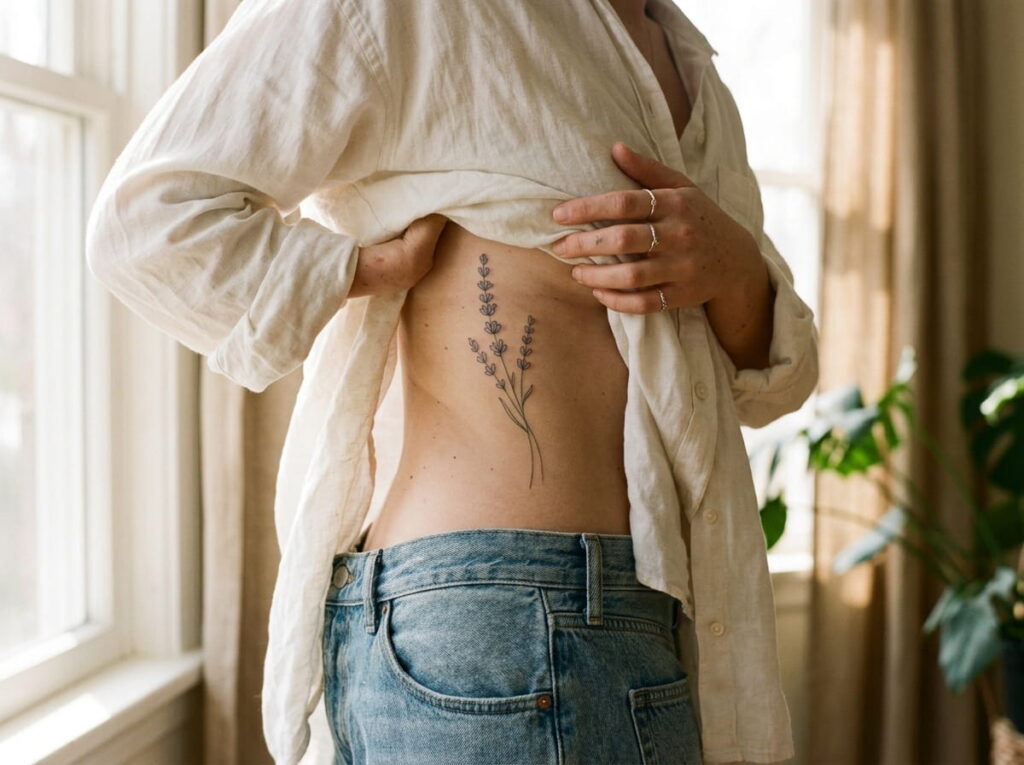
Naturalists sketch plants fast, and that is the look to chase here.
A lavender sprig is nearly all rhythm. A thin stem, then small buds stacked in pairs, each drawn with two short strokes. A few buds can stay open ended so the sprig looks caught mid drawing.
The ribs give it a long, vertical lane, which suits the shape. Expect the placement to be more sensitive than an arm, so book a time when you are rested and ready to sit still.
14. A Loose Bouquet Trailing Over the Shoulder Blade
Bouquets get messy when every flower is the same size.
Choose one main bloom, two smaller ones, and a handful of leaf strokes in between. Let the stems drift down in different directions, like flowers just laid on a table. The shoulder blade is wide and gently curved, so it gives the arrangement room to spread.
This is a larger piece than most on the list, so it is worth a consultation. Show your artist how far down you want the stems to run before any lines are drawn.
Choose one main bloom and two supporting flowers in different sizes.
Mark where the top of the arrangement should sit, and how far the stems may fall.
Review the stencil with your arms down, then raised, before saying yes.
15. Your Birth Flower in Cross Hatching and Open Petals
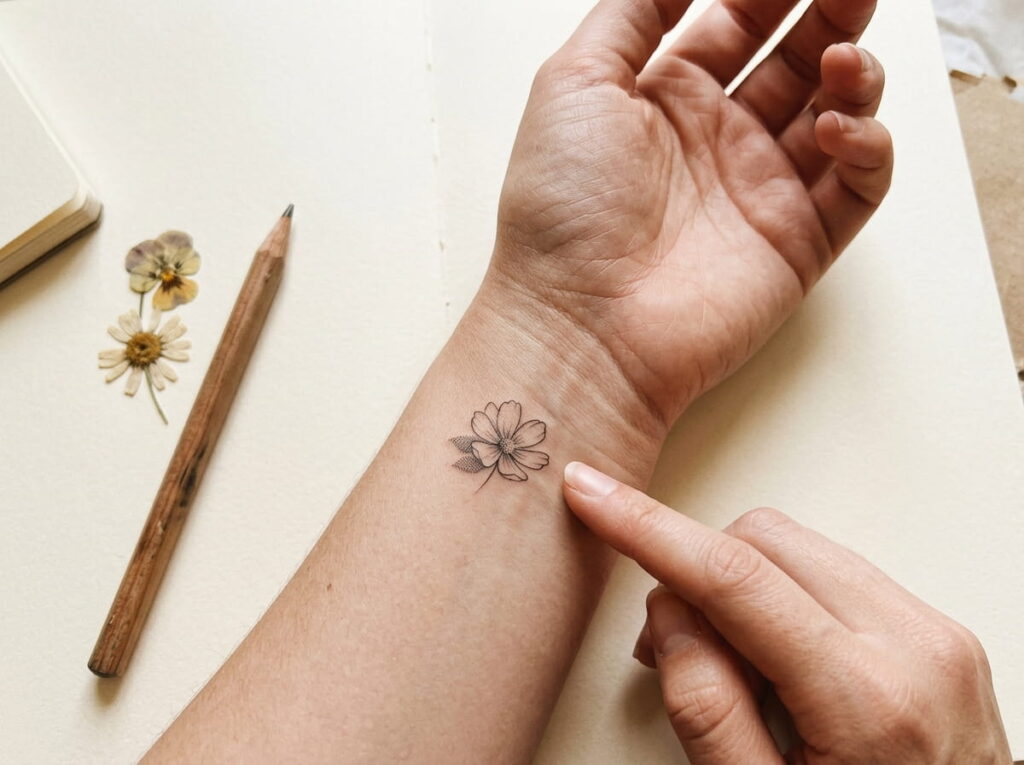
Birth flowers carry a built in reason to exist, which makes them an easy design to stay happy with.
Ask for the petals drawn open, with a few hatch marks near the center for shadow. Cross hatching means two sets of thin lines crossing at an angle, and it is the classic way to add depth to a pencil drawing. Use it in a small patch only. A big cross hatched area asks the fine lines to sit very close together.
Wrist, ankle, and shoulder all hold a small bloom well.
Keep hatching in one small patch near the center.
Draw petals open, with room between them.
Add one leaf stroke as a quiet anchor.
Cross hatching across every petal.
Lines packed tightly in a very small space.
Adding extra flowers that crowd the main bloom.
Conclusion
The best pencil sketch tattoos share a few quiet habits. The lines are thin but given room, the shading is hinted at instead of filled in, and the design is small enough to stay clear as it settles. If you take one thing from these fine line tattoo ideas for women, let it be that space is part of the drawing. Bring a reference sketch, mark the spot while you stand, and ask your artist where lines might blur over time. Then pick the idea you keep coming back to, because that one is usually the keeper.
Bring this to your consult







Leave a Reply