
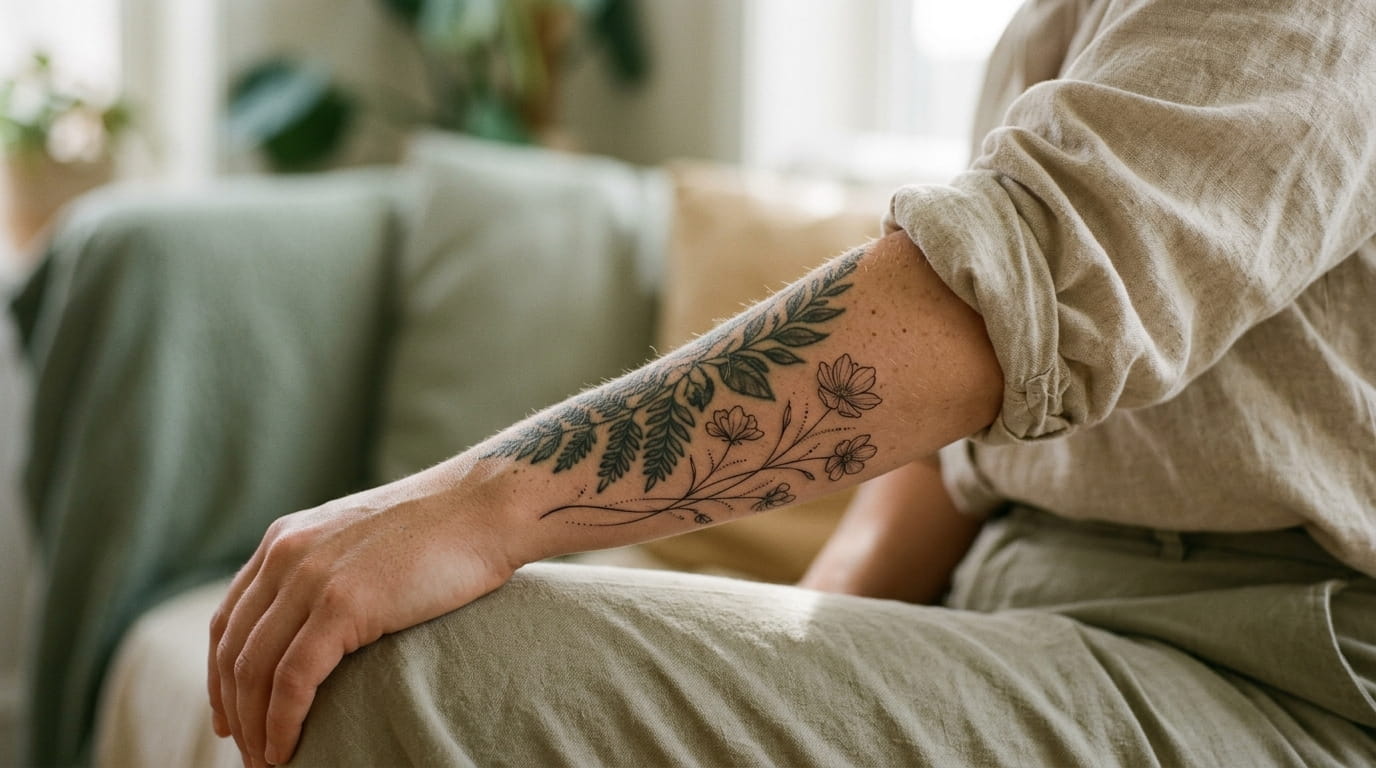
Getting a new tattoo is exciting, but choosing a design that works with the tattoos you already have can be tricky. A delicate flower might look lovely on its own, yet feel out of place beside a bold black design or a tattoo with heavy shading. The goal is not to make every tattoo identical. It is to help each piece feel like part of a thoughtful collection.
The good news is that small choices can make a real difference. Line thickness, open space, shape, placement, and repeated details all help connect new ink with older artwork. You can keep your personal style while adding something fresh, whether your existing tattoos are botanical, traditional, geometric, or a mix of several styles.
Learning how to match a new tattoo with old tattoos starts with looking at the pieces you already have. Notice which details stand out, where your skin has breathing room, and which areas feel visually crowded.
These 13 practical ideas will help you plan a fine-line addition, test different layouts, and discuss a cohesive design with your tattoo artist before making it permanent.
1. Match Line Weight Before Adding a New Fine-Line Tattoo
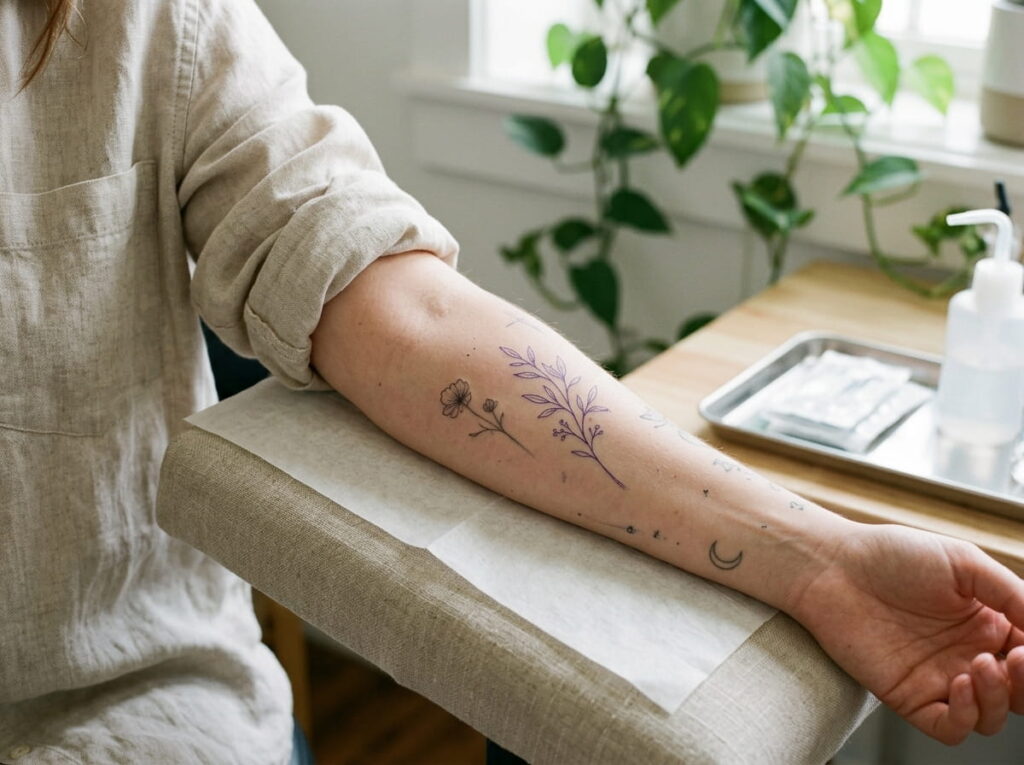
The thickness of the lines is one of the first things to compare when planning a new tattoo.
Look closely at your existing ink. Are the outlines bold and dark, or are they thin, delicate, and spaced apart? A new fine-line design can sit beside bolder work, but the contrast should look intentional rather than accidental.
Use these details as a starting point:
- Mostly thin outlines: Consider a fine botanical stem, tiny flower, or simple butterfly.
- Medium-weight lines: Choose a design with slightly stronger outlines and a few small details.
- Bold older tattoos: Use a clear shape or stronger focal point so the new piece does not disappear beside them.
2. Use Similar Shading and Detail Levels to Keep Tattoos Cohesive
Two tattoos can feature completely different subjects and still work well together. The trick is to notice how much detail each design contains.
For example, an older flower with solid black shading may look quite different from a new outline-only daisy. You do not necessarily need to copy the shading, but a few shared details can help the pieces feel related.
Before choosing your design, compare:
- The amount of solid black ink.
- Whether the artwork uses dots, fine hatching, or smooth outlines.
- How much empty skin shows through each design.
💡 Quick Tip
If your older tattoo has light dot shading, ask your artist whether a few matching dots or small shaded areas could echo that detail in your new design. Keep the effect subtle so the new piece still has its own identity.
3. Repeat One Small Shape to Connect Old and New Designs
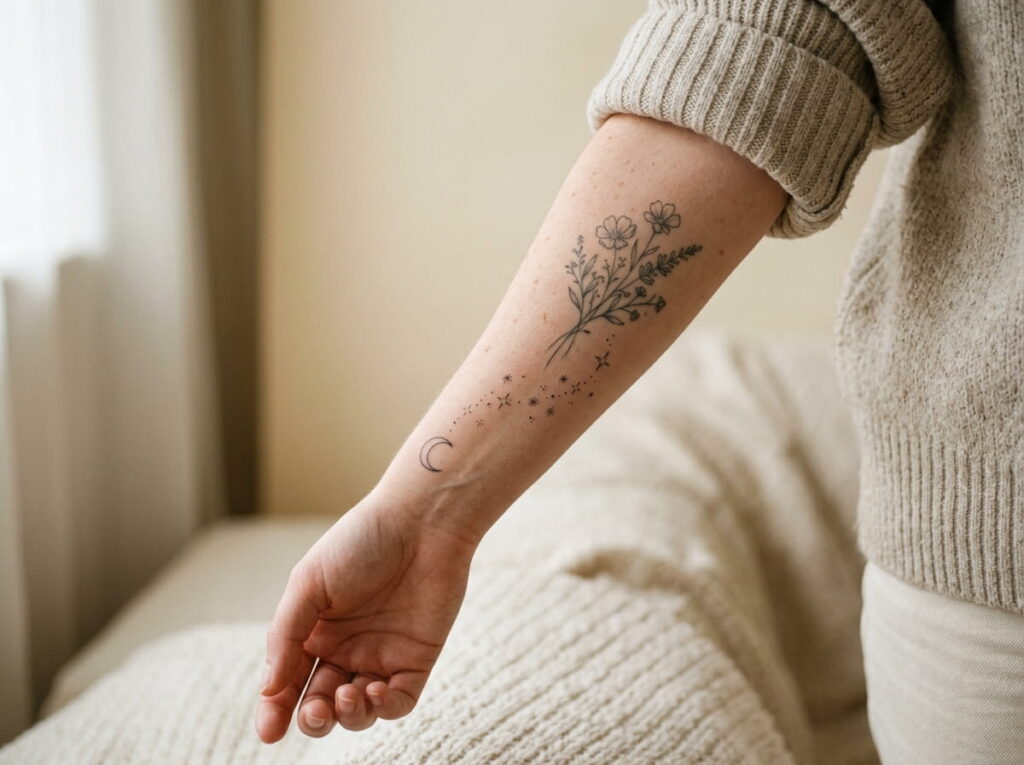
Sometimes, the connection between tattoos comes from a tiny detail rather than the main subject.
A small curve in an older butterfly might echo the curved stem of a new flower. A few dots beside an existing moon could be repeated near a fresh botanical design. These small links create a visual thread without making the tattoos look like matching copies.
Think about one detail that already appears in your collection, then ask your artist to work it into the new piece.
An older butterfly and a new flower have different shapes, line details, and visual styles.
Both designs share a gentle curve and a few small dots, giving the collection a quiet visual link.
4. Choose a New Tattoo Theme That Complements Your Existing Ink
Your tattoos do not need to tell the same story, but it helps to understand the themes already present.
If your arm has several botanical designs, another leaf or small flower may build a natural connection. If your collection includes moons, stars, and other celestial symbols, a tiny sun or crescent could fit without repeating an entire design.
Your Theme-Matching Checklist
5. Plan the Spacing So New Tattoos Do Not Crowd Older Pieces
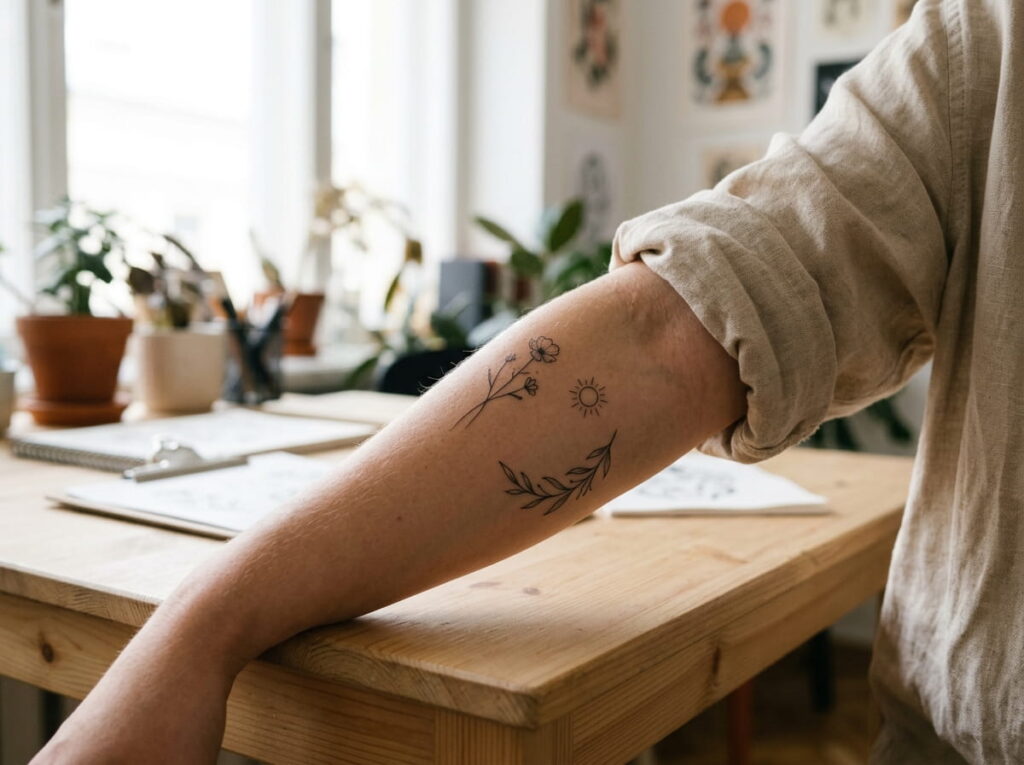
Even well-matched designs can look disconnected or cluttered when placed too close together.
Take a photo of the area you want to tattoo and mark the open spaces around your existing pieces. Pay attention to how the gaps look when your arm hangs naturally, not just when you pose for a photo.
Do this:
- Leave enough open skin for the older tattoo to remain readable.
- Test the new design at its actual proposed size.
- Look at the full area rather than judging the new tattoo on its own.
Avoid this:
- Filling every small gap just because space is available.
- Placing delicate details where they compete with a darker focal point.
- Finalizing placement from a flat drawing alone.
Leave breathing room around each tattoo.
Use a paper or temporary stencil to test the size and position.
Crowding several tiny designs into one narrow gap.
Choosing placement before seeing the design on your body.
6. Follow the Natural Flow of Your Arm, Leg, or Collarbone
A tattoo can look balanced on paper but feel awkward once it sits on a curved part of your body. Your new design should follow the shape of the area and work with the direction of your existing ink.
For example, a fine-line leafy branch may follow the length of your forearm, while a small curved ornament could sit more naturally near your collarbone. The goal is to make the design feel connected to your body, not squeezed into an available space.
How to test the placement
Place a temporary stencil near the existing tattoo and check how the lines follow your body.
View the placement with your arm relaxed, bent, and turned slightly to each side.
Take photos from different angles and compare the new design with the full tattoo arrangement.
A few minutes spent testing the position can help you spot an awkward angle before the tattoo becomes permanent.
7. Balance Dark Older Tattoos With Lighter Fine-Line Designs
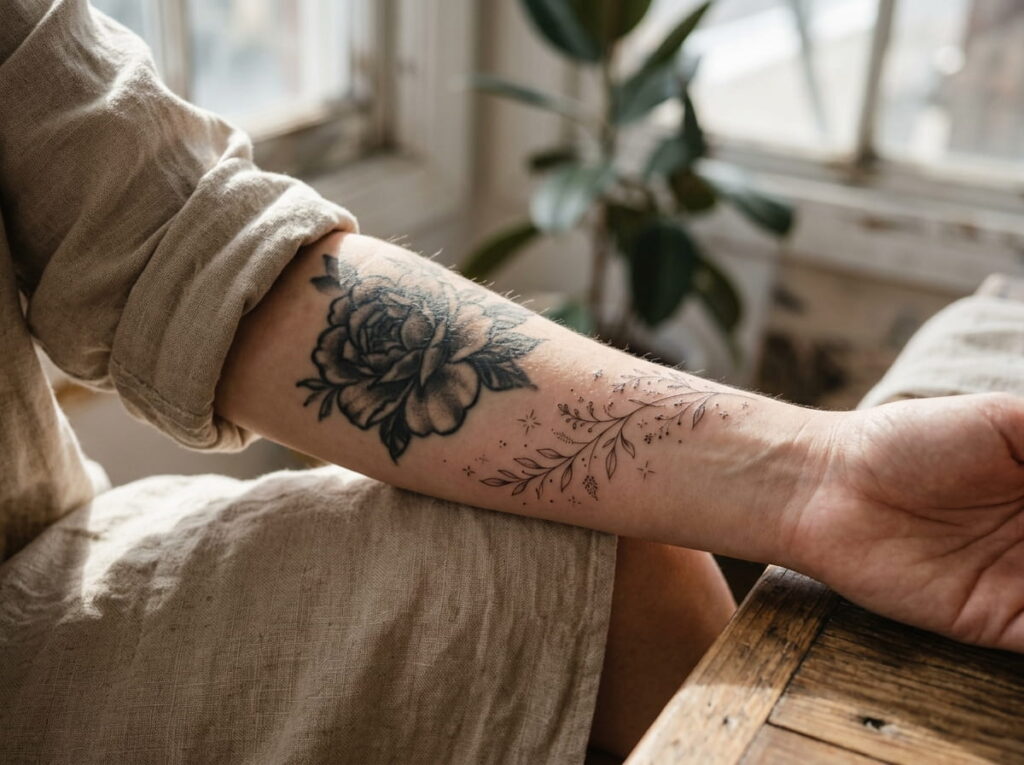
A darker tattoo naturally draws the eye. If your existing ink has solid black areas or heavy outlines, a very small fine-line addition might get lost beside it.
You do not have to make your new tattoo equally dark. Instead, think about its size, shape, and placement. A slightly larger outline, a clear silhouette, or a position with more open skin can help the new design remain visible without competing with the older piece.
A useful rule: judge the new design beside the old tattoo, not in isolation. Ask your artist to show you the proposed size and line weight next to your existing ink.
8. Decide Between a Matching Design and a Contrasting One
Matching tattoos create a sense of unity, while contrasting designs can make a collection feel more personal. Neither approach is automatically better.
A second delicate flower may work beautifully beside an existing botanical tattoo. But if your arm already has several floral pieces, a small moon, abstract curve, or simple geometric symbol may provide a welcome change.
Use this comparison to decide which direction suits your collection.
| Matching Design | Contrasting Design |
|---|---|
| Repeats a familiar subject or motif. | Introduces a new symbol or subject. |
| Works well for a connected collection. | Works well when you want variety. |
| Can repeat similar leaves, petals, or curves. | Can use a different subject but share similar line weight. |
9. Use Small Filler Details to Tie Separate Tattoos Together
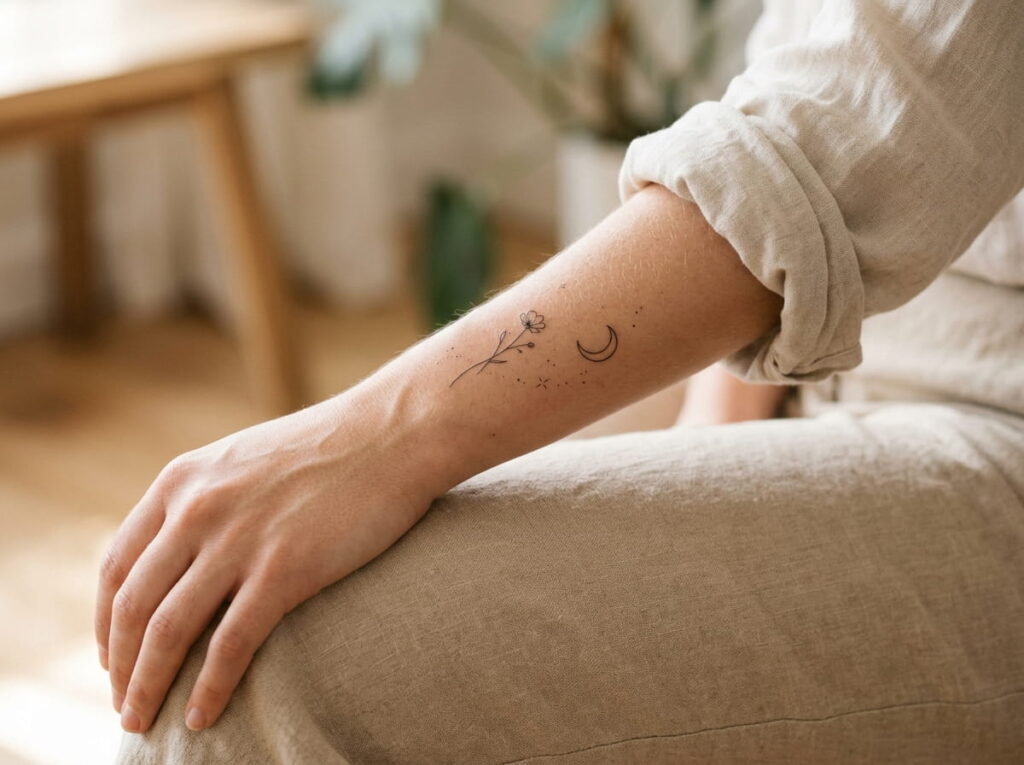
Small details can help connect tattoos that sit near each other but do not quite feel like a group.
Tiny dots, short curved lines, small stars, or a few leaves can bridge open areas without adding another large focal point. The key is restraint. Too many fillers can make a delicate collection look crowded, especially when the existing tattoos already contain plenty of detail.
Before adding anything, check whether the open space actually needs a design. Sometimes the gap is what helps each tattoo stand out.
Use filler details to create a gentle connection, not to cover every patch of empty skin. A few well-placed marks can be more effective than a crowded arrangement.
Filler ideas worth discussing with your artist:
- A small dot cluster between two fine-line pieces.
- A tiny leaf that echoes a nearby botanical tattoo.
- A short curve that follows the direction of the existing designs.
10. Blend Different Tattoo Styles Without Forcing Them to Match
Your existing tattoos may not share a single style, and that is fine. A bold traditional rose, a geometric symbol, and a delicate fine-line flower can live on the same body without looking identical.
Rather than changing every feature, look for one or two shared elements. Similar placement, balanced spacing, or a repeated curve can help connect pieces that otherwise have very different looks.
- ▸Traditional and fine-line: Use a clear silhouette and give the delicate piece enough space beside the bolder tattoo.
- ▸Geometric and botanical: Balance straight edges with a gentle leaf, stem, or curved branch.
- ▸Illustrative and minimalist: Repeat a small shape or keep the new piece simple enough to sit comfortably nearby.
- ▸Mixed collections: Photograph the whole area and look for balance rather than demanding one uniform style.
11. Test Your New Tattoo With a Temporary Placement Mockup
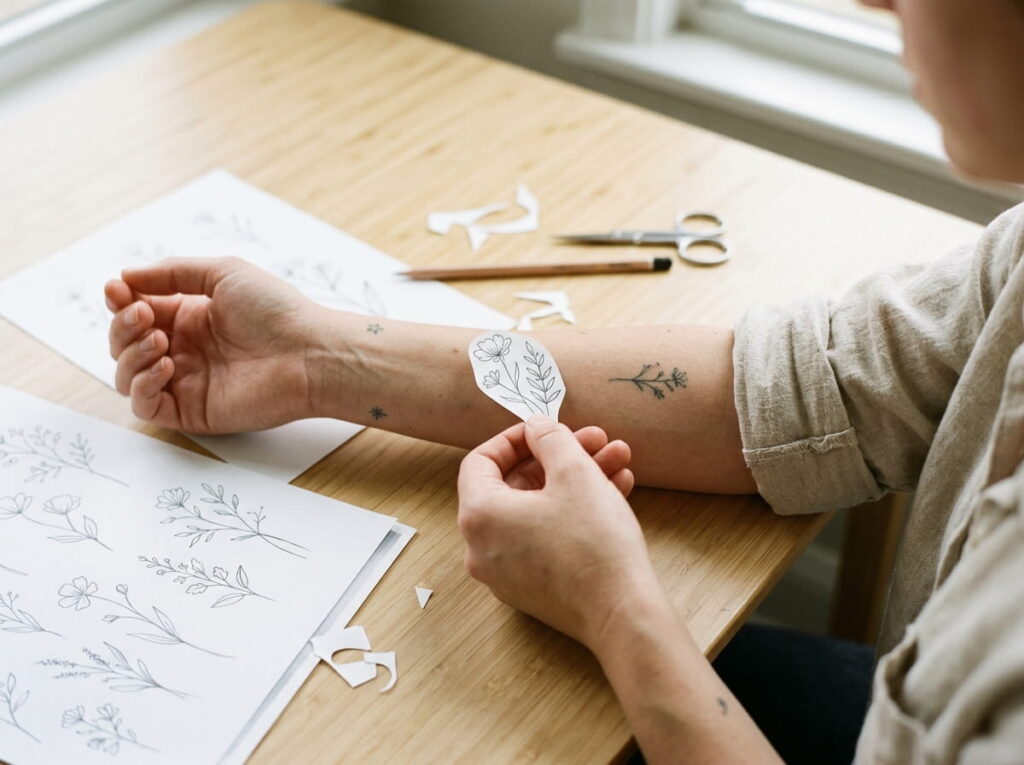
A temporary mockup helps you see how a new fine-line tattoo will look beside your existing ink before you commit. Take a clear photo of the area and use a simple drawing overlay, paper cutout, or temporary tattoo to test the size and position. Try a few placements instead of choosing the first one. Check whether the new design feels balanced with nearby tattoos and leaves enough breathing room. A mockup cannot show exactly how healed ink will look, but it can help you spot awkward gaps, crowded areas, or shapes that compete with your older pieces.
Try a Tattoo Mockup
Capture the area in clear, natural light.
Test the design at two or three sizes.
Check spacing, flow, and visual balance.
Tip: Save your favorite placements to show your tattoo artist.
12. Check How the New Design Looks From Different Angles
A tattoo that looks balanced when you face a mirror may look different when your arm turns or your leg bends. Before finalizing the design, check the planned placement from the front, side, and a natural resting position.
Notice whether the new lines follow the shape of your body and whether nearby tattoos still feel connected. This is especially useful for fine-line pieces near the wrist, elbow, ankle, shoulder, or collarbone. Ask your artist to mark the placement on your skin so you can move naturally and see how the design sits before the tattoo begins.
Look Beyond the Mirror
- View the design from the front and side.
- Relax your arm or leg in its natural position.
- Bend or turn gently to check the surrounding flow.
- Make sure the design does not crowd an older tattoo.
Remember: Confirm the placement with your artist before the session starts.
13. Ask Your Tattoo Artist to Create a Unified Custom Layout

If your existing tattoos have different sizes, themes, or line styles, a custom layout can help them feel more connected. Bring clear photos of your current tattoos and explain what you want the new piece to add.
Your artist can suggest a line weight, shape, placement, and amount of detail that suits the surrounding work without copying every element.
They may recommend a small connecting motif or a little more space between designs. The goal is not to make every tattoo identical. It is to create a thoughtful arrangement that looks balanced on your body and still reflects your personal style.
From Separate Pieces to a Unified Look
Pieces feel disconnected because their spacing and visual weight have not been planned together.
A shared fine-line feel, considered spacing, and a subtle connecting detail help the pieces sit together.
Illustrative layout concept only. Your artist can adapt the details to your existing tattoos.
Adding a new fine-line tattoo to existing ink does not mean every piece has to look exactly the same. Small choices, such as matching line weight, repeating a shape, balancing the spacing, and following the natural flow of your body, can help your tattoos feel more connected.
Before booking your appointment, test a few placements with a mockup and take photos from different angles. Bring those references to your tattoo artist so you can plan a design that complements your older pieces while keeping your personal style.
The best result is one that feels intentional, balanced, and meaningful to you. Give each tattoo enough room to stand out, and let subtle details connect the overall look.







Leave a Reply