
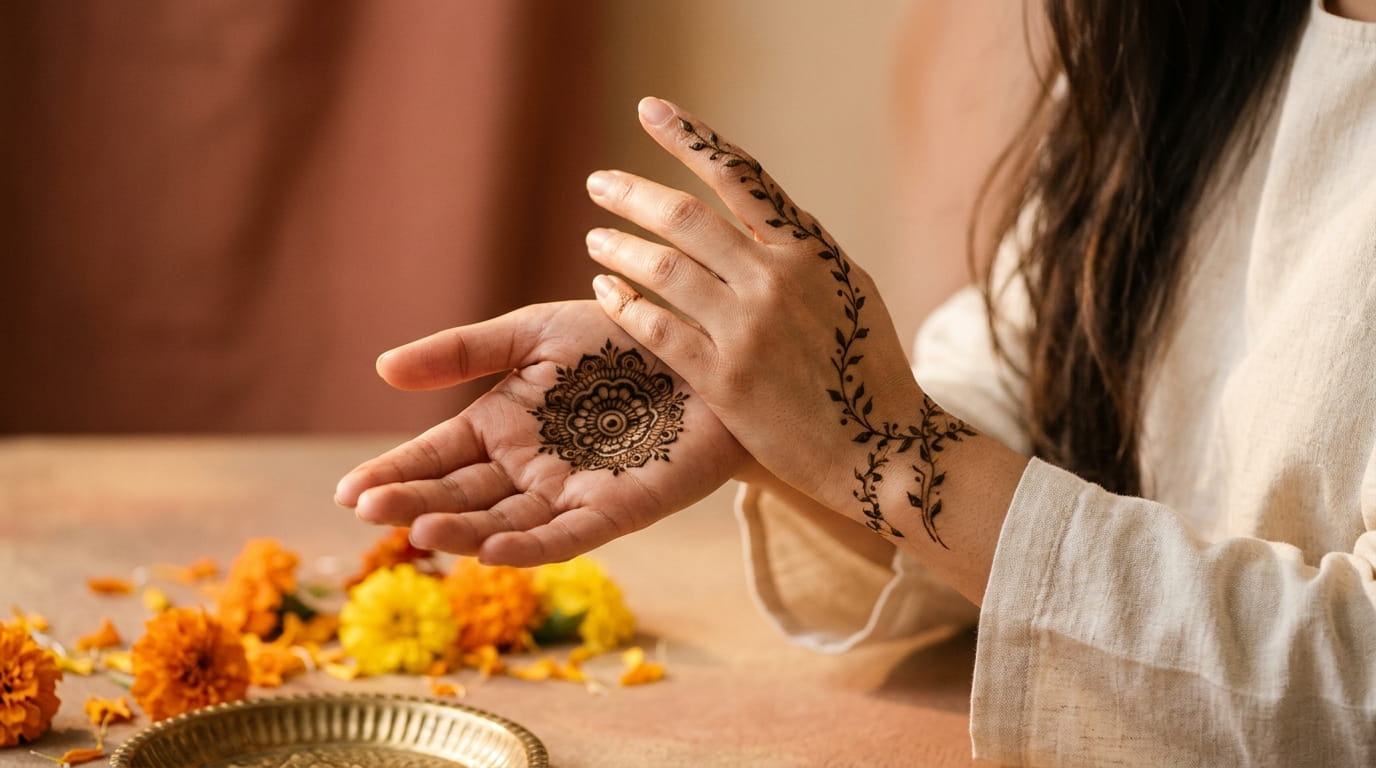
Scrolling through henna photos the night before a wedding is its own kind of stress. There are a hundred saved pictures, three favorites argued over in a group chat, and still no real plan for what actually goes on your hands.
Good henna tattoo designs are not about finding the busiest pattern you can print out and hand to an artist. They are about matching the look to the occasion, how long you can realistically sit still, and how the pattern will age over the next two weeks of washing dishes and typing emails.
This list pulls together thirteen patterns worth trying, from quiet wrist trails for a daytime festival to full bridal coverage for the ceremony itself. Some take twenty minutes in a chair. Others need a skilled artist and a free afternoon. Each one comes with what to actually expect, so you are not guessing once the cone touches your skin.
1. Open With a Mandala Palm Centerpiece
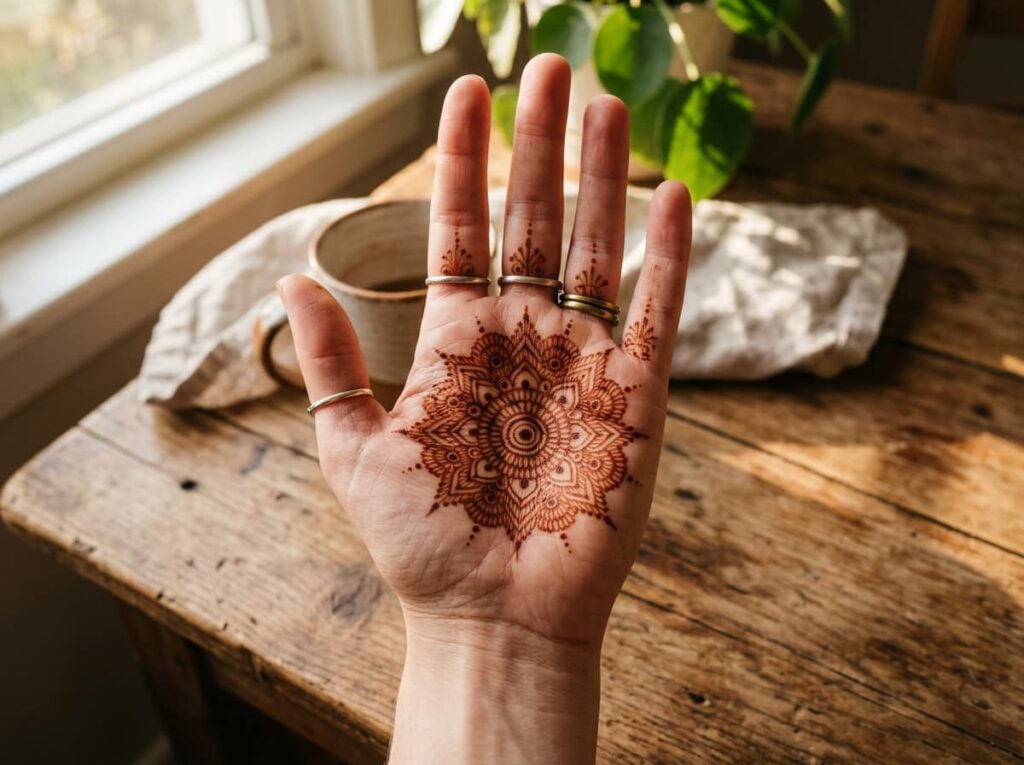
A mandala centerpiece fills the middle of your palm with rings of petals, dots, and fine linework radiating out like a flower seen from above. It reads well in photos because the design sits exactly where your hand naturally faces the camera.
This one works best with real time in the chair, since the fine rings take patience to get even. Ask your artist for:
- A bold outline ring laid down first, so there is a clear edge to build on
- Thinner detail added inward only after that outline sets
- A single plain finger trail instead of full coverage, so nothing competes with the center
Even a simple palm center like this holds up in photos long after finer linework on your fingers starts to soften.
2. Try a Full Bridal Lace Glove Pattern for the Big Day
The morning of a wedding usually means someone is already running behind, and henna is one of the few parts of getting ready that forces you to sit still for a while. A lace glove pattern covers the hand like a fitted glove, stopping at the wrist in a scalloped edge so it still looks intentional under a saree sleeve or a fitted gown cuff.
Book this one early. Full coverage pieces like this can take two to three hours, and the longer the paste sits afterward, the deeper the stain turns. A glove pattern is a commitment, but it photographs like almost nothing else in a bridal shoot.
💡 Quick Tip
Leave the dried paste on for at least four to six hours before scraping it off. The longer it stays, the darker and longer lasting the stain will be on the wedding day.
3. Keep It Light With a Minimalist Vine Trail Along the Wrist
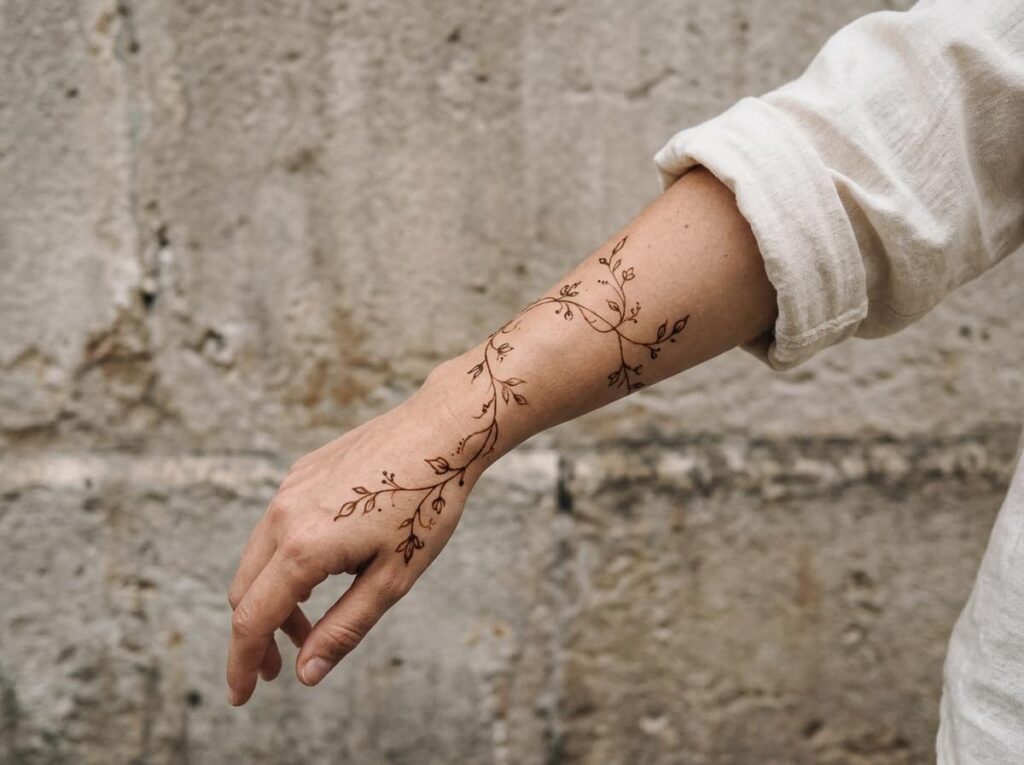
Not every hand needs to disappear under pattern work. If sitting for hours sounds like too much, a single vine trail along the wrist and up one finger gives you the henna look without committing your whole hand to it.
It is also the easiest pattern to touch up yourself a few days in, since it is just one continuous line with small leaf shapes branching off. Especially solid for a first henna appointment or a daytime festival where you still need full use of your hands.
4. Layer a Peacock Motif Across the Back of Your Hand
Start with the peacock’s body sitting just below your knuckles, tail feathers fanning out across the back of the hand and curling down toward the wrist. It is one of the few designs that genuinely benefits from being built in sections rather than freehand all at once.
- Outline the body and head first, keeping the shape small so the feathers have room
- Build each feather section one at a time, working outward from the body
- Add fine dot and line detail last, once the larger shapes are already dry
Ask your artist to skip filling the tail feathers in solid. Open linework photographs crisper than solid color blocks.
Outline the peacock’s body and head first, keeping it compact.
Build each feather section outward, one at a time.
Fill in fine dot and line detail once the larger shapes are dry.
5. Skip the Overcrowded Palm With Fingertip Dot Work Instead
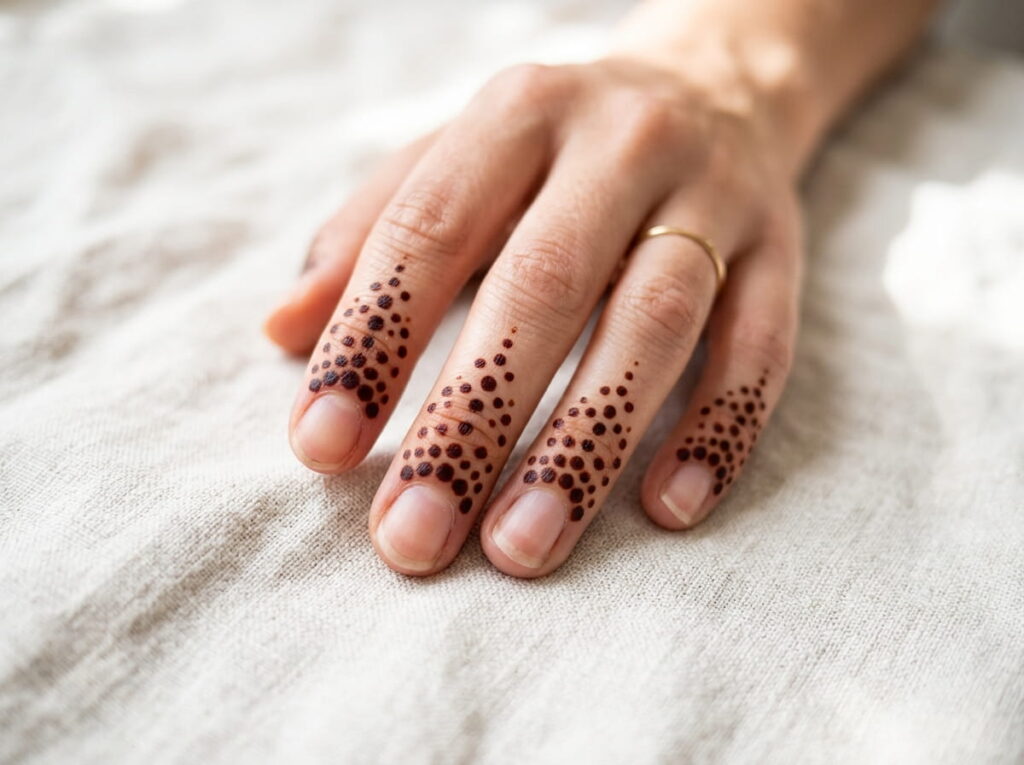
More henna does not always read as more detailed from a distance, it often just reads as dark. A full solid palm can flatten out in photos, while a lighter approach, dipping just the fingertips in small clustered dots, actually catches more detail up close.
It also pairs with almost anything else going on across the rest of the hand, since it never competes for attention.
Cluster small dots in a gradient from the tip down to the first knuckle.
Pair it with a bare palm so the contrast stays sharp.
Filling the whole fingertip solid, it loses the dot texture fast.
Mixing it with a heavily patterned palm underneath.
Just know fingertip stains fade fastest of any design on this list, so this is not the pick if you need the look to last past day five.
6. Trace an Arabic Floral Trail Down Each Finger
Arabic style henna skips the dense geometric fill of traditional bridal patterns and leans into open space instead. Large floral shapes and leaf clusters trail down each finger with plenty of bare skin showing between them, which makes the whole design feel lighter even when it covers a lot of ground.
It is a solid middle option between a single wrist trail and a full hand wrap. Before your appointment, pull together:
- A reference photo showing the gaps between floral clusters, not just the flowers themselves
- A decision on whether the trail stops at the wrist or continues up the forearm
- A plan for which finger gets the largest flower, since it anchors the whole design
Most artists who specialize in Arabic style can freehand this without a stencil once they see your reference.
html
What to bring to your appointment
7. Turn Heads With a Moroccan Geometric Grid
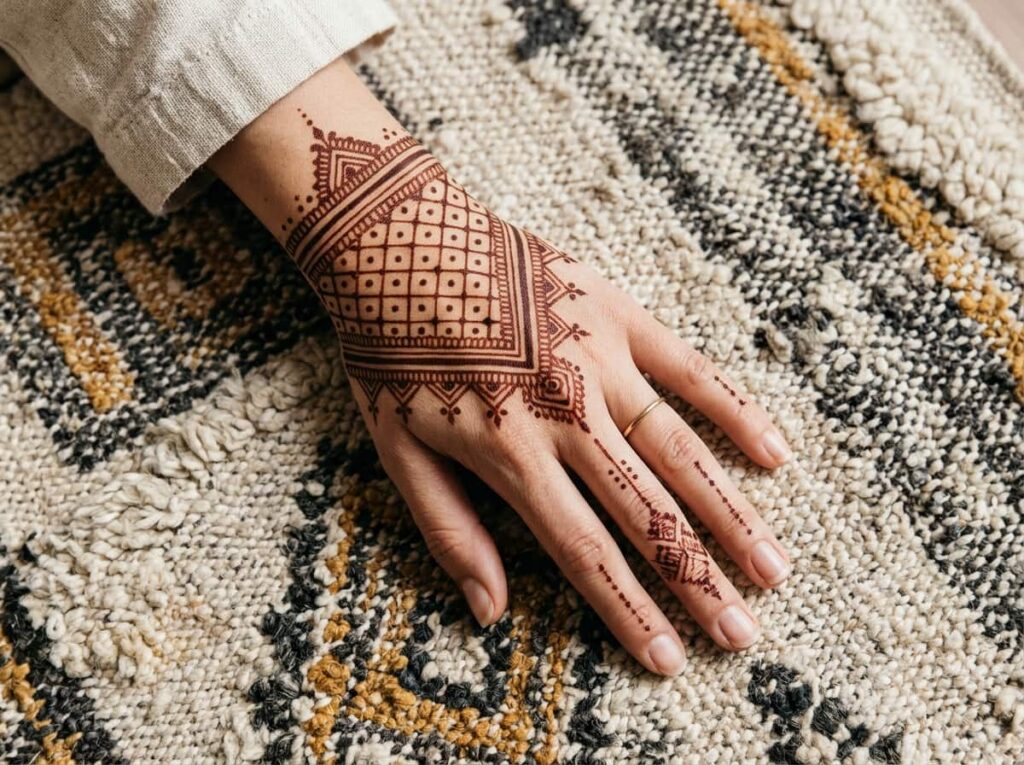
Most henna on this list is built from curves. A Moroccan geometric grid flips that, laying down straight lined diamonds, triangles, and crosshatching across the back of the hand in a tight repeating pattern. It stands out specifically because it does not look like anything else in a typical henna photo lineup.
The tradeoff is precision. A single wobbly line breaks the symmetry in a way that florals can hide easily. Go to an artist who has geometric work in their portfolio already, not just florals they are willing to try in a new direction.
html
A bare hand with no clear focal point, passed over for softer floral designs every time.
A sharp, symmetrical grid that reads as deliberate and modern rather than ornamental.
8. Weigh a Bracelet Band Design Against a Full Hand Wrap
A henna bracelet sits as a single decorated band around the wrist, sometimes with a small drop extending onto the back of the hand. A full hand wrap covers the entire back of the hand and often the fingers too. They solve different problems, so it helps to compare them side by side before you book.
| Bracelet Band | Full Hand Wrap |
|---|---|
| 20 to 30 minutes | 90 minutes or more |
| Works with sleeves and watches | Best with bare arms on display |
| Good for everyday festivals | Saved for weddings and major events |
If you are torn, think about whether you will be using your hands for anything active that day. A bracelet band survives a full day of dancing far better than fine finger detail does.
9. Cluster Paisleys for a Rajasthani Statement Palm
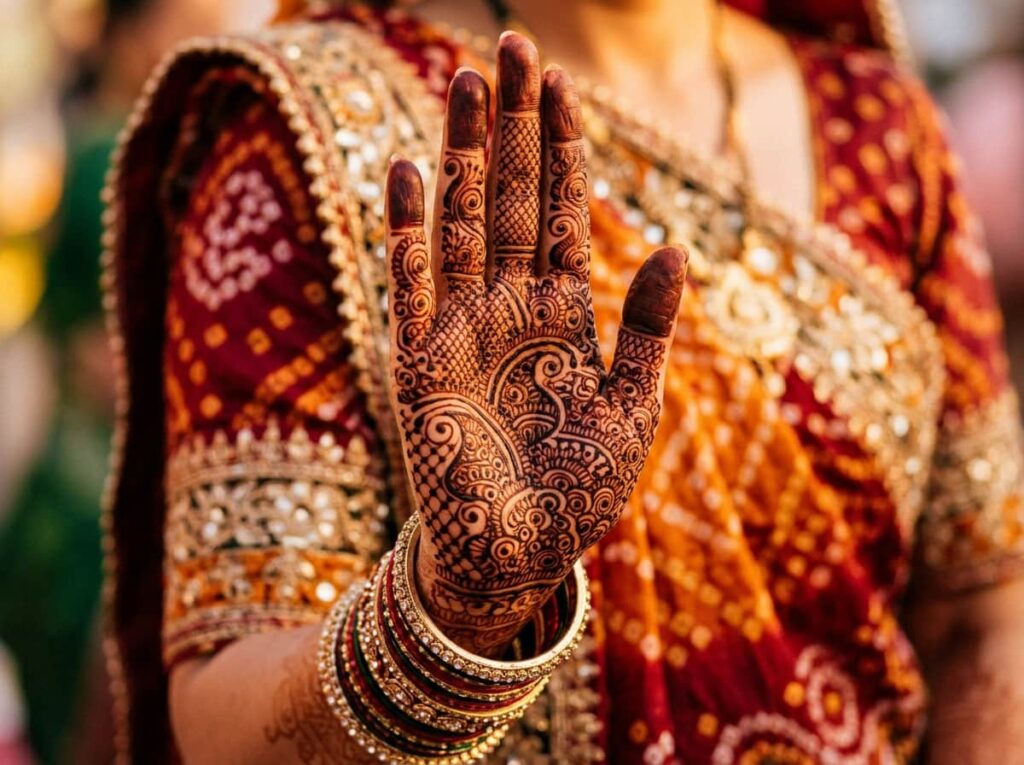
Paisleys packed shoulder to shoulder across the palm, each one outlined and filled with its own tiny pattern inside, is the look most people picture when they think of traditional bridal henna. It takes real time, but almost nothing fills a palm with this much visual texture.
Ask your artist to vary the paisley sizes slightly instead of repeating one template across the whole palm. That small inconsistency is what makes the pattern look hand drawn instead of stamped.
Dense paisley clusters need a long sit and a steady artist, so book this one as your appointment’s main event, not an add-on.
10. Watch Out for These Negative Space Mistakes
Negative space, the bare skin left between pattern elements, does most of the work in making henna look intentional rather than muddy. It is also the easiest thing to lose track of once an artist is a half hour into a design and filling in gaps just to keep busy.
⚠️ Watch Out
If an artist starts filling bare patches “just to even things out” partway through, stop and ask what the original plan was. Gaps left on purpose are part of the design, not an unfinished section.
Say so before the appointment starts, not halfway through. Most artists will happily walk you through where the open space is meant to stay.
11. Wrap a Diamond Pattern Around Your Ring Finger
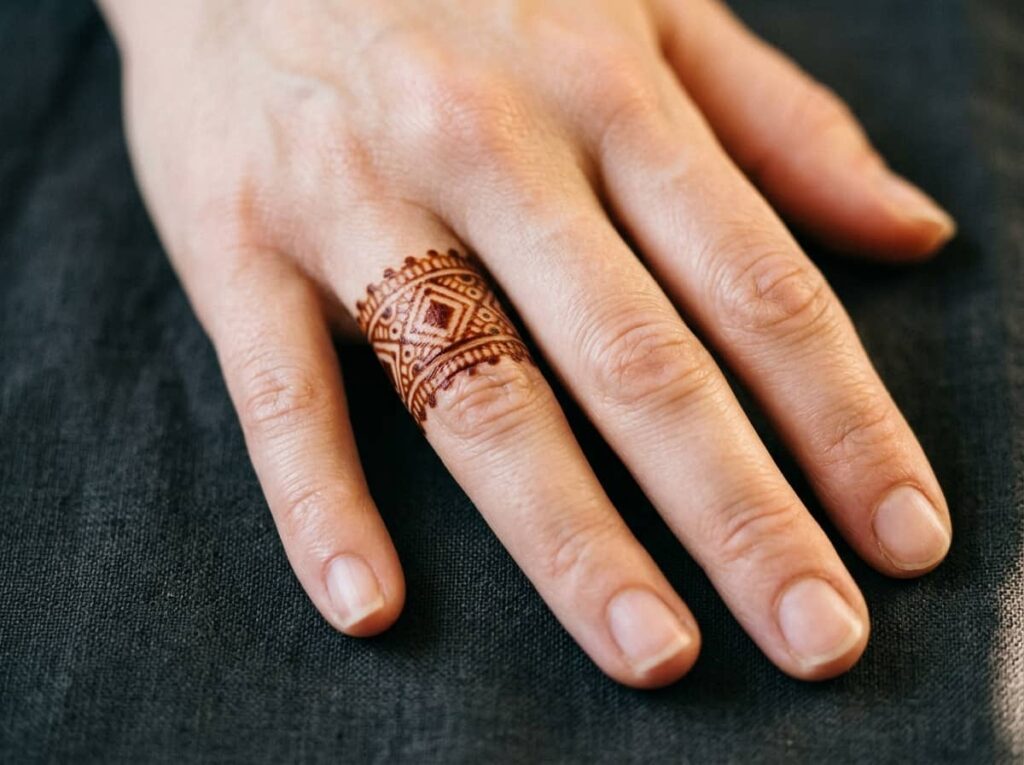
A row of small diamonds stacked along the length of the ring finger, each one outlined and left mostly hollow in the center, draws attention right where an engagement ring would sit. It works whether or not you are actually wearing one that day.
What makes it stand out:
- Diamonds scale down in size as they move toward the fingertip
- A thin connecting line runs through the center of each shape
- The rest of the hand stays bare, so the finger reads as the focal point
Good for anyone who wants a photo moment without sitting through a full palm design.
12. Follow This Checkerboard Fusion Sequence for a Modern Twist
Lay a loose checkerboard grid across the back of the hand, then fill alternating squares with tiny traditional motifs instead of leaving them solid. The mix of a modern grid with classic linework is what gives this one its name.
- Mark out a light grid of five or six squares across the hand, not the fingers
- Fill every other square with a small paisley, flower, or dot cluster
- Leave the remaining squares empty except for a single fine border line
The empty squares matter as much as the filled ones here. Skipping them turns the whole thing into a solid block instead of a pattern.
Mark out a light grid of five or six squares across the back of the hand.
Fill every other square with a small paisley, flower, or dot cluster.
Leave the remaining squares open, bordered with just a single fine line.
13. Close With a Sun and Moon Palm Design for Meaning
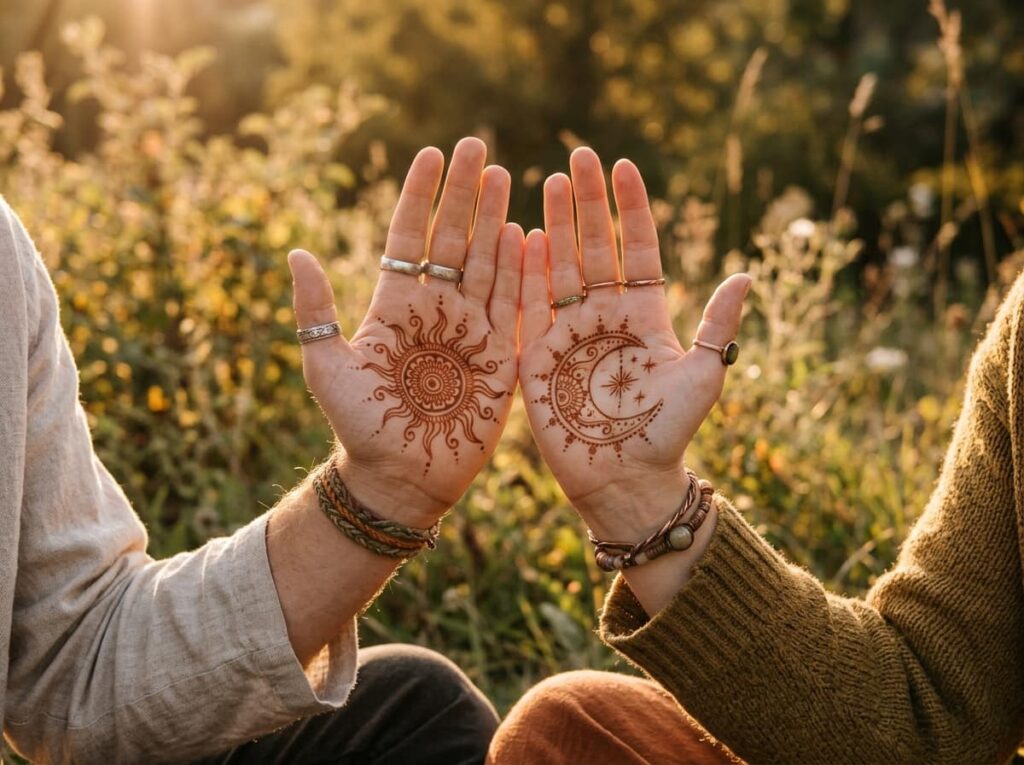
Some brides want a design with a story behind it, not just something that looks good in photos. A sun on one palm and a moon on the other, each surrounded by its own ring of small detail, is a quiet way to carry meaning into the day without saying a word about it to anyone who does not ask.
The two halves do not need to match exactly. A slightly fuller sun and a simpler moon still read as a pair once both hands are together in a photo.
A paired design like this only works if you tell your artist upfront that both palms need to read as one design, not two separate pieces.
Conclusion
Thirteen henna tattoo designs is a lot to choose from, but the best pick usually comes down to two things: how much time you actually have in the chair, and whether the occasion calls for something quiet or something that fills the whole hand. A mandala palm and a full bridal glove ask for very different afternoons.
Bring a few of these references to your next appointment instead of one fixed idea. A good artist can often blend two patterns, a vine trail with a diamond ring finger, a geometric grid with open fingertip work, into something that fits your hand and your day.
Save this list so you have it ready the next time a wedding, festival, or free Saturday calls for henna.
Before your next appointment







Leave a Reply