
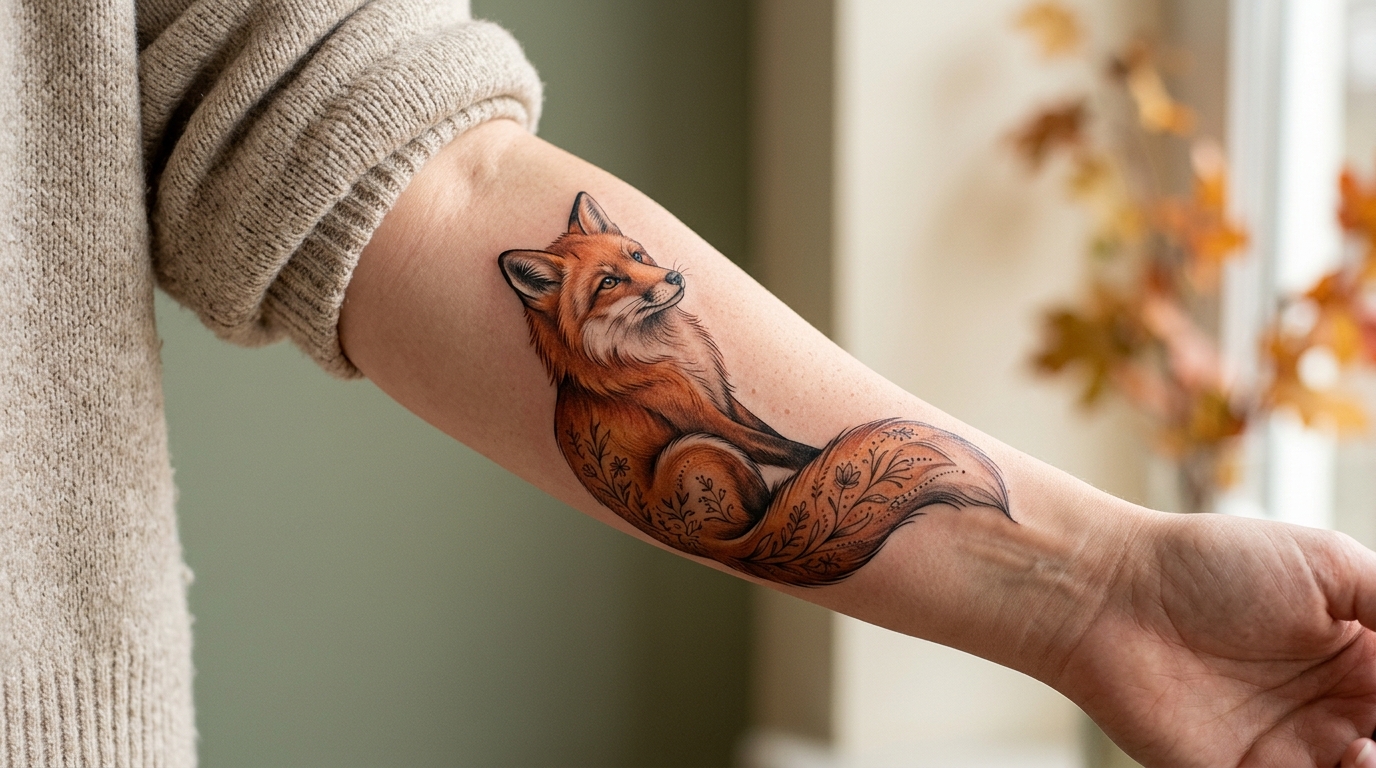
You want a tattoo that looks like you on a good day: warm, a little clever, and hard to scroll past. A fox does that better than most animals. That rust orange coat catches the eye in a crowded feed, and the face has just enough mischief to feel personal.
The trouble is that a fox can go in many directions. It can be small and sleepy, sharp and bold, or covered in flowers like a storybook drawing. Pick without a plan and you may end up with a design that is close, but not quite yours.
These fox tattoo ideas are sorted by mood so you can find your direction fast. You’ll see cute, fierce, and folk art takes, plus size, line style, and color choices that change how the same fox feels on skin.
Scroll slowly, save the ones that make you pause, and notice what they share. That pattern is your style.
1. Start With a Sleeping Curled Fox for a Soft, Cozy First Tattoo
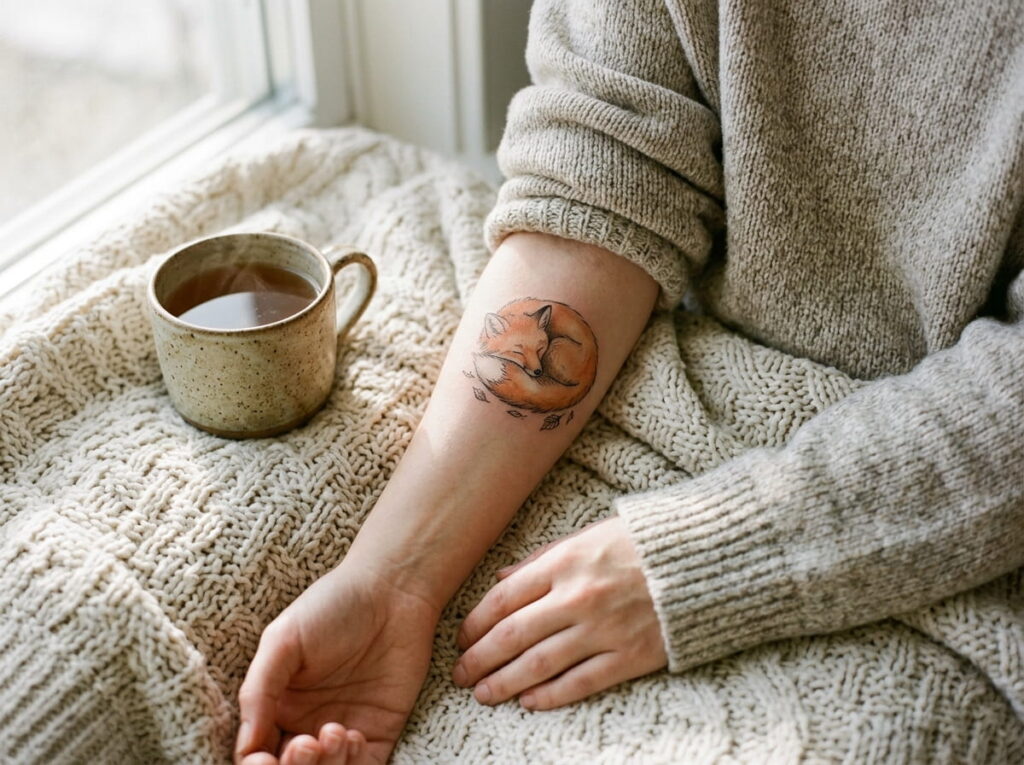
A fox asleep in a tight curl is the easiest yes on this list.
The shape is almost a circle, so it fits neatly on a forearm, an ankle, or the soft spot above the elbow. The tail tucks over the nose and hides most of the face, which keeps the design calm instead of busy.
- Small version: clean outline with a light orange wash.
- Medium version: closed eyes, soft fur strokes, and a few leaves under the paws.
Add tiny closed eyes and the whole thing looks like a nap.
2. Try a Tiny Fox Face Behind the Ear When You Want Something Small
Big tattoos scare plenty of first timers, and that’s fair.
A fox face about the size of a coin is a smaller commitment, and it still reads as a fox thanks to the ears. Those two pointed triangles do most of the work.
- Pointed ears with a pale inner shade
- A small dark nose and two simple eyes
- A cream cheek patch made from bare skin
The same face also sits well on a wrist or a collarbone.
💡 Quick Tip
Wear your hair the way you usually do when the stencil goes on. If it’s tied up most days, check the placement with it up. If it falls over your ears, check it down.
3. Choose a Fox With Sharp Eyes and Bold Lines for a Fierce Look
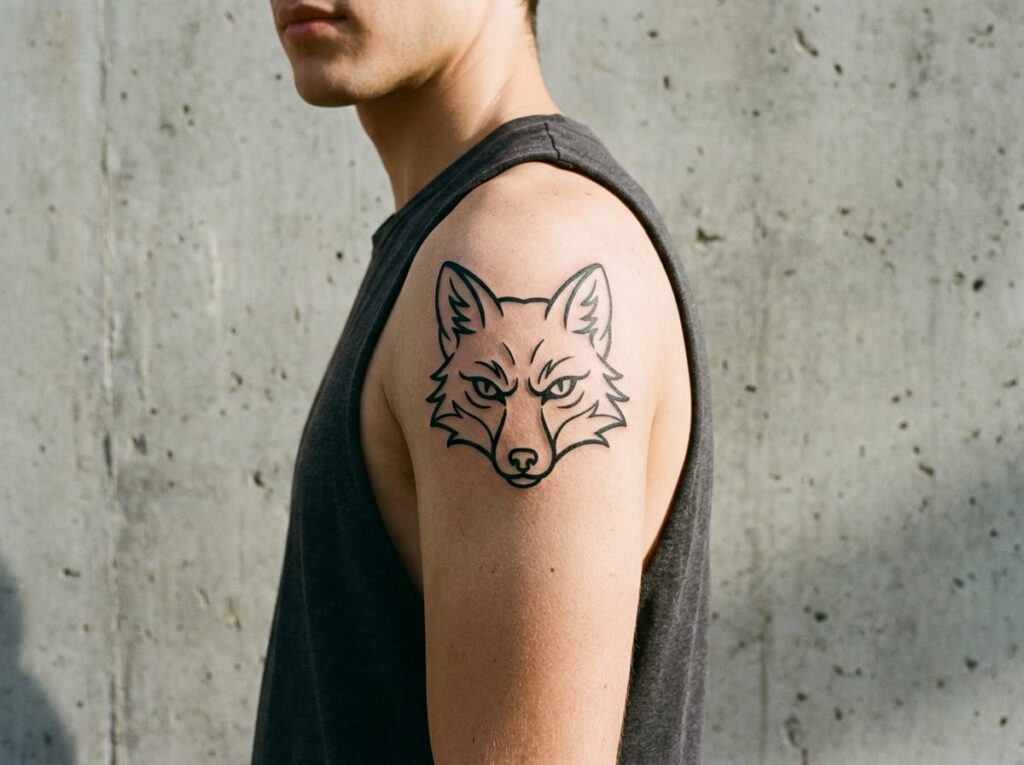
Narrow the eyes and the fox changes personality.
Almond shaped eyes tilted upward, a sharp brow line, and thick outlines are what read as fierce. Pose matters too. A fox looking straight at you with its head low feels like it is about to move.
- Use a head on or three quarter angle.
- Add spiky fur edges at the cheeks.
- Shade darkly under the brow to deepen the stare.
Skip the cartoon grin if you want the bite.
Slant the eyes and keep the brow sharp.
Use heavy, steady outlines around the face.
Big round eyes with bright highlights.
Soft, wobbly outlines that fade at the edges.
4. Draw the Fox in Fine Line Work When You Want It Delicate
Fine line and bold line are two different foxes.
Fine line gives you whisper thin whiskers, soft fur strokes, and a face that feels almost sketched. Bold line gives you a fox that reads clearly from across the room. Neither is better. It depends on how much detail you want and how large the piece will be.
Fine line asks for a little more space. Tiny, crowded details are harder to keep readable.
Ask your artist for healed fine line work, since thin lines can soften over the years.
| Fine line fox | Bold line fox |
|---|---|
| Look: soft and delicate | Look: graphic and confident |
| Detail: whiskers and fur strokes | Detail: simple shapes, clear edges |
| Over time: thin lines can blur | Over time: thick lines tend to stay readable |
| Best size: medium to large | Best size: small to medium |
5. Turn the Fox Into Folk Art With Flowers, Swirls and Patterned Fur
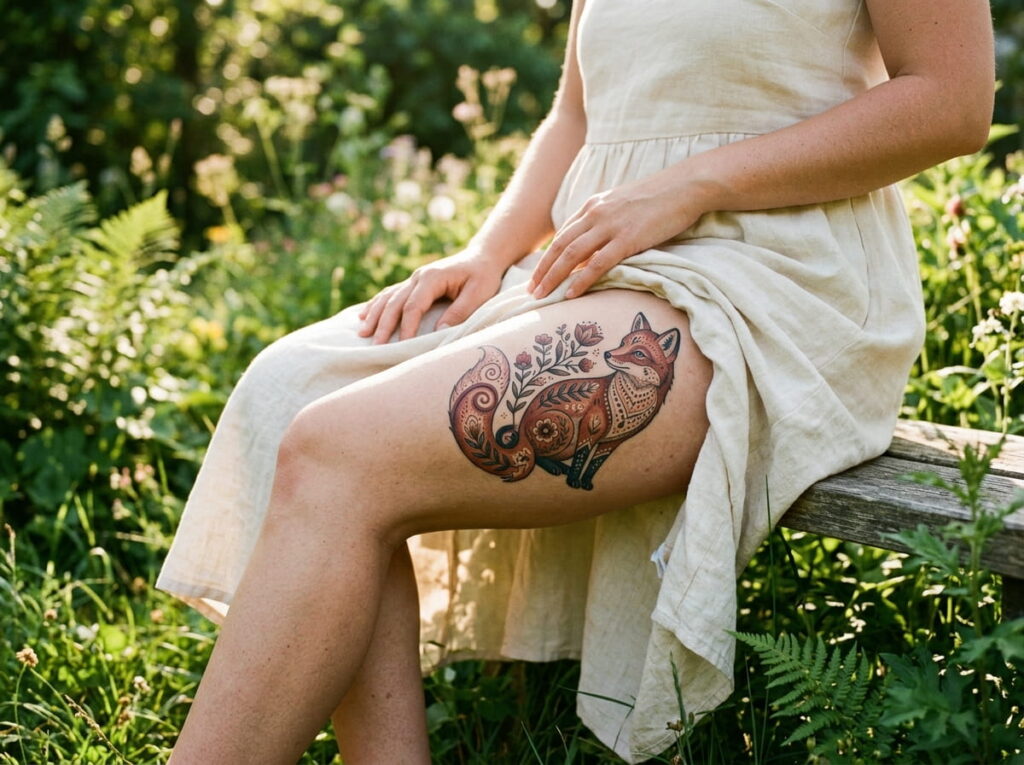
Look closely at a folk art fox and the fur isn’t fur at all. It’s pattern.
The coat becomes rows of petals, dots, and curling lines, like something painted on a wooden box. The tail is usually the showpiece, with swirls that spiral out from the tip.
- Flowers along the back and shoulders
- Swirls through the tail
- Dots or tiny hearts on the chest
- A face that matches on both sides
Symmetry is the trick. Keep both sides even and a busy design still looks calm.
A plain fox outline with one flat orange fill. Clear shape, but nothing to look at once you’ve seen it.
The same fox with flowers on its back, a swirled tail, a dotted chest, and matching patterns on both sides.
6. Pair the Fox With a Crescent Moon or Night Sky for a Quiet Story
Foxes are out at dusk, so a moon beside one never feels random.
Let the fox curl inside the crescent, or sit below it looking up. Add a few small stars or a thin line of cloud, and the tattoo starts to feel like a page from a bedtime book.
The moon also solves a layout problem. Its curve frames the fox and leaves clean skin around the design.
Keep the sky simple. Too many stars turn the fox into background noise.
Pick the fox pose first, then ask your artist where the moon fits around it.
Size the moon close to the fox’s body so neither one overpowers the other.
Place the stars in small, uneven groups, and keep them away from the fox’s face.
7. Let the Tail Wrap Around Your Arm or Ankle
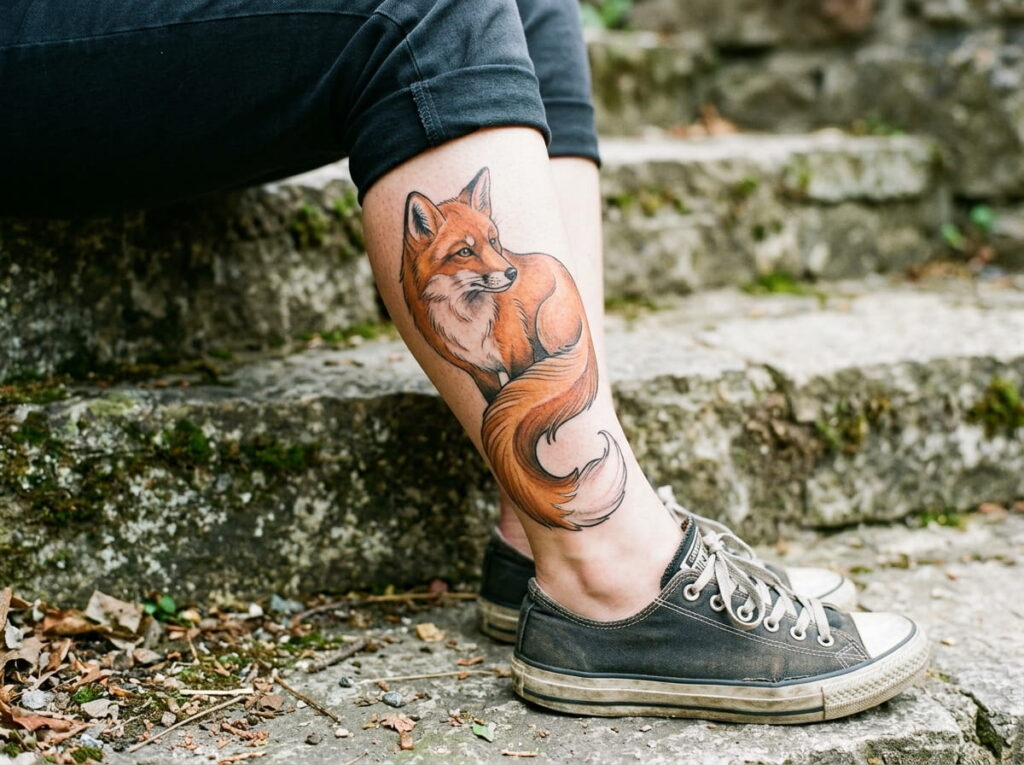
Here’s the rule for wraparound designs: the tail does the traveling, and the face stays put.
Place the fox’s face where people see it most, on the outer forearm or the front of the shin. Then let the tail curve around toward the back, as if the fox is circling your limb. Skin bends, so nobody sees the whole design at once. That small mystery is the appeal.
- Face on the front, tail tapering toward the inner arm or heel
- A tail tip that almost meets the paws
Ask your artist to place the stencil while you stand and move, because a design that looks right flat can twist on a bent arm.
8. Use the Fox Tail as a Flowing Piece of Design Along the Ribs or Spine
Ribs and spines are long and narrow, and most fox designs are wide and round. That mismatch is why some of them look squished.
Stretch the fox instead. A running or leaping pose, with the tail trailing along the line of the body, fits a tall space naturally. Spine designs can start at the neck with the face and let the tail flow down toward the lower back.
- Long, sweeping tail curves
- A pose that already points in one direction
The tail can carry the whole tattoo, so give it room.
Ask your artist before you book
9. Pick Realistic Orange Shading if You Want the Fox to Look Alive
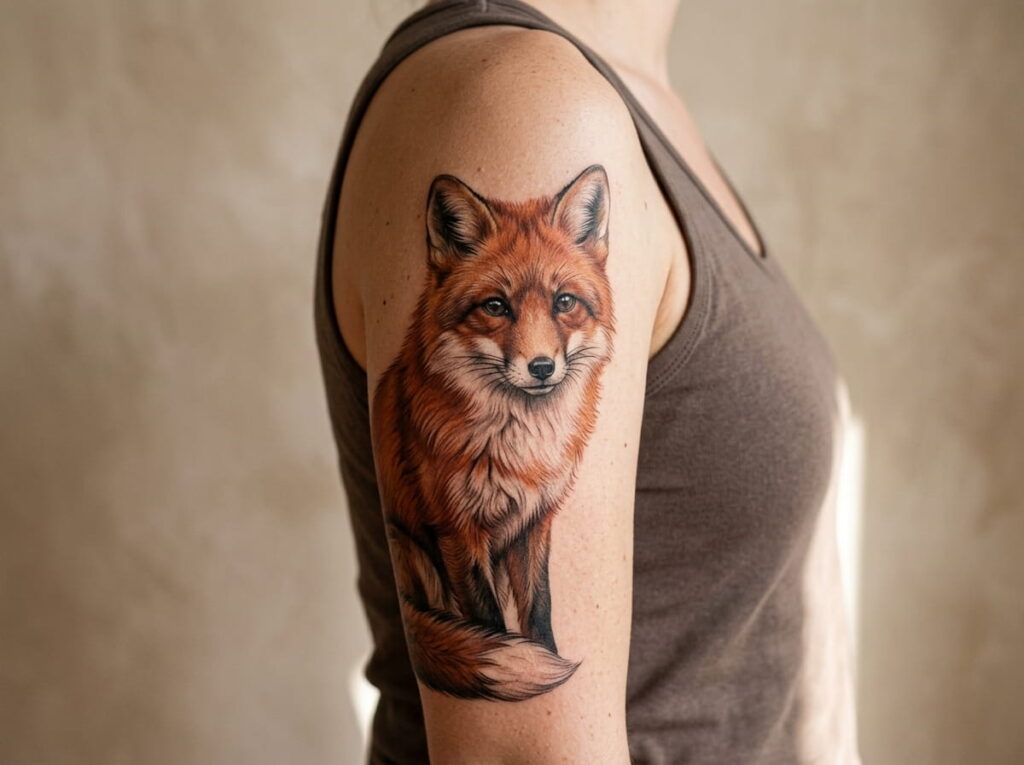
Look at a real red fox and you’ll see more than one orange. The back runs deep rust, the cheeks go lighter, and the chest turns almost cream. The legs look like dark stockings, and the tail ends in a white tip.
Realistic shading copies that.
- Darker rust on top, lighter orange along the sides
- Cream on the chest, muzzle, and tail tip
- Dark brown to black on the legs and the backs of the ears
This style needs more room and an artist with strong animal portraits in their portfolio.
Realism lives in the color shifts. A fox with only one flat orange will always read as a drawing.
10. Go Black and Grey When Orange Feels Like Too Much Commitment
The common mistake is choosing black and grey only to dodge the color decision.
Chosen on purpose, it’s a strong style. Deep contrast makes fur texture stand out, the eyes can look intense, and the whole piece feels quieter than a bright orange fox. It suits people who like moody, graphic art.
If you think you might want orange later, say so at the start. Your artist can plan the shading and leave room for it.
⚠️ Watch Out
Choose black and grey because you love the look, not because it feels like the safe option. A design you like less than you hoped is hard to live with in any color.
11. Mix a Fox With Fall Leaves or Wild Berries for Seasonal Color
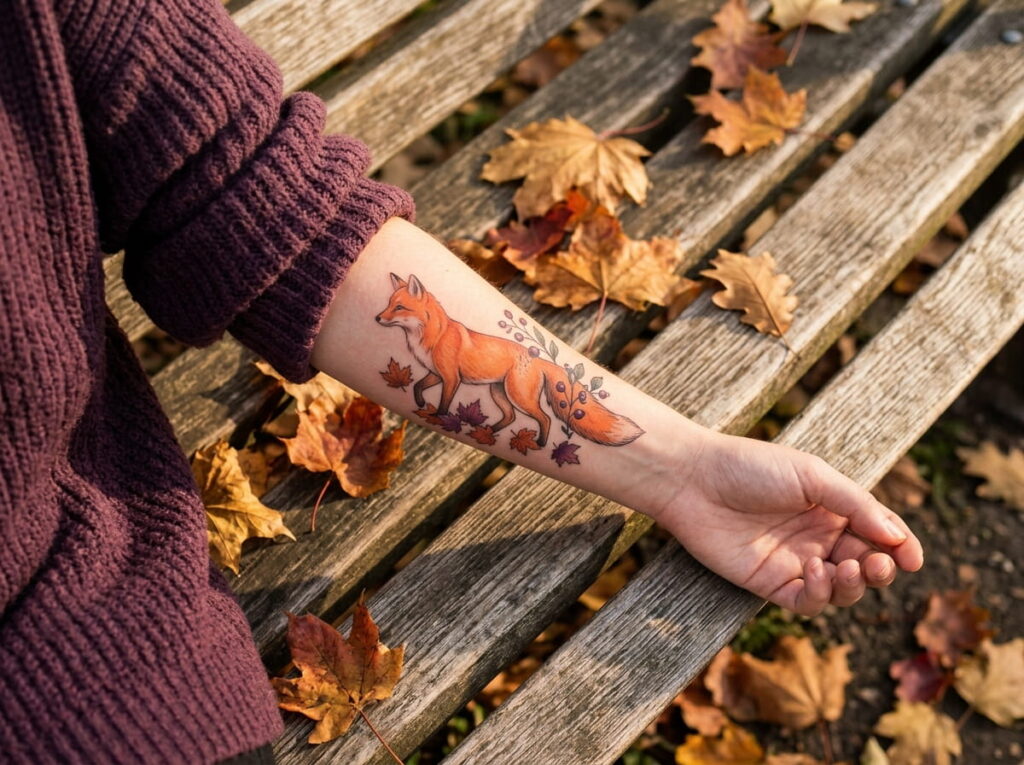
Foxes and autumn go together because the fur and the leaves share a color family.
Orange fur against red maple leaves can blur into one warm patch, so give the fox a contrast partner. Deep green, plum, or dark brown makes the orange stand out. Berries are useful here. A small cluster of red or purple dots near the paws adds color without crowding the face.
- Leaves scattered under the paws
- A berry branch curving behind the tail
- A single leaf resting on the fox’s back
Keep the plants smaller than the fox, so the animal stays the star.
12. Try a Geometric or Dotwork Fox for a Modern Twist
Both styles turn the fox into a pattern, but they get there differently.
Geometric builds the face from triangles and clean angles, so the ears and snout fall into place almost on their own. Dotwork builds it from thousands of tiny dots, with shading that comes from how tightly they sit together.
Pick geometric for crisp, graphic edges. Pick dotwork for a soft, textured glow.
Both work well in black, and a single touch of orange keeps the fox recognizable.
| Geometric fox | Dotwork fox |
|---|---|
| Look: sharp, angular, graphic | Look: soft, grainy, textured |
| Built from: lines and triangles | Built from: dots in varied density |
| Session length: usually shorter | Session length: often longer |
| Ask to see: clean, even line work | Ask to see: smooth, healed shading |
13. Bring a Few Fox References and Your Style Words to Your Artist

“I want a cute fox” can mean fifty different tattoos.
Three or four reference images and a few plain words give your artist something solid to work from. Include one image you love, one you like for a single detail, and one you definitely don’t want. That last one saves more time than people expect.
Then let the artist redraw it. A good one will adapt the idea to your body, not copy a photo line for line.
Your fox consultation brief
The Conclusion
The best fox tattoo ideas start with a mood, not a pose. Decide whether you want cute, fierce, or folk art, and the rest gets easier: the line style, the placement, and how much orange to use.
Keep the fox as the star. Let a moon, leaves, or flowers play a supporting role, and give the tail room to move. Then take your references, your style words, and your color plan to an artist whose healed work you trust.
A fox tattoo should feel like a small piece of your own personality, so give yourself time to find the version that fits.
html
Pick a mood, choose a line style, plan your orange, and ask to see healed work.







Leave a Reply