
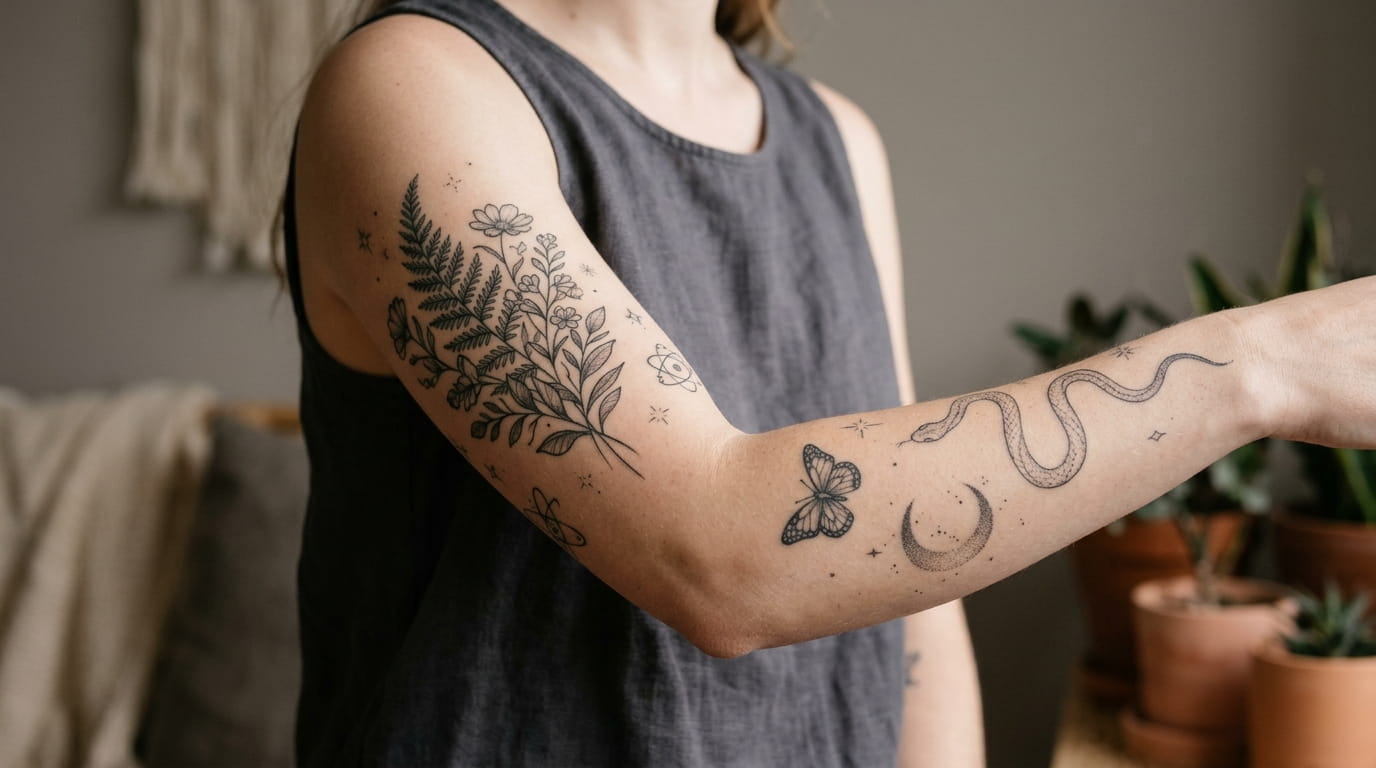
Somewhere between tattoo number two and number five, a lot of collections start looking like a junk drawer. Random shapes crowd the forearm. Styles clash. One tiny tattoo sits off by itself with nowhere to visually land. The problem usually isn’t the individual designs. It’s that nobody planned how they’d sit together.
That’s where good patchwork tattoo ideas actually come in. A collection that feels intentional isn’t about matching every piece exactly. It’s a handful of quiet planning choices made before the needle touches skin again.
This isn’t about redoing what you already have. It’s about the next piece, and the one after that, having a plan behind it instead of being added on impulse. Twelve practical moves below cover placement, spacing, line weight, and the small decisions that keep a growing collection from turning into visual noise.
1. Settle the Anchor Before Anything Else
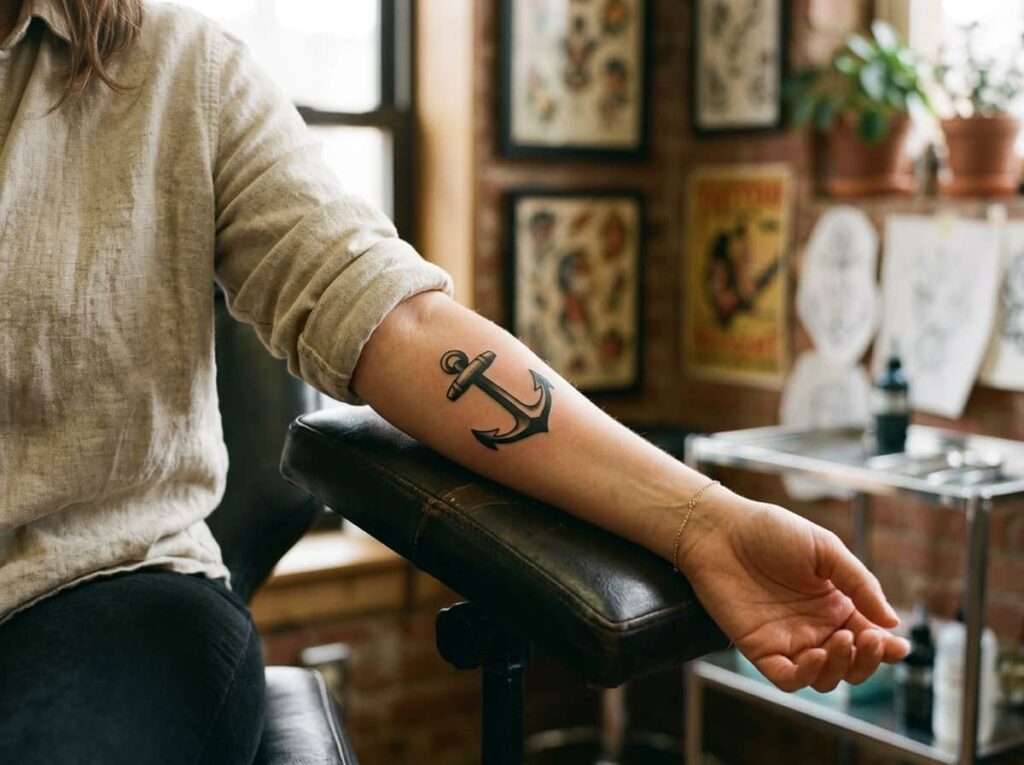
Pick the tattoo that will act as the anchor for your whole arm, usually the largest or most detailed piece, the one your eye naturally lands on first.
Every tattoo you add after that should take its size, spacing, and line weight from this one, not fight it for attention. Skip this step and pieces get added in whatever order you happen to think of them, which is exactly how a collection turns into clutter instead of a layout.
Every tattoo you add later should answer to your anchor piece, not compete with it.
2. Map Your Arm’s Flow Lines First
Your arm already has natural curves at the wrist, forearm, and inner elbow. Tattoos that follow those lines read as one connected piece. Tattoos dropped in without noticing them read as scattered dots.
Stand in front of a mirror with your arm relaxed, not flexed, and trace where the muscle actually bends before deciding on placement. Flow beats symmetry here. A patchwork that respects the arm’s lines looks intentional even when the pieces were done years apart.
Relax your arm in front of a mirror, don’t flex it.
Trace where the wrist, forearm, and elbow naturally bend.
Mark rough placement with washable marker before booking.
3. Choose a Single Theme Thread to Tie Pieces Together
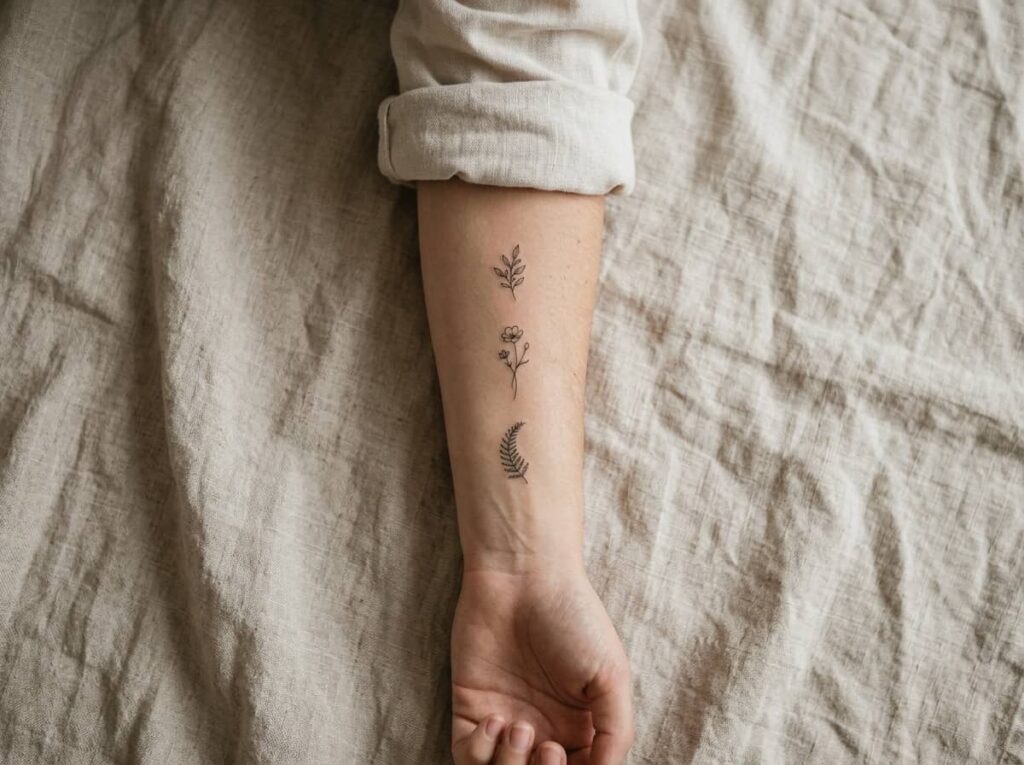
A lot of people think a patchwork has to use one fixed style, like only fine line or only black and grey, to look put together. It doesn’t. What actually ties a collection together is a theme thread: a recurring symbol, a shared subject like florals or celestial shapes, or even a consistent small detail tucked into each design.
Pick one thread before your next few tattoos. It gives your artist something to echo, and it gives the finished arm a reason to feel connected instead of random.
💡 Quick Tip
Ask your artist to tuck one small recurring detail, a dot, a line, a tiny leaf, into each new piece. It’s subtle, but it’s what makes a patchwork read as one collection.
4. Match Line Weight Across Every Piece
The fastest way to make a patchwork look messy has nothing to do with the designs themselves. It’s mismatched line weight. A bold, thick-lined piece sitting next to a delicate fine-line tattoo creates visual static, even if both designs are nice on their own.
Before booking with a new artist, look at their past work and compare line thickness to your existing pieces. If you’re set on someone whose style runs heavier or finer than what you already have, ask directly if they can adjust to match. Most will.
Bring a reference photo of your existing pieces to any new artist.
Ask specifically about line weight, not just overall style.
Booking an artist with a much bolder or finer signature style without discussing it first.
Assuming it’ll “probably blend in” once it’s healed.
5. Mock Up Placement Before You Commit

Sketch it out before the appointment, not during it. A rushed five-minute placement decision in the chair is how pieces end up too close together, too far apart, or crooked against the arm’s natural line.
Take a few days beforehand to rough out where the new piece will sit. Photograph your arm from a few angles, mark possible spots with washable marker, and live with it for a day or two. What looks fine in the mirror for ten seconds can look off in photos a week later.
What to bring to your own mockup session
6. Decide Your Palette: All Black and Grey, or One Accent Color
Pick your palette before you pick your next design, not after.
A patchwork reads as one collection when the color story stays consistent, whether that means sticking entirely to black and grey ink or allowing yourself exactly one accent color across every piece.
Red in one tattoo, a wash of blue in another, gold leaf somewhere else, and an otherwise solid set of designs starts feeling disconnected. Decide now and hand that rule to every artist you work with from here on.
7. Cluster Small Tattoos Instead of Scattering Them
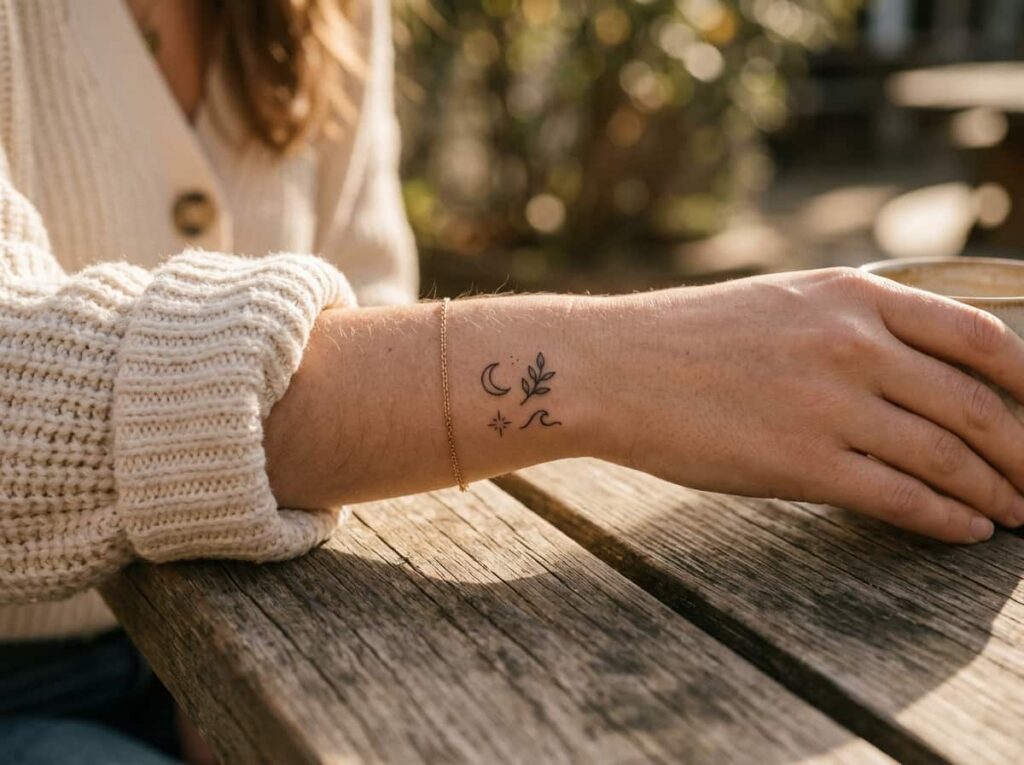
Four small tattoos spread an inch apart each read as four separate decisions. The same four tattoos grouped with half an inch of space between them read as one deliberate piece.
Clustering is the single biggest difference between a patchwork that looks curated and one that looks like it happened by accident. It doesn’t mean cramming designs together. It means grouping related pieces into a zone, like the wrist or the outer forearm, instead of letting them drift wherever there’s open skin.
| Clustered | Scattered |
|---|---|
| Reads as one connected piece | Reads as unrelated tattoos |
| Easy to plan around later | Hard to add to without crowding |
8. Leave Breathing Room Between Pieces on Purpose
An arm with tattoos crammed edge to edge, no bare skin showing anywhere, reads as one solid blob of ink no matter how good each individual piece is. Breathing room is what lets the eye separate one design from the next.
As a rough rule, leave at least a thumb’s width of clear skin between smaller pieces, more around anything especially detailed. It feels wasteful to leave skin empty when you’re excited about your next idea. It’s what keeps the whole arm from blurring together in a year.
Pieces placed edge to edge with no clear skin between them.
A thumb’s width of space around each piece, each design easy to pick out on its own.
9. Plan Your Session Order, Not Just Your Designs
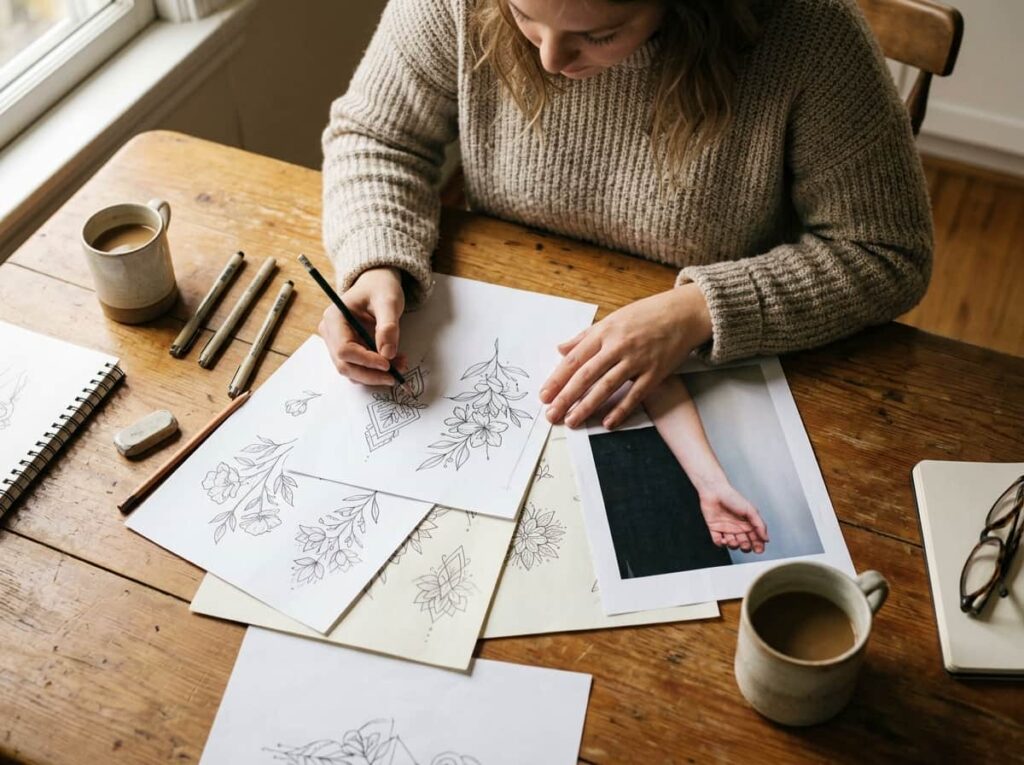
Most people plan what they want tattooed. Almost nobody plans when. But order matters for a patchwork. Getting your anchor piece last, after three smaller tattoos are already placed around it, forces your artist to design around gaps instead of setting the layout.
Save your biggest or most central piece for early in the process, then fill in around it. It’s a lot easier to add small tattoos around something established than to squeeze a centerpiece into leftover space.
📌 Good To Know
Anchor and larger pieces first, smaller fillers after. Doing it backward is the most common reason patchworks end up crowded.
10. Build a Size Hierarchy So Nothing Competes
A patchwork where every piece is roughly the same size has nowhere for the eye to rest. It just scans as a flat row of similar shapes. A collection with a clear hierarchy, one larger anchor, a few mid-sized pieces, several small fillers, gives the arm a sense of order even when the designs themselves vary wildly in subject matter.
Before adding anything new, ask where it fits in that hierarchy. If you already have three mid-sized pieces, your next one probably shouldn’t be a fourth.
11. Watch for the Symmetry Trap

It’s tempting to mirror every tattoo on one arm with a matching one on the other, or to space pieces with ruler-straight precision. Resist it. Hand-done symmetry almost always reads as slightly off instead of intentional, and a patchwork that’s too rigid loses the organic feel that makes the style work in the first place. A few small, honest mistakes to steer clear of:
- ▸Forcing perfect mirror symmetry between both arms
- ▸Measuring exact spacing instead of eyeballing what looks right
- ▸Choosing a design because it “balances out” the other side, not because you actually want it
12. Know When Your Patchwork Is Actually Finished
There’s no fixed number of tattoos that makes a patchwork complete. It’s finished when the hierarchy feels balanced, the theme thread runs through every piece, and there’s no obvious gap pulling your eye toward empty skin.
Some people stop at six pieces. Others build toward a full sleeve over a decade. The difference between a good stopping point and an unfinished one isn’t how much skin is covered, it’s whether what’s there reads as a cohesive whole.
Your patchwork is done when it feels whole, not when it hits a number.
Conclusion:
A good patchwork isn’t built in one sitting. It’s built one planned decision at a time, an anchor piece chosen with intention, a theme that carries through, spacing that gives each design room to breathe. None of these patchwork tattoo ideas require redoing what you already have. They just give your next piece, and the one after it, a reason to feel like part of something instead of an addition tacked on at random.
Whatever stage your collection is at right now, you can start applying these before your next appointment. Save this list for the next time you’re planning what goes on next.







Leave a Reply