
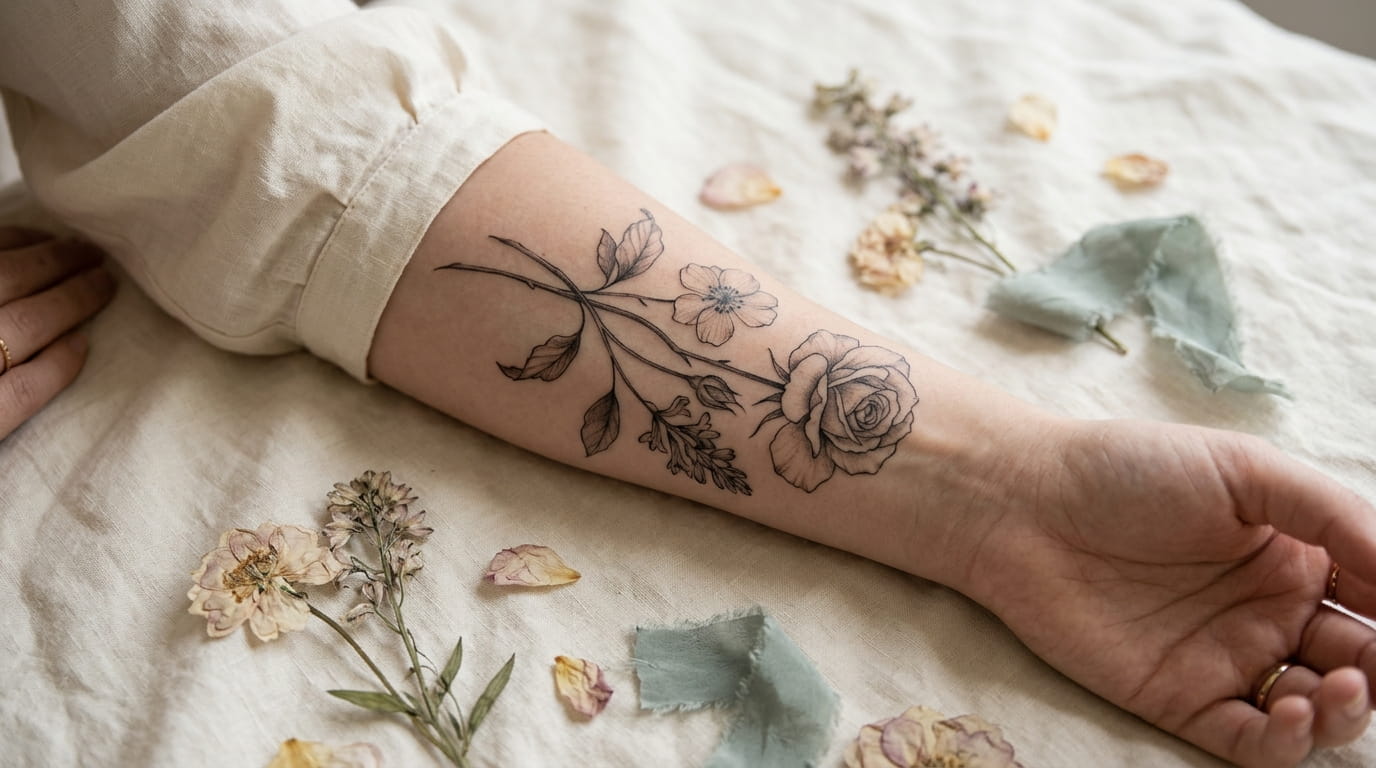
Your bouquet is drying out in a box somewhere, and some part of you already knows it isn’t going to end up in a frame. That’s usually where this idea starts.
Turning the real flowers into something permanent beats watching them crumble in a drawer. A pressed flower tattoo keeps the actual shape of the bloom instead of a generic sketch an artist invents from scratch, which is why it’s become the go to way brides and flower lovers hold onto a bouquet that would otherwise just fade.
The tricky part is nobody explains the steps in between. You can’t hand an artist a dried, curled flower and expect a clean line tattoo out of it. There’s a real process: pressing it correctly in the first two days, photographing it flat, deciding how literal the design should be, and choosing ink that will still look sharp in ten years.
That’s what this list covers. Eleven specific moves, starting with what to do the moment your bouquet gets home and ending with the style choices that keep a pressed flower design readable long after the ink settles.
1. Press Your Bouquet Within 48 Hours (Before the Color Fades)
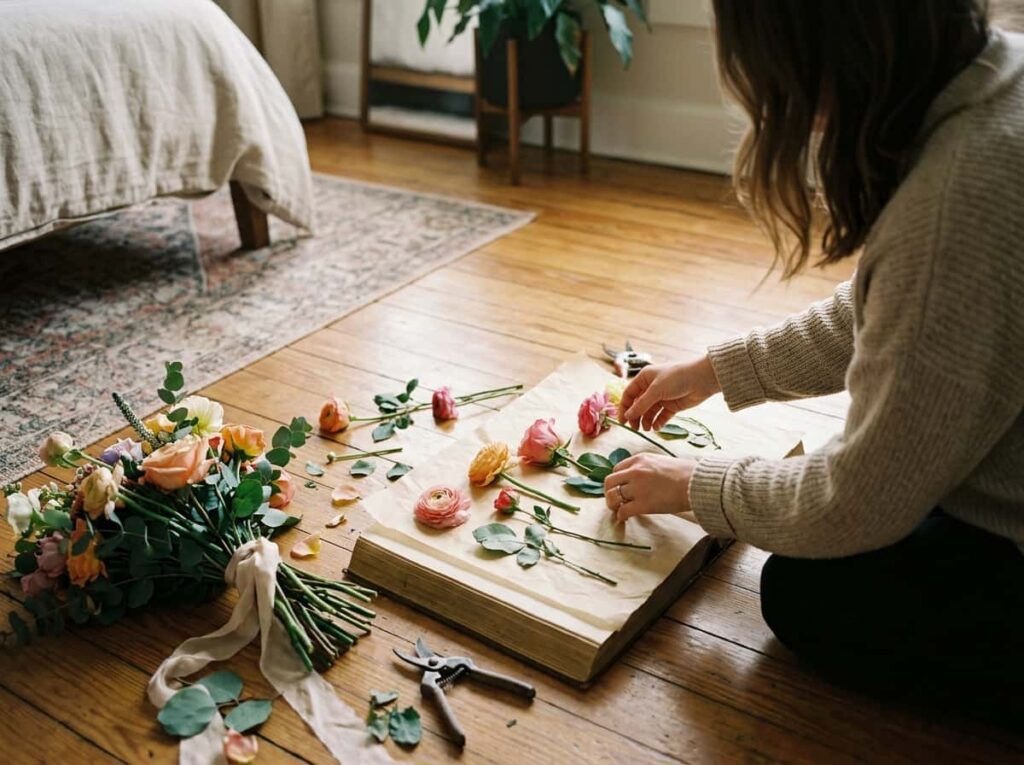
Wait too long and the petals brown at the edges before you ever get them flat. The window matters more than the method. Separate each bloom from the stem, lay them face down between two sheets of parchment paper, and press for at least two full weeks before you touch them again.
Pull blooms off the stems and trim any thick centers so they lie flat.
Layer between parchment paper, not paper towel, which can leave texture marks.
Weigh down with heavy books and leave undisturbed for two to three weeks.
2. Photograph Every Bloom Flat Before It Fully Dries
A flat, well lit photo is what your artist will actually trace from, so this step matters more than people expect. Shoot straight down, not at an angle. Natural light near a window beats any ring light for showing true petal color and edge detail.
3. Narrow the Bouquet Down to 3 to 5 Hero Flowers
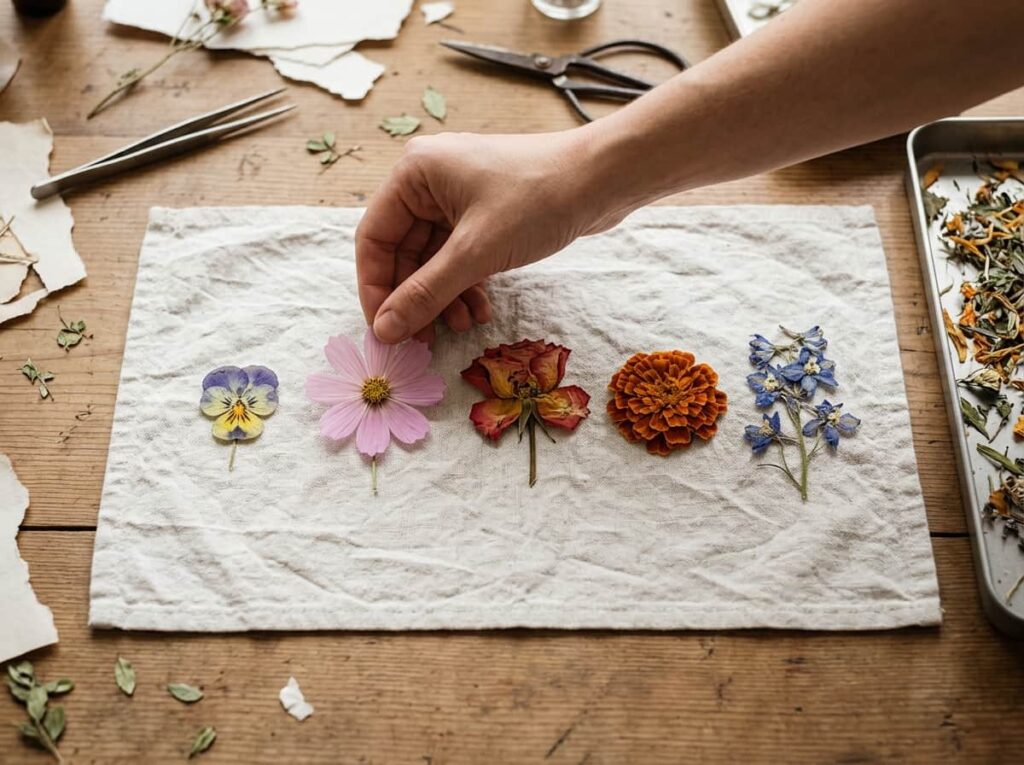
Not every bloom earns a spot in the final design. A bouquet tattoo gets muddy fast when an artist tries to cram in every filler flower and sprig of greenery. Pick the ones with the clearest shape and the most personal meaning, then let those carry the whole piece.
What makes a flower a keeper
4. Decide: a Literal Pressed Flower Tattoo or a Stylized Botanical Line
This choice shapes every decision after it. A literal version copies the pressed flower’s exact curves, creases, and slight imperfections, almost like a botanical illustration. A stylized version takes the silhouette and smooths it into cleaner, more symmetrical linework. Neither is better. One just asks for more detail from your artist, and one ages a little more gracefully on smaller placements.
| Literal Pressed Style | Stylized Botanical |
|---|---|
| Keeps the exact curled edges and asymmetry of the real flower. | Smooths the shape into a cleaner, more balanced outline. |
| Needs a skilled fine line artist to capture detail well. | Holds up better at smaller sizes and simpler placements. |
5. Bring the Actual Pressed Flowers to Your Consult, Not Just Photos
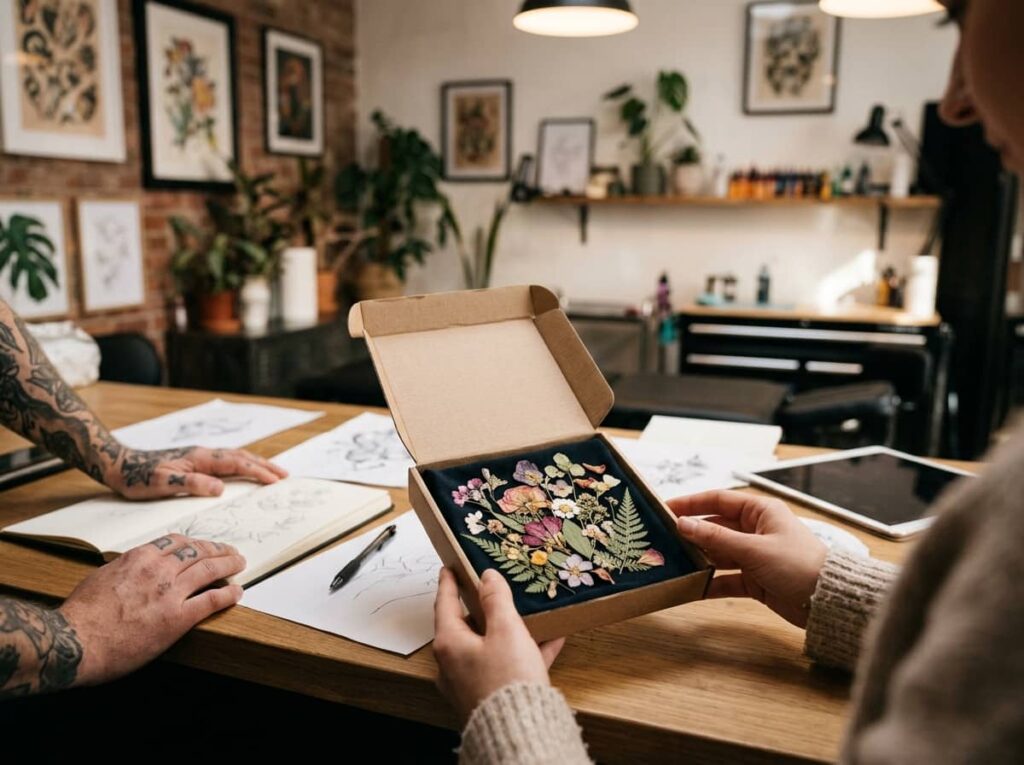
Photos flatten color and lose texture no matter how good the lighting was. Bringing the real pressed flower lets your artist see the vein lines in a petal or the slight ruffle at a leaf’s edge that never quite shows up on a screen.
A photo is a reference. The real pressed flower is the source material, and good artists will ask to see it in person.
6. Turn Curled Petals Into Flat Line Art Your Artist Can Trace
Pressed flowers never dry perfectly flat. Edges curl, petals overlap, and some detail just won’t translate straight into a tattoo. A good artist sketches a cleaned up line version first, flattening those overlaps while keeping the flower recognizable as yours.
Ask to see this sketch before the appointment, not during it. You want time to catch anything that’s drifted too far from the original shape.
A pressed flower with curled edges, overlapping petals, and uneven drying.
A clean flattened line drawing, still true to the flower’s real shape.
7. Match Your Placement to the Bouquet’s Natural Shape
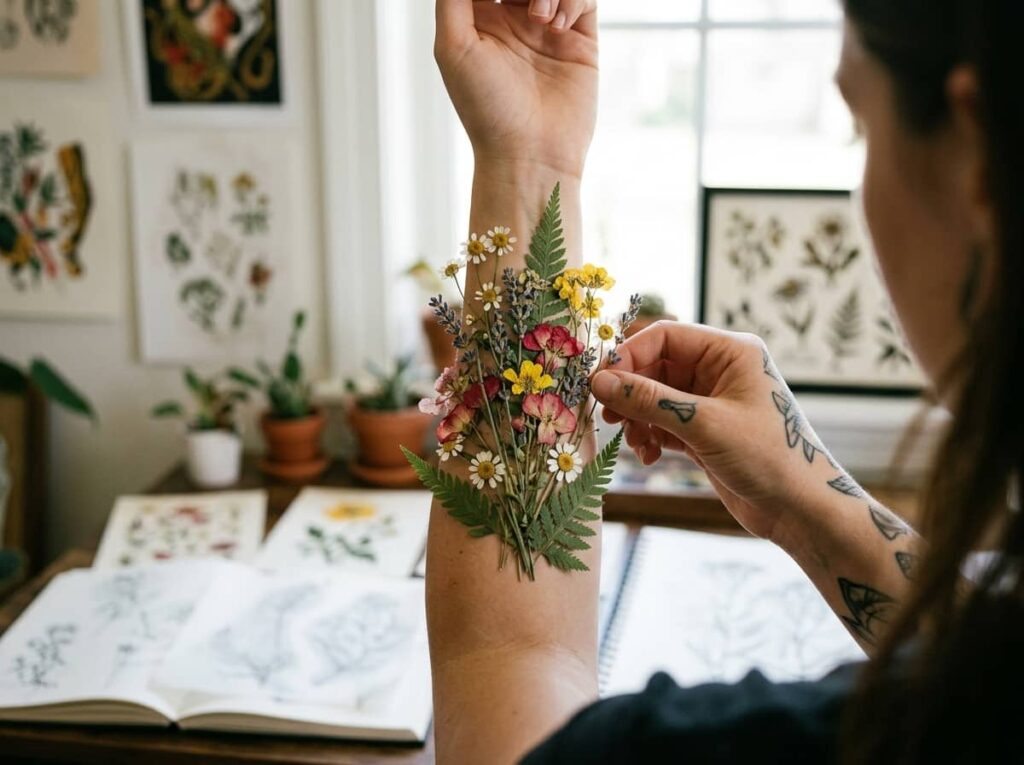
A tall, cascading bouquet doesn’t fold neatly onto a wrist. Before you commit to a spot, look at the actual shape of your flattened arrangement and let it tell you where it fits.
💡 Quick Tip
A long, trailing shape works well down the forearm or spine. A rounder, compact cluster sits nicely on the shoulder or upper arm.
8. Choose Fine Line or Soft Watercolor Shading for the Pressed Flower Look
Fine line is the closer match to a true pressed flower, since it mimics the thin, slightly uneven outline you’d see on real dried petals. Watercolor shading adds color back in but can blur the crisp edges that make a pressed flower recognizable as pressed, not just floral.
Choose fine line if you want the pressed, dried texture to stay obvious.
Ask for thin, varied line weight to mimic a real petal edge.
Heavy watercolor washes that drown the outline in color bleed.
Bold saturated hues, which read more floral than pressed.
9. Decide if the Stems and Leaves Make the Final Design
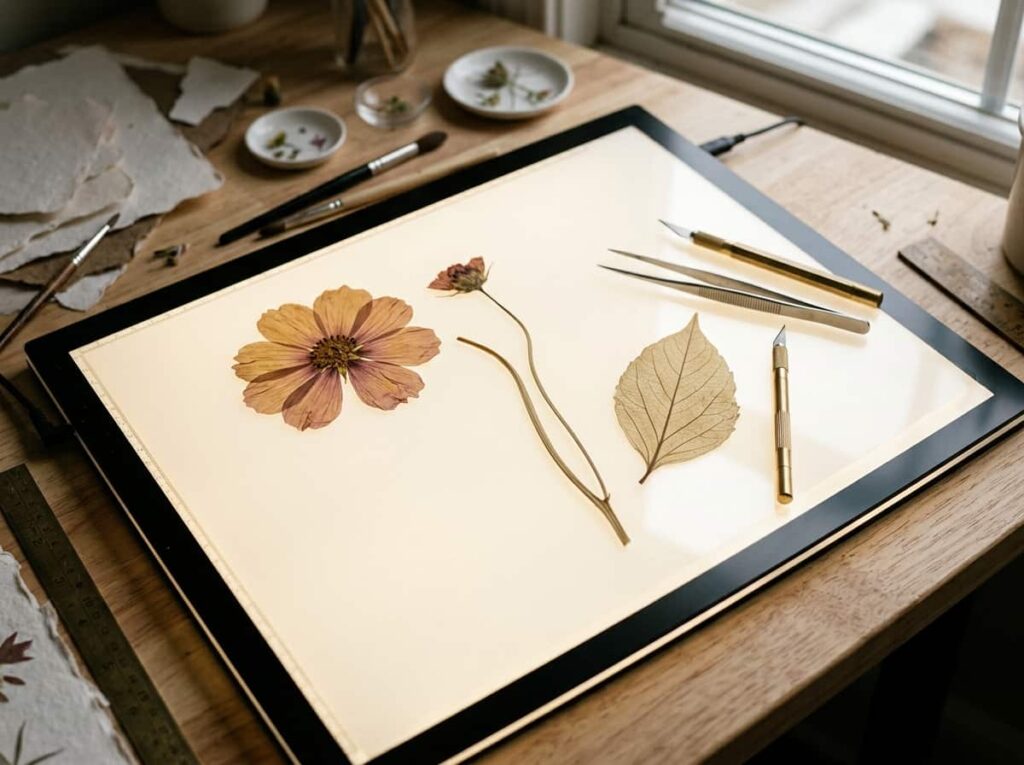
A simple rule: if the stem or leaf shape is part of what makes the flower recognizable, keep it. If it’s just filler greenery, it’s fine to leave out.
- ▸Keep a curved stem if it echoes the flower’s natural lean.
- ▸Drop filler leaves that only added bulk to the bouquet.
- ▸Keep one signature leaf shape if it was part of the original arrangement’s identity.
10. Hide a Wedding Date or Initial Inside the Stem Line
The stem is easy to overlook, which makes it the best place for a detail only you know is there. A date worked into the curve of the stem, or an initial tucked where two lines cross, stays private without crowding the flower itself.
11. Pick Ink and Style That Will Age the Way Pressed Flowers Do
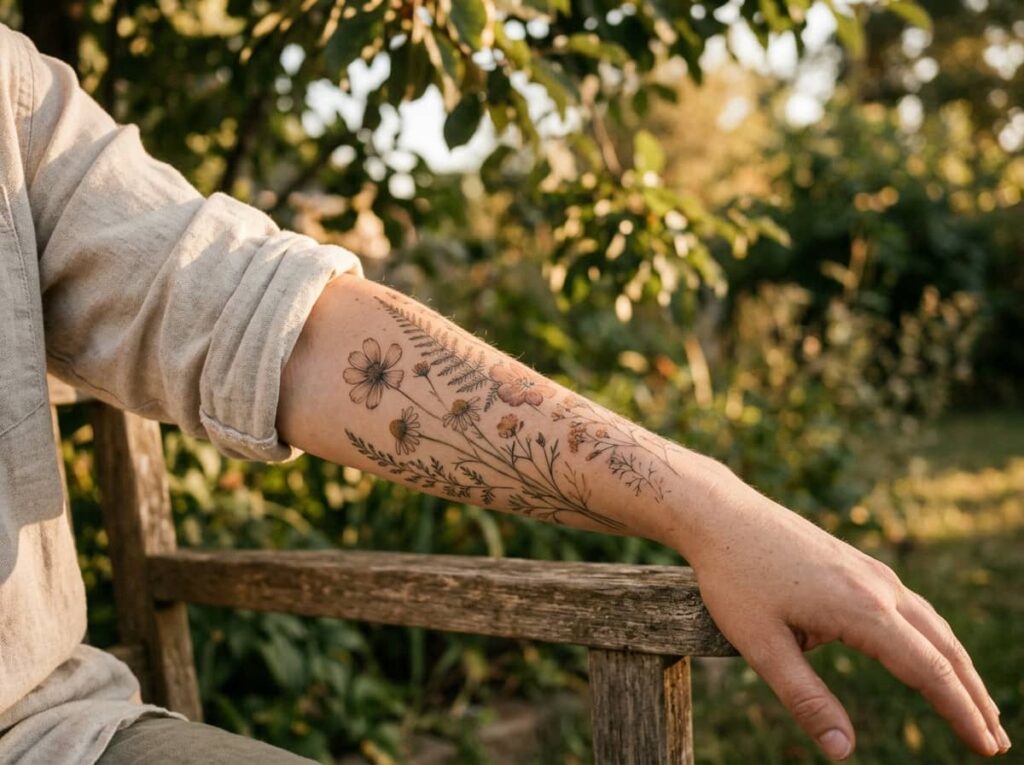
Fine line tattoos are beautiful on day one, but thin lines are also the first thing to blur as skin ages. If longevity matters to you, ask your artist about slightly thicker outlines in key spots, which hold their shape far longer than hairline detail.
Keep it looking sharp long term
Conclusion
A pressed flower tattoo works because it skips the guesswork. You’re not asking an artist to imagine what your bouquet looked like, you’re handing them the actual shape to trace. That’s the part that makes the finished piece feel like your flowers instead of a generic floral design someone could have picked from a wall.
Take it one step at a time. Press the bouquet properly, narrow it down to the blooms that matter most, and bring the real pressed flowers to your consult so nothing gets lost in translation. The small choices, line weight, placement, whether to keep the stem, are what make the final pressed flower tattoo feel personal rather than decorative.







Leave a Reply